
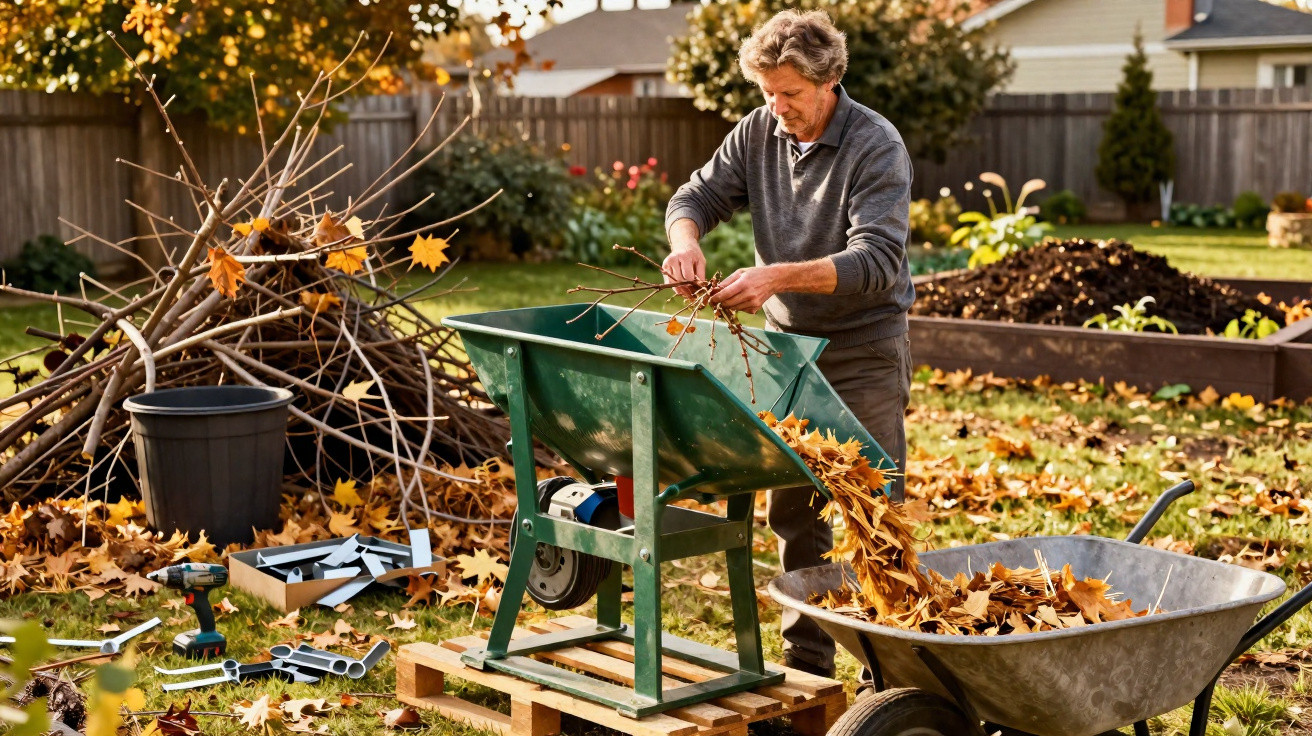
By the end of the day, the garden looks spotless.
The trouble starts when that pile of branches and leaves turns into a small green Everest.
Anyone who looks after a yard or garden knows the pattern: pruning done, leaves gathered, lawn trimmed. The satisfaction of a job well done doesn’t last long, because reality soon appears in the form of heaps of plant waste. Then the questions begin: what do you do with all of it? Is it really worth loading the car, queuing at the waste site and losing half a Saturday just to get rid of branches and clippings?
The gardener’s autumn: when green waste takes over the garden
From mid-spring through to late autumn, anyone with trees, shrubs or even a simple hedge goes through the same routine: pruning, sweeping, clearing up. Every session produces bag after bag of dry leaves, twigs, rose cuttings and fruit-tree branches.
In a medium-sized garden, it’s easy to rack up dozens of plastic sacks in a single season. A hedge trim or a line of trees can fill a small trailer on its own. In neighbourhoods where lots of people garden, the combined volume becomes a genuine logistical headache for local councils.
Turning green waste into something useful within your own garden cuts costs, reduces physical effort and eases pressure on the collection system.
The default response-almost automatic-is still the same: chuck it in the car and head to the disposal point. What many people don’t clock is how much that choice costs in money, time and wear on the body.
The hidden cost of trips to the waste site
There’s petrol, vehicle wear, queues, repeated loading and unloading, and restricted opening hours. Taking garden waste elsewhere creates a quiet sense of grind. Plenty of people end up putting off necessary pruning simply to avoid the ordeal of moving so much volume.
There’s a second contradiction too: these plant leftovers could be improving the soil, yet they’re treated as “waste” in distant piles that need transporting and processing. In the end, the gardener loses twice-giving away a useful resource and paying for the privilege.
The tip hardly anyone mentions: a DIY shredder made from scrap
Among some gardeners and DIY-minded people, there’s a simple, effective idea that rarely makes it to the mainstream: putting together an improvised shredder using an old bin and an electric drill.
Rather than buying an expensive, heavy machine that takes up space, the concept is to use what’s already in the garage. The result is low-tech, but it’s genuinely practical for thin branches, leaves and everyday prunings.
A sturdy bin, a few repurposed blades and a standard drill are enough to turn bulky waste into usable woodchips.
How this “garden shredder” works
The principle is straightforward: the bin acts as the shredding chamber. Instead of the usual lid, you fit an improvised assembly with blades bolted into place. A drill, connected at the centre, spins the whole set-up like an oversized metal whisk.
Inside the bin, thin branches, pruning stems and leaves are chopped as the blades rotate at high speed. It’s a rough-and-ready mechanism, but it handles almost anything up to about 2 centimetres in diameter: hedge trimmings, shrub stems and dried flower stalks.
Why does nobody talk about it?
Despite how useful it is, this kind of solution rarely features in viral videos or popular how-tos. Part of the reason is the worry of looking “bodged” in a world that’s obsessed with certified kit and factory labels.
Some people balk at the idea because they don’t think they’re handy enough, or because they’re concerned about accidents. Others simply haven’t met anyone who’s built something similar. These are the sorts of tricks shared over garden fences and in community growing spaces, but they seldom reach the wider internet.
A culture of ready-made solutions often hides simple, cheap, home-based ways to deal with green waste.
Fears, myths and the psychological barrier of “I can’t use tools”
For anyone who doesn’t see themselves as practical, the thought of drilling a lid, lining up blades and tightening bolts can feel intimidating. In reality, the build is far less daunting than it sounds. With clear markings, a few basic tools and proper care, the step-by-step fits easily into a weekend afternoon.
Where you must be strict is safety. Heavy-duty gloves, safety goggles and extra attention when switching on the drill are non-negotiable. This isn’t a toy-it’s a blade spinning at high speed.
Step by step: from garden waste to a tool in an afternoon
Materials you can repurpose
- A tough plastic bin with a lid that closes securely, 40 to 80 litres
- An electric drill or cordless drill with a standard chuck
- Two to four repurposed blades (for example, blades from an old lawnmower or strips of flat steel)
- Bolts, nuts and washers to secure the blades
- A hole saw or drill bits to make holes in the lid
- Spanners (open-ended or combination) to tighten the nuts
- Sturdy gloves and safety goggles
A simplified build
The lid is the core of the whole system. Start by cutting a central hole aligned with the drill’s axis. Next, mark out and drill the fixing points so the blades can be mounted in a cross or star shape. Washers help spread the load and reduce the chance of the fixings loosening.
The blades must be tightly secured, with the cutting edge facing down into the bin. On the outside, the drill connects to the lid’s centre point. You simply clamp the chuck onto a bolt or shaft fixed at that central position.
The more solid the lid–blades–drill assembly is, the less vibration you’ll get and the more comfortable it is to use for longer periods.
| Stage | What to do | Main precaution |
|---|---|---|
| 1. Prepare the lid | Mark the centre and the blade fixing points | Measure accurately to prevent imbalance |
| 2. Secure the blades | Tighten bolts with washers on both sides | Make sure nothing is loose |
| 3. Adapt the shaft | Create a drill connection point at the centre | Use metal that can handle the load |
| 4. Run a dry test | Switch on the drill with no material inside | Check for vibration and unusual noises |
| 5. Shredding | Add thin branches and leaves gradually | Don’t force it or overfill the bin |
From a pile of branches to the garden’s “brown gold”
What comes out of the bin no longer looks like rubbish. It’s a mixed, fine material that’s ready to use as ground cover or to boost a home compost heap. This is where the “magic” starts to make agricultural sense.
Mulch, composting and soil protection
Spread around the base of trees, vegetable beds or shrubs, the shredded material acts like a natural blanket. It helps slow water loss, shields roots from sudden temperature swings and cuts down the growth of unwanted weeds.
In the compost bin, smaller pieces break down more quickly. The carbon from the woodier bits balances an excess of wet kitchen scraps, which helps prevent bad smells. Within a few weeks, the pile begins to shrink and move towards that dark humus gardeners are always aiming for.
The green waste that used to fill a car boot ends up feeding worms, beneficial fungi and bacteria that build soil structure.
Time, money, your back: what changes for the gardener
With a DIY shredder, branches no longer leave the garden for a collection lorry or a disposal site. They simply change form and purpose. Instead of dead weight, they become an input that can reduce spending on fertilisers, bags of shop-bought mulch and even topsoil.
- Fewer car trips and lower fuel costs
- A major reduction in handling heavy sacks
- More sensible use of space on the pavement and in the garden
- Less waste sent into public processing streams
Your spine will notice the difference. You may still wheel a barrow to the back of the garden, but the repeated lifting into the boot and unloading again elsewhere disappears.
Care, risks and limits of this DIY approach
Like any adaptation involving blades and a motor, an improvised shredder needs to be treated with respect. Never use it without gloves, without eye protection, or with children nearby. Don’t push branches in with hands close to the lid; use a long piece of wood as a pusher.
There’s also a clear limitation: thick logs, very hard timber or material that’s too wet don’t suit this set-up. The chance of jamming rises, the drill heats up and the whole assembly is strained. For that sort of material, it may still be best to use an axe, a saw or, as a last resort, the disposal point.
Other scenarios and useful combinations
On a street with several gardens, neighbours can share one DIY shredder. One person builds it, another lends tools, a third stores the bin. Within a few months, each household can produce its own ground cover, and the number of sacks left on the pavement drops noticeably.
Another good fit is a community garden. Prunings from a green space, a school or small beds can be shredded on-site and returned to the soil as cover. That creates a short loop for green waste: what’s cut from a planted area goes straight back to it without long journeys.
For anyone new to composting, this method also works as an accelerator. Simple simulations by agronomists show that when the average piece size is halved, decomposition time can fall by up to a third, depending on the mix of materials. In a domestic compost bin, that can mean having usable compost before the season ends.




Comments
No comments yet. Be the first to comment!
Leave a Comment