
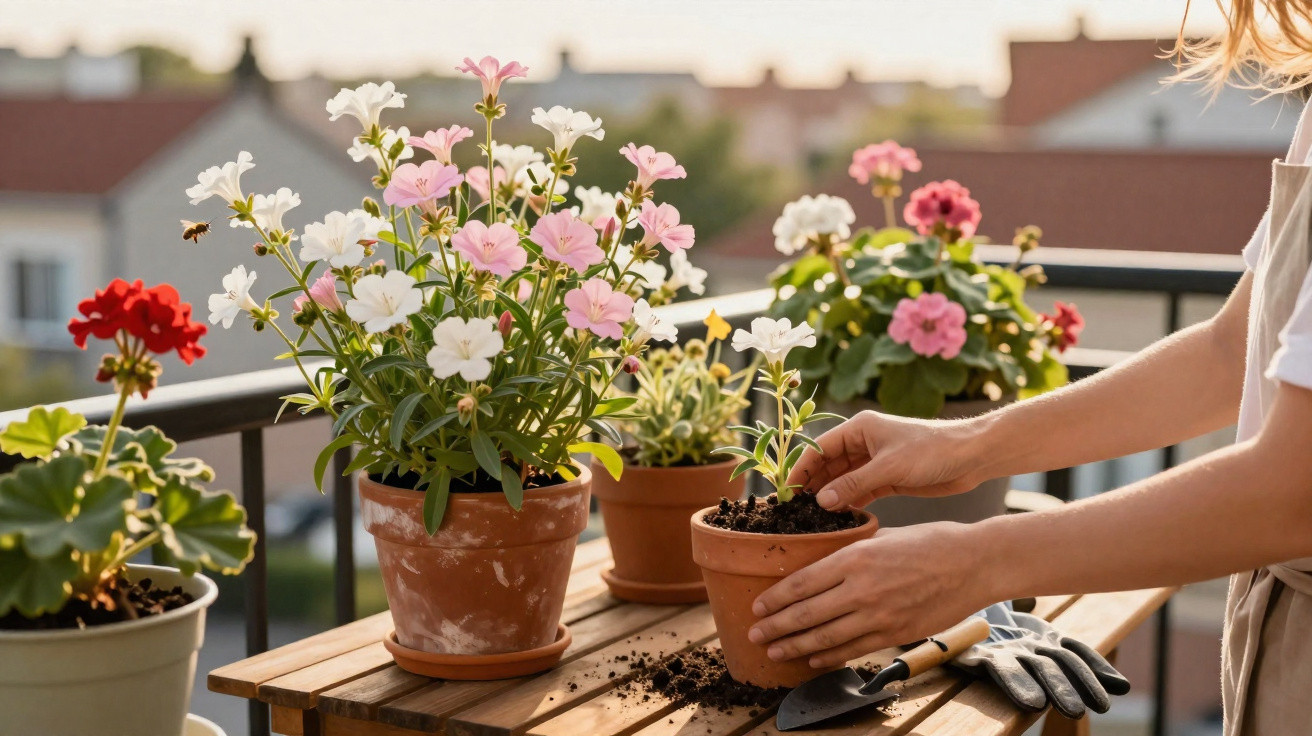
Many amateur gardeners remain loyal to their traditional balcony geraniums, yet resent the daily watering, dried-out planters at the height of summer and flowering that ends abruptly with the first frost. However, a perennial has long been available that resolves all these issues while also providing food for insects. Plant it in April and it will produce blooms well into late autumn.
Why geraniums are becoming a problem in a changing climate
Geraniums – more accurately called pelargoniums – are among the best-selling balcony plants in Germany. They offer vivid colours, grow quickly and look immaculate in photographs. In everyday life, though, they often prove less straightforward.
- At the height of summer, they need watering almost every day.
- Faded flower heads have to be removed continuously.
- The first more severe frosts already bring the season to an end.
- Leaves and flowers can scorch easily during hot spells.
As heatwaves become more frequent, dry spells lengthen and watering restrictions are introduced, geraniums are reaching their limits in many locations. Anyone who cannot keep a constant eye on their planters may find scorched, patchy displays by July. This is a genuine frustration for people with demanding schedules, commuters and owners of holiday homes.
The alternative is Gaura: a long-flowering perennial from the southern United States
The plant in question is Gaura lindheimeri, often sold simply as gaura or prairie gaura. Botanically, it belongs to the evening primrose family and originates from Texas and Louisiana. Its natural habitat has equipped it to cope with heat, wind and poor soils.
“Gaura puts on a delicate floral display for up to six months – while needing considerably less watering than traditional balcony geraniums.”
Gaura is recognised by its delicate, butterfly-like flowers in shades of white and pink. Carried on long, flexible stems, they move with even the faintest breeze. The plant has an airy, almost transparent appearance, making it well suited to borders, gravel gardens and contemporary front gardens.
Flowering from early summer until November
Gaura planted in April or May will usually begin flowering from late May or June. In many regions, blooms continue into November, depending on how early and severe the first frosts are. This perennial tolerates temperatures down to around –15 °C, making it an appealing option across large parts of the German-speaking region.
The contrast is clear: where geraniums require roughly ten litres of water per planter each week in July, a well-established clump of gaura needs almost no extra watering after its first year – provided it is growing in the right location.
How Gaura works: a taproot instead of a thirsty plant
This perennial’s key advantage lies below ground: gaura develops a strong taproot that reaches far down into the soil. This enables the plant to draw on water reserves and nutrients from deeper layers when the surface soil has long since become dusty dry.
For it to make full use of this ability, it needs particular conditions:
- Full sun: The more light it receives, the better it flowers.
- Free-draining soil: Waterlogging quickly damages the roots.
- No overfeeding: Overly rich soil encourages lots of foliage but fewer flowers.
Gaura thrives in lean, open soil. Where garden soil is heavy clay, work coarse sand or grit into the planting hole. This creates a drainage effect that encourages the root to grow downwards rather than sit in wet ground.
Planting Gaura in April: a step-by-step guide for beds and containers
April is an ideal time to plant gaura in the garden or in larger containers. The soil has already warmed slightly, while there is still enough time for the taproot to establish before high summer arrives.
Planting Gaura in a border
- Choose a position: Select a sunny, open site that is not permanently damp.
- Prepare the soil: Loosen the ground, remove stones and incorporate sand or gravel if the soil is heavy.
- Water the plant: Place the rootball in water for ten to 15 minutes, until air bubbles stop rising.
- Dig the planting hole: Make it approximately twice the size of the rootball.
- Plant and firm in: Position the gaura with its root crown level with the soil surface, then gently firm the soil.
- Water in: Water thoroughly so the soil settles well around the roots.
Leave 40 to 50 centimetres between plants. This gives the clumps room to fill out over time without flopping into one another.
Planting in containers: a balcony substitute for geraniums
On balconies and patios, gaura can replace or complement conventional geranium planters. Above all, it needs depth rather than simply width, as its taproot requires room.
- Choose a container at least 30–35 centimetres deep.
- Add a substantial drainage layer of expanded clay or gravel.
- Mix sand or fine grit into the compost so that water drains away freely.
- Give it the sunniest possible position; south- or west-facing balconies are ideal.
In containers, gaura needs a little more attention at first than it does in a border, particularly during its first summer. Even so, it can go much longer between waterings than geraniums. Only reach for the watering can once the top layer of compost has dried out.
Easy care throughout the year: what Gaura really needs
Once rooted in, the plant is remarkably undemanding. The most important tasks fall in the second half of the year and in late winter.
“Cutting back to around ten centimetres in late winter is enough for gaura to produce fresh, compact growth again.”
Gardeners should wait until February or March to cut back the dried stems. The dead growth provides the base of the plant with some protection from cold and wet during winter. Gaura needs fertiliser only sparingly, if at all. Excess nutrients make its growth soft and prone to flopping.
If desired, individual faded shoots can be removed during the season to keep the plant looking tidy. This is not essential for continued flowering, however, because gaura constantly produces new buds.
The plant’s limitations: where Gaura fails
For all its toughness, there are settings where gaura will struggle. Permanently wet ground, shady positions and regions with very severe, prolonged winters well below –15 °C are particularly problematic. In these areas, it is better grown in a container with winter protection, or replaced with other drought-tolerant perennials.
| Condition | Suitable for Gaura? |
|---|---|
| Full sun | Ideal |
| Light partial shade | Still possible, with fewer flowers |
| Permanently wet, heavy soil | Unsuitable; root rot is likely |
| Winter below –15 °C without protection | Risky; container growing is preferable |
Benefits for insects and the look of the garden
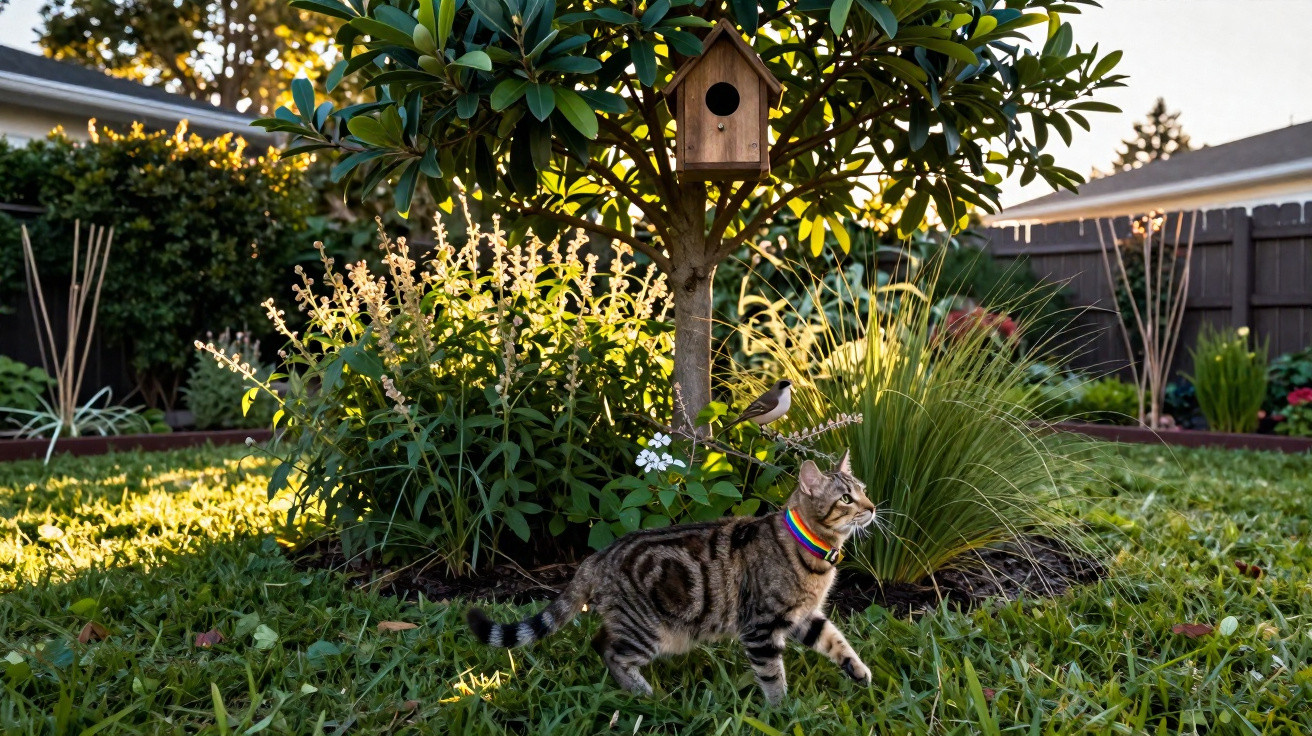
One benefit that is often overlooked is that gaura provides food for wild bees and butterflies for months on end. In smaller gardens and on balconies, where short-lived seasonal bedding plants are often the only choice, it can offer an important “basic supply”.
Visually, it works especially well in contemporary, naturalistic planting schemes. Combined with ornamental grasses, lavender, catmint or sage, it creates a light, almost Mediterranean effect that does not look thirsty even at the height of summer. Anyone familiar only with compact, brightly coloured bedding plants will find that gaura brings a completely different, more flowing feel to the garden.
Practical advice for beginners and planting combinations
Anyone using gaura for the first time should begin with two or three plants in a border or a large container. This makes it possible to see how its growth habit and flowering perform in the conditions at home. The perennial is particularly effective when planted in small groups, allowing its clouds of flowers to overlap.
Mixed plantings with other low-water choices are especially effective. Typical companions include:
- Lavender or cotton lavender for fragrance and structure
- Ornamental grasses such as fountain grass for movement
- Catmint, sage or coneflower for stronger splashes of colour
- Smaller sedum varieties at the front to create a dry edging
Those who are frequently away or maintain a garden without an irrigation system can use these combinations to create whole areas that need virtually no watering. Front gardens in particular benefit: instead of scorched lawns or short-lived seasonal bedding, the result is a long-lasting, insect-friendly display.
One further point concerns lifespan: gaura is among the shorter-lived perennials and often remains in the same spot for only a few years. In return, it self-seeds readily. By watching for small seedlings in late summer and leaving them in place or moving them deliberately, gardeners can almost automatically secure new plants for future seasons – without another trip to the garden centre.
Comments
No comments yet. Be the first to comment!
Leave a Comment