
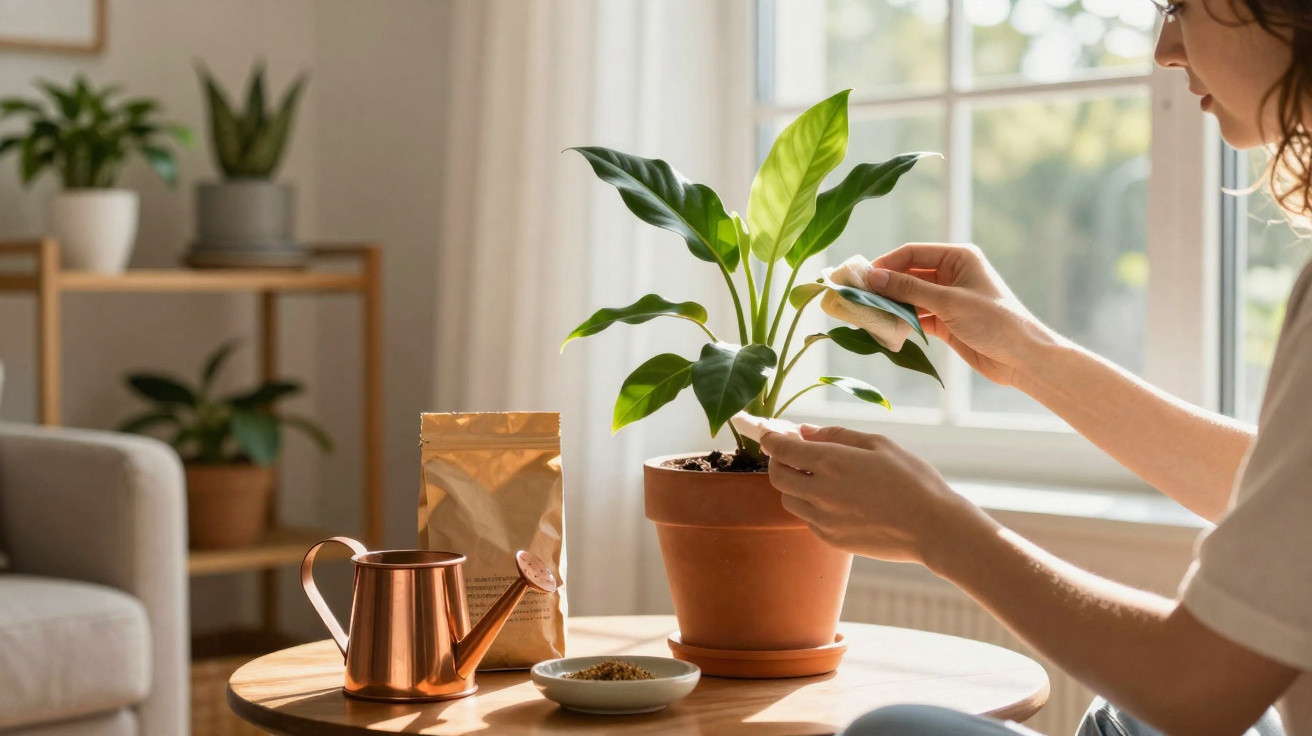
Many owners underestimate just how much March shapes the rest of the growing year. If you water your Zamioculcas zamiifolia merely as an afterthought at this point, you are missing considerable growth potential. A few well-chosen steps can turn this supposedly undemanding office plant into a remarkably vigorous, glossy focal point – without putting it under stress.
What makes the ZZ plant so special
The ZZ plant, whose botanical name is Zamioculcas zamiifolia, originates in East Africa. It grows there in relatively sparse, stony soil and copes easily with dry spells. This is precisely why it is seen here as an “indestructible” houseplant – and why many people overdo the watering and care with the best intentions.
| Latin name | Zamioculcas zamiifolia |
| Common names | ZZ plant, Zamioculcas |
| Size | approximately 50–100 cm tall, 40–60 cm wide |
| Position | bright to partially shaded, without scorching sun |
| Temperature | at least 12 °C, indoor plant only |
| Leaves | evergreen, thick, dark green and glossy |
Anyone who deliberately “wakes up” their ZZ plant in March will have noticeably more new shoots, denser foliage and a deeper shine by summer.
1. More light – but no sunburn, please
The ZZ plant is known for tolerating deep shade. That is true – but it will barely grow there. It needs substantially brighter conditions to produce strong new shoots, although harsh midday sun is not suitable.
- Ideal: an east- or west-facing window with bright, indirect light.
- Distance: at the beginning of March, keep it slightly farther from the window, then move it a little closer every two to three days.
- Filter: a sheer curtain is enough to soften aggressive sunlight.
Watch carefully for warning signs:
- Leaves that become pale or brownish on the side facing the window are receiving too much sun.
- Long, lopsided shoots growing in one direction indicate insufficient light.
For an even, balanced shape, use a simple trick: turn the pot a quarter turn once a month. This gives every side similar light conditions and stops the plant leaning solely towards the window.
2. Cleaning the leaves: more shine, more energy
Fine dust builds up on the thick leaves over winter. Not only does this make them look dull, but it also restricts photosynthesis. A spring clean is especially beneficial in March.
Here is how to do it:
- Lightly dampen a soft microfibre cloth or sponge.
- Wipe each leaf gently from the base towards the tip, without rubbing.
- Avoid oily leaf-shine sprays, as they coat the pores with a film.
Healthy ZZ leaves shine naturally. Artificial leaf shine is more cosmetic than helpful – and may cause harm over time.
3. Watering in spring: check more often, water less often
As light levels increase, the top layer of compost dries more quickly, while the centre of the root ball often remains cool and damp in March. Watering routinely every week at this stage risks rot in the thick rhizomes.
A straightforward rule of thumb:
- Allow at least the top 2–3 cm of compost to dry out completely before every watering.
- Check with a finger or a wooden stick: if compost sticks to it, wait longer.
- In a normally heated home, watering once every 10–15 days is often sufficient.
When it is time to water, soak the compost thoroughly until a little water drains from the bottom, then empty the saucer after roughly 15 minutes. The ZZ plant strongly dislikes having permanently wet roots.
4. Fertiliser: little, but regularly
Zamioculcas comes from nutrient-poor regions. Applying too much fertiliser can therefore quickly cause soft, overly long shoots that collapse under their own weight.
From March onwards, all it needs is:
- liquid fertiliser for foliage plants at half strength;
- every three to four weeks until around October;
- applied only to compost that is already slightly moist, never to a bone-dry root ball.
For the ZZ plant, less fertiliser is better than too much. Small, consistent amounts produce sturdier shoots than occasional “nutrient bombs”.
5. Checking the pot: does it really need a new home?
Many plant enthusiasts instinctively begin a major repotting session in spring. For a ZZ plant, this is often unnecessary. It actually copes surprisingly well with rhizomes that fill the pot nicely.
Check whether a larger pot is appropriate as follows:
- Carefully tip the pot and gently loosen the root ball.
- If the rhizomes are plump, pale and still surrounded by compost, leave it as it is.
- If the rhizomes are visibly forcing the pot apart, or the compost dries out fully within two to three days, the plant is becoming cramped.
If repotting is needed, choose a container only 2–3 cm wider than the old one. A good drainage layer of expanded clay pellets or gravel is important, along with loose compost for foliage plants that allows water to drain freely.
6. Gentle pruning and a spring check
A common misconception is that cutting ZZ plant stems back hard will make the plant bushier. That does not work with this species, because new growth emerges from the rhizomes in the compost rather than from old stems.
What you can usefully do in March:
- Remove yellow, mushy or mechanically damaged stems directly at the base with a clean, sharp tool.
- Pick off individual withered leaflets so that they do not become sources of rot.
- Inspect the entire plant from different angles: if it appears one-sided, moving or rotating it may help.
If new shoots appear that are lighter in colour and slightly translucent, your ZZ plant’s spring routine is heading in the right direction.
If nothing happens: common spring mistakes
Sometimes the plant remains noticeably inactive despite attentive care. Three causes are particularly common:
- Too dark: Shoots stretch thinly towards the window and the gaps between leaves become large. Solution: move it closer to the light, but keep it out of direct midday sun.
- Too wet: The compost surface remains damp for a long time, the rhizomes are soft, or there is a musty smell. Solution: stop watering immediately and, if necessary, move the plant into fresh, dry compost.
- Too cold: The plant is positioned above a draughty window or directly in front of a balcony door. The ZZ plant does not tolerate temperatures well below 18 °C for extended periods.
How to recognise a genuinely healthy ZZ plant
Anyone who watches their plant over several years will soon learn what a healthy specimen feels like. A few clear characteristics make it easier to assess:
- The shoots stand upright and appear sturdy.
- The leaves are a rich dark green, with no grey patches or widespread yellowing.
- The rhizomes are firm and almost potato-like, rather than soft or shrivelled.
- Several new shoots emerge every spring.
If growth remains minimal for years despite suitable light, water and temperature, an old, heavily compacted root ball may be responsible. In that case, careful repotting into loose compost with good drainage is worthwhile.
Extra knowledge for plant enthusiasts
The ZZ plant’s thick rhizomes are simply storage organs for water and nutrients. This is why it copes far better than many other houseplants with dry centrally heated air or a forgotten watering day. However, that same reserve also makes it vulnerable to waterlogging: anything it does not need cannot escape and begins to rot.
Its effect on interior design is equally interesting. With its graphic, almost architectural shoots, Zamioculcas is an excellent fit for minimalist homes and modern offices. Pairing it with light-coloured pots and textured cachepots creates a very clean, calm look – ideal for home-office corners or waiting areas.
If you own several specimens, you can easily test how differently they respond to their locations: place one pot in a partially shaded hallway and another in a brighter spot by a curtained window. After just one spring, clear differences in height, leaf colour and the number of new shoots will be visible. This helps you understand where your plant truly feels at home.





Comments
No comments yet. Be the first to comment!
Leave a Comment