
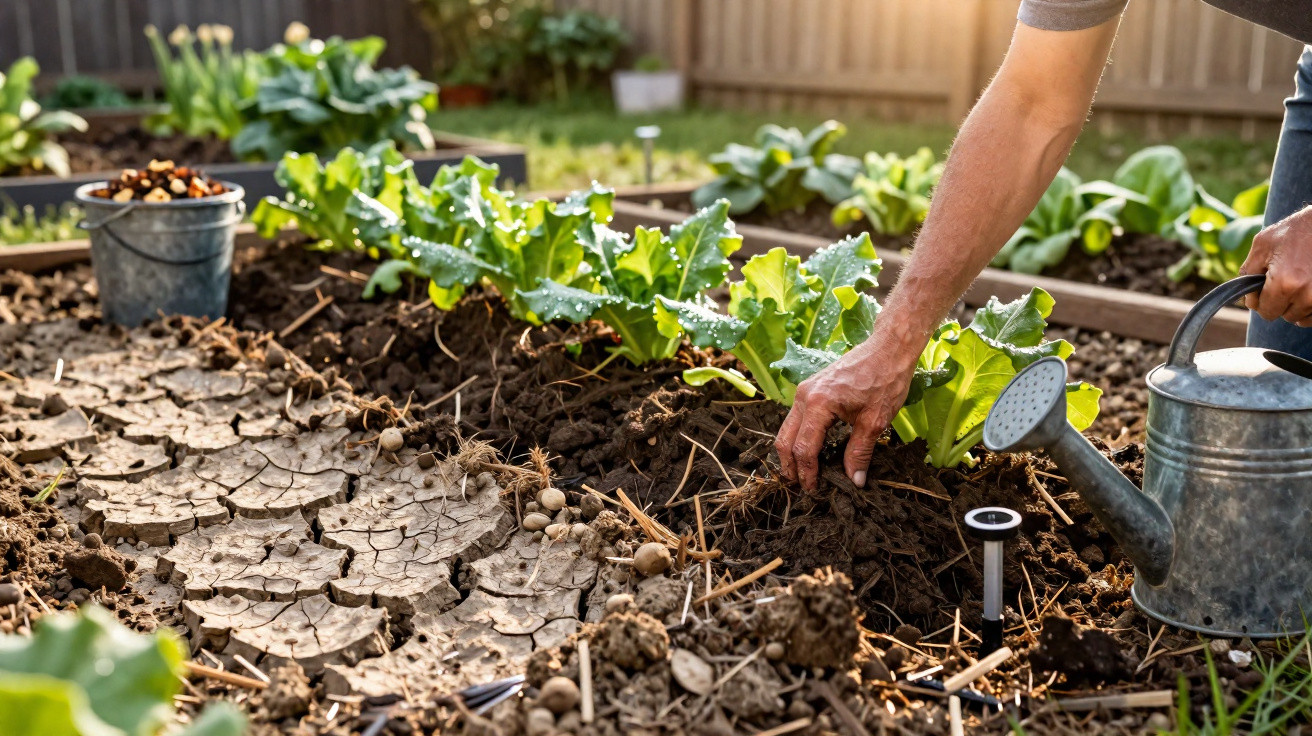
You know the feeling: after only two scorching days, a flourishing garden can look as though it has been personally betrayed. You watered it, added some mulch, watched the forecast and did “everything right”. Then the sun blazes, the wind rises, and by late afternoon the flower bed appears to have spent the weekend in a desert. The soil is fissured, seedlings droop like exhausted teenagers, and the pricey compost you applied has become a layer of dusty crumbs.
Put your hand into the soil and, only a few centimetres below the surface, it is completely dry. Beneath that, it can seem… lifeless.
The answer is not simply to add more water.
The hidden layer your soil needs
Walk barefoot along a woodland path after rain. Its surface is slightly wet, yielding and soft. Scrape gently with your heel and you soon reach a cool, dark, almost springy layer that stores moisture as effectively as a sponge conceals secrets. That soft, layered structure is precisely what is absent from many garden beds.
In countless domestic gardens, a narrow living layer sits on top of compacted, parched subsoil. Water either drains away, evaporates or runs off. Plants struggle, while you find yourself pulling out the hose every evening and questioning why nothing properly flourishes.
One reader in southern Spain described her garden at a newly built home. The contractors had left little more than a skim of topsoil over what was essentially sun-baked clay. In April, everything seemed encouraging. By June, the lavender had turned grey, tomato plants were shedding their flowers, and the lawn sounded hollow beneath her feet. She assumed the solution was additional irrigation.
Once she eventually dug a suitably deep hole, however, she uncovered a hard, pale band only 10 cm below ground. There were no roots, earthworms or earthy scent. Water from the sprinklers was merely passing through the upper layer and draining sideways. Her garden was not only dry; it lacked a genuine structure that could retain water between the surface and the subsoil.
That absent structure has a straightforward name: a moisture-retentive organic layer. It is not a light scattering of compost across the surface or ornamental wood chips, but a distinct zone in which organic matter, minerals, air and living organisms are woven together.
Without a sufficiently thick layer, soil acts like a leaking bucket: you add water, but it will not remain there. A well-built organic layer makes each watering work twice as hard. Moisture filters in, attaches to humus, travels gradually and nourishes roots as it descends. It is the unseen engineering that keeps one garden green while another turns brown.
How to rebuild a moisture-retentive organic layer
The approach that steadily changes thirsty soil is almost tediously simple: build layers rather than mixing everything together. Treat a bed like a lasagne, not a smoothie. Begin by gently loosening the upper 10–15 cm with a fork instead of overturning large clods. Roots and fungi do not respond well to being flipped upside down.
Across this loosened area, apply 3–5 cm of mature compost. Use dark, crumbly compost with the scent of a forest after rainfall, rather than raw kitchen waste. Then add 5–7 cm of mulch, such as shredded leaves, straw, grass clippings that have been dried first, or chipped branches. Water this entire layered arrangement thoroughly, allowing the compost and soil to begin binding together.
This is the stage that many gardeners hurry through or miss during busy periods. In reality, nobody manages it perfectly every day. We become tired, tell ourselves that “one quick watering is enough”, or expect nature to cover the shortfall. But soil carries the memory of every neglected season.
A frequent error is placing decorative bark over lifeless soil and assuming that is enough. It may look tidy, but it does not create the vital living layer in the middle. Another mistake is incorporating so much sand to “improve drainage” that the bed drains excessively quickly and becomes even drier. The best approach is light loosening followed by reliable additions of organic matter, year after year. That is when the change begins underground.
“The day I stopped fighting my soil and started feeding it, my watering can suddenly got lighter,” a small-scale gardener in Brittany told me. “I used to water every evening. Now, even in heatwaves, I can skip days, and the plants don’t flinch.”
- Step 1: Loosen, rather than turn
Use a digging fork or broadfork to create channels without inverting the soil layers. - Step 2: Apply compost
Add 3–5 cm of mature compost over the surface to introduce life and build structure. - Step 3: Mulch generously
Cover the bed with 5–7 cm of organic mulch to reduce evaporation and shield the compost. - Step 4: Water deeply
Irrigate less frequently, but for long enough to take moisture 20–30 cm below the surface. - Step 5: Repeat each season
One layer is useful; repeated layers create a genuine, lasting sponge.
Living with a garden that holds water
When the missing layer begins to develop, time spent in the garden feels noticeably different. After three or four months of regular layering, you can push a hand into the earth and find a cool, crumbly depth that was not previously there. A summer downpour no longer rebounds as if it has struck concrete; it soaks in, vanishes and is retained.
Plants react without fanfare. Their leaves appear thicker and less stressed. Flowers last longer. Before reaching for the hose, you start checking the soil, and often discover that it remains moist further down even when the top looks dry. That is when you realise that your garden has begun to cope a little more independently.
This change will not eliminate drought or make heatwaves enjoyable. Plants will still occasionally die, forecasts will still be misread, and some mornings the garden will look somewhat weary. Even so, beneath your feet, it is continuously becoming more resilient.
The layer you have restored does more than store water. It cushions temperature fluctuations, provides shelter for microorganisms, and creates routes for roots and earthworms. It is the subtle distinction between a garden that always seems vulnerable and one capable of taking a few blows before recovering strongly. Often, it begins with one modest choice: grow the soil, rather than only the plants.
| Key point | Detail | Value for the reader |
|---|---|---|
| Build a moisture-retentive organic layer | Combine compost and mulch as gentle surface layers rather than digging deeply | Cuts watering frequency while keeping beds cooler and more moist |
| Loosen, do not till | Open the upper 10–15 cm with a fork, without overturning soil horizons | Safeguards soil life, roots and structure while helping water infiltrate |
| Focus on the long term, not one-off solutions | Repeat the layering each season to allow organic matter to build up | Slowly changes “thirsty” soil into a living sponge that withstands drought |
FAQ:
- Why does my soil dry out so quickly even though I water heavily?
Light, shallow watering combined with compacted soil produces a thin damp surface that soon evaporates. Without a deeper organic layer, water cannot be retained where plant roots require it.- How deep should my mulch layer be?
Aim for 5–7 cm in beds. Shallower mulch dries out too rapidly and offers insufficient protection, while deeper layers may smother seedlings when placed directly against them.- Can fresh grass clippings be used as mulch?
Yes, provided they are spread in thin layers after drying. Thick layers of fresh clippings can become slimy and anaerobic, stressing roots rather than benefiting them.- How long will it take to improve a dry garden?
Improved moisture levels should be noticeable after one season, but a truly sponge-like structure generally takes 1–3 years of regular compost and mulch additions.- Will I still need irrigation after improving the soil?
You will probably require less irrigation. Occasional deep watering is more effective than daily light sprinkling because improved soil can retain moisture at root depth.





Comments
No comments yet. Be the first to comment!
Leave a Comment