
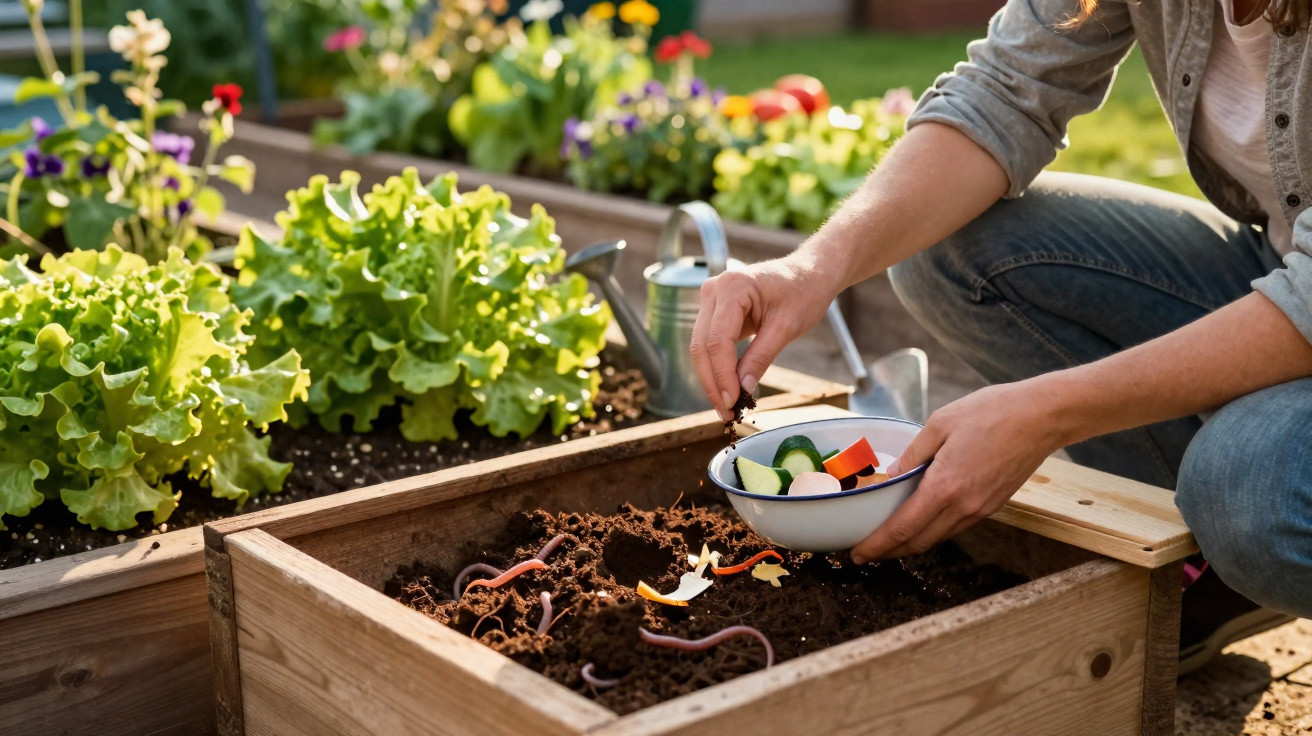
A gentle, earthy scent drifted up - nothing like a rubbish bin, more like a woodland track after rain. Red worms glinted among torn cardboard and apple cores, as industrious as silent matchsticks. I had tucked this little container beneath the utility shelf, concerned it might seem… icky. Yet it felt unexpectedly optimistic instead: a tiny household secret, squirming with intent. Scraps go in; rich living material comes out. It is a tidy cycle you can hold in your hands, then take to your potager beds with a smile you needn’t share on Instagram. The worms barely register your presence, which is strangely liberating. You feed them, and a few weeks later your garden responds. There is a quiet kind of magic beneath that lid - and it is far easier than you might imagine.
The small box that nourishes a big garden
A worm bin is not about guilt or environmental virtue; it is a satisfying habit that, within a week, you hardly notice doing. Each cup of tea, onion trimming and carrot peeling becomes a modest pledge to your soil. There is pleasure in this rhythm: a tiny, quiet chore that reduces the contents of the kitchen caddy while enriching your beds with something money cannot quite purchase.
I began with a £6 storage box and a handful of red wigglers from a neighbour’s setup. After two weeks, the food caddy was lighter and the kerbside bin no longer smelled quite so defeated. As I planned my potager beds, I saw the difference in tomatoes that did not sulk and lettuces that did not bolt. UK households throw away mountains of food, yet even one flat can divert kilograms every month. It is a small gesture with a substantial ripple.
Worms operate on a different timetable from hot compost. They require neither heat nor turning, only air, moisture and peace. With microbes leading the way, they first eat the softer material, then thread the mixture with dark, crumbly, living castings. These castings retain water like a quality sponge and moderate nutrients, allowing roots to drink steadily rather than guzzle. A potager flourishes on this partnership between soil and life. Taste a tomato raised with vermicompost and the enthusiasm makes sense without further explanation.
Set up your worm bin once and enjoy it for years
Choose a lidded container of roughly 30–60 litres. Drill ventilation holes near its top and a few drainage holes underneath, positioned over a tray to collect any liquid. Build up bedding using shredded cardboard, dampened coco coir and a small pinch of garden soil to introduce microbes. Aim for the feel of a “wrung-out sponge”, rather than soaking wet socks. Add 250–500 g of red wigglers (Eisenia fetida), then leave them for a day to settle before you feed them. Begin modestly with a mugful of chopped vegetable trimmings, covered by extra bedding. Put the lid on. No fuss. You have started a quiet little factory.
Offer small amounts regularly, burying scraps beneath the bedding so fruit flies lose interest. Be sparing with citrus, onions and oily items. Avoid meat, dairy products and cooked sauces, which can collapse into a smelly mess. Should the bin ever buzz or appear slimy, mix in dry cardboard and stop feeding for a week. Keep it above 10°C and below 25°C, and the worms will keep going nicely. Honestly, no one turns compost daily. A worm bin is forgiving when you neglect it briefly, before simply resuming its work without judgement.
Each month, loosen the bedding with a hand fork to bring in air, then leave it alone. Once the contents are dark and crumbly, rather like chocolate cake, harvest one area and allow the remainder to keep maturing. If you enjoy a regular routine, you can use two trays and alternate them.
“It’s the only bin that pays me back,” said Ruth, a South London grower. “I feed it tea bags and it feeds my beans. Fair trade, really.”
- Starter kit: 30–60 L box, drill, shredded cardboard, coco coir, handful of soil, 250–500 g worms.
- Target moisture: like a squeezed sponge. Add dry bedding if it looks shiny, or spray lightly if it is dusty.
- Feeding cue: add more only once the previous feed has mostly disappeared.
- Quick fix for gnats: cover the surface with a sheet of damp newspaper, then add dry cardboard on top.
- Harvest window: expect your first modest batch of castings after 8–12 weeks.
From scraps to potager confidence
One day, you will empty a tray and find that its contents resemble ground coffee rather than waste. That is the sign to harvest. Sieve the material carefully, returning any wrigglers to the bin as though you are seeing friends safely home. Place a handful of castings in every planting hole for tomatoes and courgettes, or use them as a top dressing along rows of rocket and beetroot. Blend 10–20% into seed compost for seedlings that do not sulk. You can make a quick aerated extract to water in new plants, or simply tuck a narrow ring of castings around herbs that need a drink. We have all experienced a garden that seems indifferent to our efforts. Vermicompost gently shifts the odds through kindness you cannot see, only smell and taste. Your potager beds acquire a subtle glow of health, and you breathe a little more easily.
| Key point | Detail | Benefit for the reader |
|---|---|---|
| Start small, stay consistent | 30–60 L bin, ventilated lid, damp bedding, 250–500 g worms | An uncomplicated setup for a flat or shed, with no faff |
| Feed wisely | Chopped vegetables, buried beneath bedding; use citrus and oils sparingly | Minimal odour and flies, with quicker, cleaner decomposition |
| Make good use of the “black gold” | Top-dress, blend 10–20% into seed compost, or make a watering-in extract | Noticeably stronger plants and more flavoursome crops |
FAQ
- Which worms do I need? Choose composting worms, chiefly red wigglers (Eisenia fetida) or red tigers (Eisenia andrei). Garden worms favour soil, so they will not flourish in a bin.
- Will it smell? A healthy bin has an earthy aroma. Unpleasant smells indicate too much wet food or too little dry bedding. Add shredded cardboard, fluff the material gently and pause feeding for a week.
- How long until I get usable castings? Your first harvest should be ready in around 8–12 weeks, followed by regular batches every few weeks if you maintain the routine. Warmer rooms speed things up.
- Can I keep a worm bin in winter? Yes, provided it remains above 10°C. Indoors, a utility room or cupboard is suitable. Outside, insulate the bin and keep it dry and sheltered.
- How do I use castings on my potager beds? Scatter a thin layer around plants, add a handful to each planting hole, or incorporate 10–20% into seed compost. To water plants in, stir a cupful into a bucket of water, strain it and use it that day.






Comments
No comments yet. Be the first to comment!
Leave a Comment