
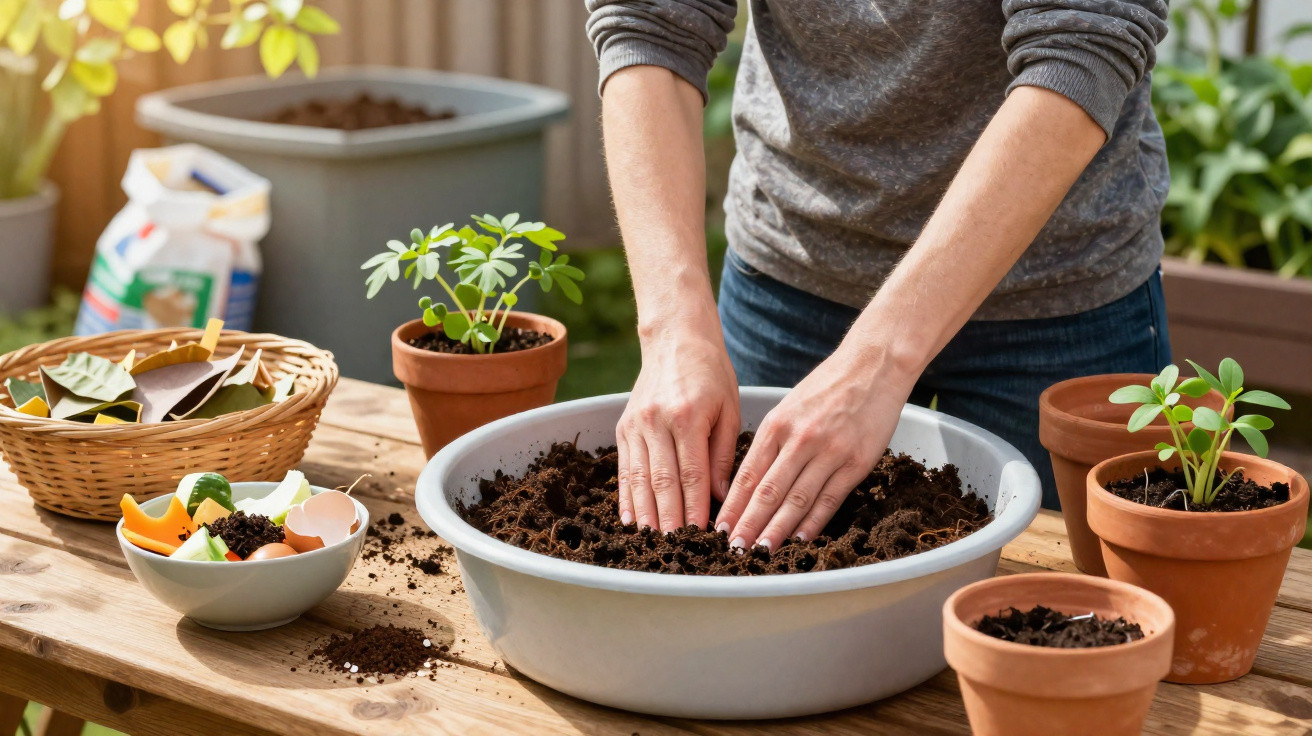
For many people, getting the garden ready in spring automatically means heading for the shelf of pre-packed compost. A few bags go into the boot and the job is done. Yet that familiar routine is now being questioned. More and more gardening experts are demonstrating that, with patience and a clear approach, it is possible to make a high-quality soil improver at home – environmentally friendly, inexpensive and often even better than commercially produced products.
Why bought potting compost is a hidden environmental problem
Ready-mixed compost may appear harmless at first glance. However, many bags contain a raw material that has drawn worldwide criticism: peat. Peat comes from bogs, which have stored vast quantities of carbon over thousands of years. When these areas are extracted, some of that carbon escapes into the atmosphere as CO₂.
Every site used for peat extraction therefore contributes directly to climate heating. At the same time, bog landscapes lose their role as habitats for specialised plants, insects and birds. What seems like an ordinary purchase at the garden centre consequently has a considerable ecological downside.
Choosing not to use conventional potting compost protects bogs, saves CO₂ and supports biodiversity – with very little effort.
There are also lorry journeys over long distances and huge quantities of plastic packaging to consider. Large 40- to 70-litre bags in particular are thrown away after a single use. Anyone who keeps buying them is unintentionally adding a regular item to their personal CO₂ account.
Mixing your own compost: easier than many people think
The alternative is closer than many realise: in your own home and garden. A well-planned combination of compost and structural material can create a soil improver that provides plants with reliable nourishment.
The foundation: kitchen waste as a nutrient powerhouse
Traditional compost forms the basis. Suitable materials include:
- vegetable and fruit scraps, peelings and cores
- coffee grounds with filters, and teabags without staples
- crushed eggshells
- faded flowers and soft plant matter
Above all, these ingredients add nitrogen and numerous trace elements. They provide exactly what vegetable plants, perennials and balcony flowers need during their growing period.
Creating structure with dry material
Relying solely on kitchen waste will quickly result in a soggy, unpleasant-smelling heap. The key is to combine it with dry, fibrous ingredients such as:
- fallen leaves from trees, excluding large quantities of walnut or oak leaves
- finely shredded twigs and prunings
- unprinted brown cardboard or egg boxes
- straw and dried grass clippings in thin layers
These materials supply plenty of carbon and keep the mixture airy. Roots can spread more easily later on, water drains more effectively and waterlogging is less likely to develop.
The ideal mix: how to make a genuinely good soil improver
For raw compost to become a usable growing medium, a simple rule of thumb is helpful: use around two parts dry, woody or paper-based material for every one part moist kitchen waste.
A balanced blend of “green” and “brown” ingredients speeds up decomposition, prevents bad smells and eventually produces loose, crumbly material.
Loosen and aerate regularly
A compost heap or bin only works dependably when air can reach the microorganisms. Turning it roughly every two weeks with a garden fork or compost aerator supplies bacteria and fungi with oxygen. The heap settles slightly, warms up and the decomposition process speeds up considerably.
If compost remains unopened and compacted for months, the process can easily turn putrid. This produces unpleasant odours and lower-quality decomposed material.
Keep an eye on moisture levels
A tried-and-tested check is to take some material from the heap and squeeze it in your hand: it should feel like a well-wrung sponge. If it is completely dusty and dry, biological decomposition stops. If water drips out, it is too wet.
During dry summers, light watering with a watering can can help. In prolonged rain, a tarpaulin or lid protects the heap from excessive moisture. This keeps conditions ideal for microorganisms.
From compost to growing medium: mixes for different purposes
After several months to just over a year, the original materials become a dark, pleasant-smelling substrate. Coarse pieces can be sieved out and returned to the top of the heap. The fine material can then serve as the base for a range of mixes.
| Use | Recommended mix |
|---|---|
| Seeds and young plants | 1 part sieved compost, 2–3 parts sandy garden soil, a little sand |
| Vegetables in beds | 1 part compost, 1 part garden soil, plus some sand or leaf mould depending on soil structure |
| Pot and container plants | 1 part compost, 1 part garden soil, 1 part structural material (e.g. wood fibre, bark humus) |
Anyone gardening on very heavy clay soils should also mix washed, coarse sand into the compost. This opens up the structure, allows water to drain more readily and helps roots breathe.
Save instead of carrying: financial and practical benefits
A typical garden can easily require ten, twenty or more bags of compost each year, especially where raised beds or plenty of containers are involved. At six to twelve euros per bag, the total can quickly reach three figures. A carefully managed compost system reduces this expense considerably. After one or two years, many households can manage almost entirely without buying more.
Waste becomes a valuable resource: what once went into the food-waste bin turns into a lasting supply for the garden and balcony.
There is a convenience benefit too: rather than carrying bags every spring, your own supply is available right outside the door. Those who plan ahead can set up two compost areas – one that is currently maturing and another that is being filled continuously. This means usable material is usually on hand.
Why home-mixed compost often suits plants better
Commercial products rely on standard formulas that cover many situations reasonably well. Conditions in individual gardens, however, are highly specific. One person may have sandy soil, another heavy clay, while a fourth-floor balcony can dry out within hours. Home-made mixes can be tailored far more precisely.
Gardeners can, for example:
- make a particularly humus-rich substrate for thirsty tomatoes
- incorporate more sand and stones for Mediterranean herbs such as rosemary or thyme
- use peat-free, loose mixes containing conifer litter and leaf mould for bog-garden plants
Plants reward these adjustments with steady growth, fewer diseases and often better yields. Once you have seen how vigorously vegetables grow in soil nourished at home, it becomes difficult to return to the standard product in a bag.
What terms such as “compost”, “humus” and “substrate” mean
Similar terms frequently come up in conversations between amateur gardeners, and they are easy to confuse. This brief overview provides clarity:
- Compost: decomposed organic material from the kitchen and garden that remains visibly crumbly, with small pieces still present.
- Humus: the largely stable, finely decomposed component of soil that stores nutrients over the long term and buffers water.
- Substrate: any deliberately mixed growing medium, whether made from compost, bark humus, sand or other components.
Using home-made compost gradually builds up the humus content of the soil. This makes beds more resilient to heavy rain, dry spells and fluctuations in nutrient availability.
Risks and limitations: when home-mixed material is not enough
Despite all its advantages, there are situations in which bought products remain useful. Highly sensitive houseplants or specialist crops, such as orchids and cacti, benefit from special mixes with precisely defined ingredients. In these cases, commercial producers use additives that are rarely available in an ordinary garden.
Likewise, anyone dealing with plants affected by fungal diseases or root problems should not place fresh, partly decomposed material directly around the roots. Only well-matured, pleasant-smelling compost is suitable for pots and balcony growing. Unsure? Leave it for another year before using it.
Over time, you will develop a sense of what your own garden truly needs. Many people begin cautiously by combining bought compost with their own soil improver, then gradually increase the proportion from the compost heap. This offers a living example of how well plants cope with the new approach – and how quickly giving up ready-filled bags pays for itself.





Comments
No comments yet. Be the first to comment!
Leave a Comment