
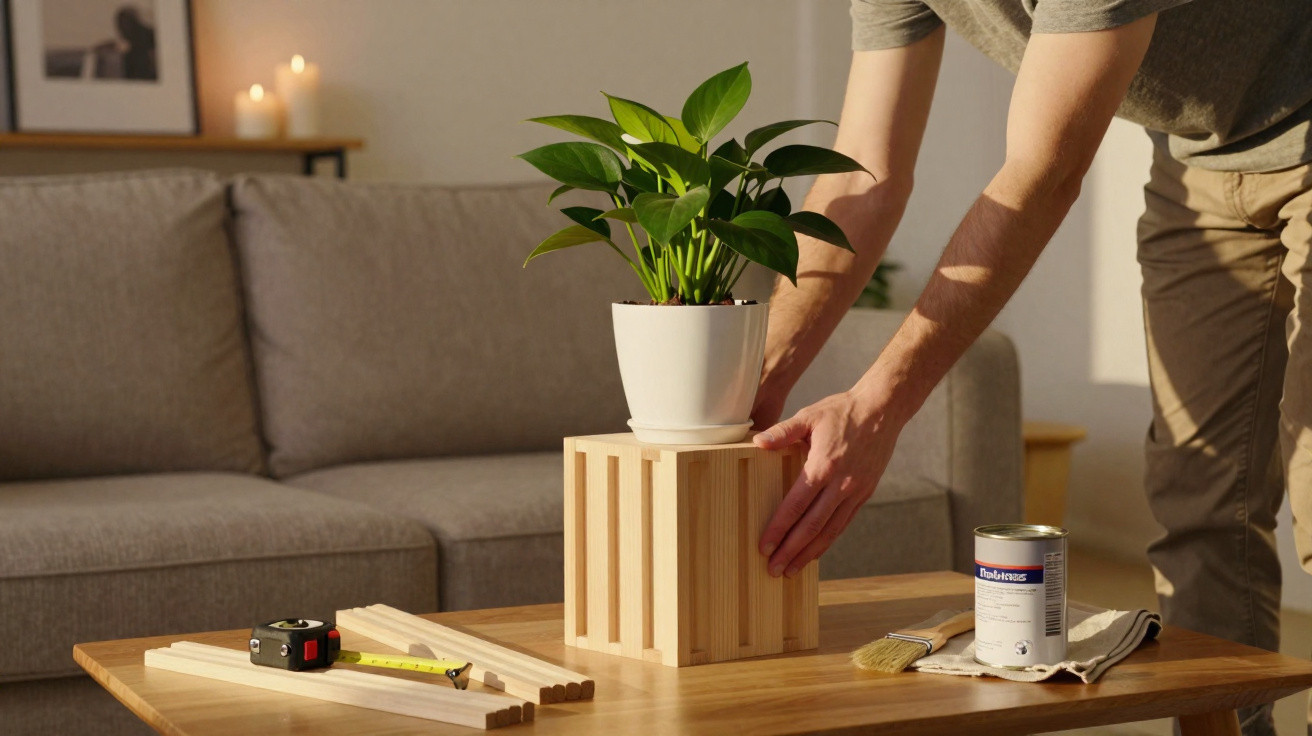
Plenty of houseplants end up sitting on the floor, tucked into a corner, or packed tightly along the windowsill. The room can feel a bit flat - somehow unfinished. A simple plant pedestal made from wood offcuts can change that in about half an hour, without an expensive designer table and without a professional workshop.
Why a small plant pedestal can transform the whole room
Instead of having pots dotted around in separate places, a pedestal groups several plants into a small “stage”. Your eye is naturally drawn to it, and the space immediately feels more organised and intentionally styled.
"A raised wooden pedestal turns ordinary houseplants into a décor highlight - almost like a mini designer piece of furniture for next to nothing."
Often, that modest lift is all it takes to add depth to a room. You start using the visual space above the floor, and the plants gain a clear role in the layout. It looks a bit like a slim shelf or a very low side table that you simply place on top of another piece of furniture.
Four things matter most:
- Stability: The wooden board spreads the weight of the pots evenly.
- Steadiness: The “feet” - old cupboard or drawer knobs - create a secure raised base.
- Appearance: Reclaimed timber with dents, edges and knots adds character to the room.
- Practicality: The pedestal is easy to move, wipe down and restyle.
Timber with signs of wear works especially well with relaxed interiors that are meant to look lived-in rather than like a glossy catalogue. Small scratches and variations in colour add a sense of story and stop the styling from feeling stiff.
What you actually need for the plant pedestal
This project needs only a bare-minimum kit that many people already have at home. The concept is simple: a horizontal wooden board as the platform, with knobs or handles underneath as legs.
Materials list at a glance
- a sufficiently thick piece of leftover wood (a board or strip)
- 4 to 6 sturdy drawer knobs or furniture handles for the feet
- sandpaper, medium and fine grit
- wood glue (or another suitable adhesive for timber)
- paint or wood stain (optional)
- a water-repellent clear protective varnish for the surface
How big you make the pedestal depends on how you plan to use it. A square board is enough for one plant and a candle. A longer board reads more like a narrow shelf and can hold three or four smaller pots.
Step by step: a plant pedestal from wood offcuts
Cut and prep the wood
If you don’t already have a suitable offcut, cut a piece to size. Then comes the most important part: sanding. Start with a coarser grit until all splinters are gone, then move to a finer grit until the surface feels comfortably smooth.
It also helps to soften the edges slightly so the pedestal looks gentler and nothing sharp sticks out. It feels better in the hand and looks more polished, too.
Fit the feet - knobs become the design feature
Turn the board upside down. Mark positions near the four corners, a few centimetres in from the edge - that’s where the knobs will go. With longer boards, it’s worth adding an extra foot in the centre, sometimes even two, to stop any sagging.
Fix the knobs using wood glue. The wider the knob, the more stable the pedestal will feel. If you want maximum security, drill small pilot holes and screw the knobs on as well. Once everything has dried, do a first stability check - no plants yet, just press down gently to test.
Finish the surface and protect it from water
When the glue is fully set, you can focus on the look. Three common options work particularly well:
- Natural wood: Just clear varnish or a matte protective coat - ideal for a warm, calm finish.
- Contrast design: Paint the top board, keep the feet in a natural wood tone - it can look like a simple board with jewellery-like details.
- Dark elegance: Black or deep brown paint makes green leaves and pale pots stand out strongly.
To finish, apply a water-repellent clear coat over the entire surface. That way, watering spills, damp pots or condensation won’t immediately leave marks. It’s especially useful for kitchen herbs or plants kept in the bathroom.
How to style your new plant pedestal
Living room: a stage for greenery and candles
Place a small pedestal on a side table, add a plant with striking leaves and a simple candle beside it - that’s often all you need for a corner that suddenly feels complete. A longer board on a sideboard can hold several small pots, perhaps with a small framed photo tucked in between.
If you like switching things up with the seasons, the pedestal is easy to adapt: in spring, a potted tulip and light-coloured candles; in autumn, dried grasses and warmer earthy tones.
Hallway, kitchen, bathroom: small surfaces, big impact
In the entrance hall, the pedestal can lift a trailing plant, with a small dish for keys next to it. Right by the door, it creates a tidy, welcoming first impression.
In the kitchen, three herb pots can sit neatly side by side and stay within easy reach while you cook. The pedestal also helps protect the worktop from water and soil.
In the bathroom, a humidity-loving plant sits slightly raised, alongside a few attractive bottles or soaps. Even a narrow basin edge can look thoughtfully arranged.
| Room | Styling idea | Benefit |
|---|---|---|
| Living room | Several small pots and candles on a sideboard | A calm focal point instead of décor clutter |
| Hallway | One plant plus a spot for keys | A tidy first impression |
| Kitchen | Herbs lined up on the worktop | Everything to hand, surface protected |
| Bathroom | Plant plus toiletries | Less moisture directly on the furniture |
Why using wood offcuts is genuinely worth it
Old timber doesn’t need to sit forgotten in a cellar or end up in the bin. Simple boards from old shelves, pallets or furniture can become useful décor with just a few quick steps. If you like rearranging often, you’ll appreciate a light, portable piece you can carry from room to room.
It’s also about mindset: a homemade pedestal shows you’re choosing to make space for your plants and your interior, rather than automatically buying something new. Every scratch and scuff doesn’t just hint at the wood’s previous life - it becomes part of your own home’s story.
If you enjoy making one, you’ll rarely stop at a single piece. For large pots, you can build wider versions with taller feet; for narrow gaps, flatter models work better. You can even create multi-level designs, where a second board sits offset above the first on small wooden blocks - a kind of mini plant staircase.
Before you start, it helps to think briefly about how heavy your plants are and where the pedestal will go. Terracotta and ceramic pots can be surprisingly weighty, so the board shouldn’t be too thin and the feet should have a broad base. Plastic pots are lighter, so a slimmer board is often enough.
The final effect can be unexpectedly big: one small piece of furniture made from reclaimed wood doesn’t just change where the plants sit - it changes how the entire room feels, with minimal effort, minimal spend, and noticeably more personality.


Comments
No comments yet. Be the first to comment!
Leave a Comment