
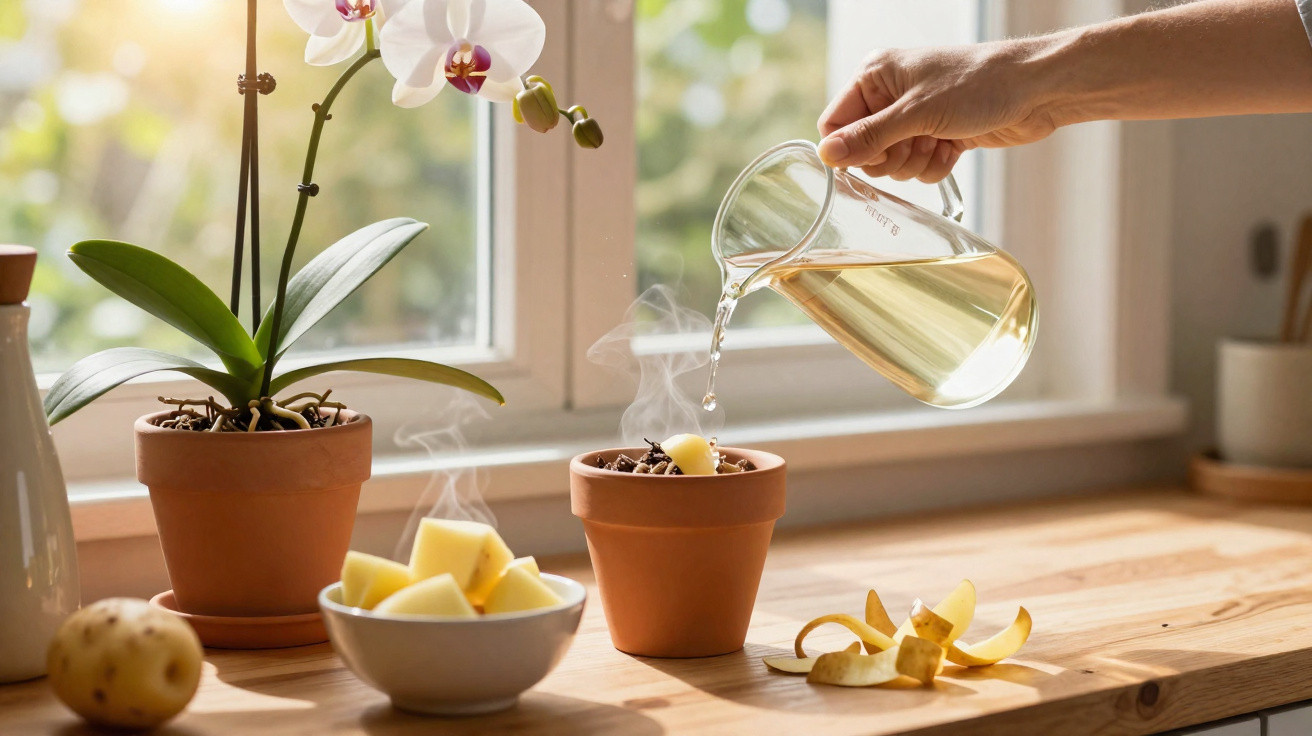
Your orchid is drooping in its pot, the flowers have gone – yet a simple kitchen trick can often help bring it back to life.
Many amateur gardeners lose heart once the final bloom drops. However, the plant usually still has a surprising amount of strength left. An everyday kitchen ingredient can help activate those reserves: the potato. Although it may sound like an internet myth, it can be used sensibly if you follow a few clear rules.
Why a potato can help a weakened orchid
A potato is more than a filling side dish. It contains minerals and carbohydrates that may provide plants with short-term support during a stressful period. For weakened orchids – especially the commonly sold Phalaenopsis varieties – it can provide a small yet noticeable boost.
Potatoes supply potassium, phosphorus, starch and a little sugar – a gentle nutrient package that can stimulate the roots without being as harsh as some liquid fertilisers.
Potassium helps reinforce plant tissue, including leaves and roots. Phosphorus is involved in energy processes and flower production. Starch acts as a small reserve that the plant can draw upon while it is weak.
As the roots become more active again, the leaves tend to follow: they become firmer, lose their limp appearance and regain a rich green colour. Within a few weeks, new root tips may emerge, followed later by a fresh flower spike.
Important precautions before your first attempt
The potato trick works most reliably with Phalaenopsis orchids, the familiar “moth orchids” sold in supermarkets and garden centres. These varieties are generally more forgiving of experimentation than sensitive species such as Vanda or Dendrobium.
- Treat only healthy or mildly weakened plants.
- Do not leave rotten, black or foul-smelling roots in the pot.
- Never leave large pieces of potato in damp growing medium.
- Do not use strong fertiliser and potato water at the same time.
Rotting potato remains can attract fungus gnats and encourage fungal growth. Always use it sparingly: potato is a support measure, not a miracle cure.
Method 1: Root soak in potato cooking water
This approach is suitable for severely weakened orchids and is best combined with repotting.
What you need
- 2 medium potatoes (around 300–400 grams)
- 1 litre of water
- a saucepan
- a bowl or container for the root soak
Preparing the water
- Place the unpeeled potatoes in 1 litre of cold water.
- Bring the water to the boil, then cook for 15–20 minutes.
- Remove the pan from the heat and allow the water to cool completely.
- Take out the potatoes and discard them or use them in the kitchen.
This leaves you with a mild, lightly nutrient-containing liquid that can be used as a root treatment.
Applying it to the root ball
- Carefully remove the orchid from its pot.
- Gently clear the old growing medium, including bark and moss remnants, from the roots.
- Using clean, sharp tools, cut away any black, mushy or hollow roots.
- Place only healthy, firm green or silvery roots into the cooled potato water.
- Leave them to soak for 20 minutes.
- Then allow the roots to air-dry for 10–15 minutes.
- Repot the plant in fresh, airy orchid growing medium.
Treat this soak as a course of care. Using it roughly every four to six weeks is sufficient – more frequent treatment is more likely to cause harm.
Method 2: Gentle watering water made from potato peelings
If you do not want to take your orchid out of its pot, choose a mild watering solution instead. This uses only the peelings, not the whole potato.
You will need
- peelings from 2 medium potatoes
- 1 litre of water
- a sieve or filter
Making the watering solution
- Wash the peelings thoroughly so that no soil or chemical residues remain.
- Put them in a saucepan with 1 litre of water.
- Boil for about 10 minutes.
- Leave the liquid to cool completely.
- Filter it carefully through a sieve or cloth.
How to water correctly
- Mix 250 millilitres of the potato-peeling liquid with 250 millilitres of clean water.
- Water as usual with this mixture, without flooding the pot.
- Wait until all excess water has drained from the bottom of the pot.
- Empty the saucer or decorative outer pot completely after a few minutes.
The same rule applies here: use it no more than once every four to six weeks. Between treatments, water normally with tap water according to how dry the growing medium is.
Two further uses – only for very careful gardeners
If you have leftovers after cooking, they can be used in limited ways. The principle is simple: use as little as possible, and only as rarely as necessary.
A small piece of cooked potato on the growing medium
Boil an unsalted potato in its skin and allow it to cool fully before cutting off a tiny piece. Place this piece loosely on the surface of the orchid growing medium.
Keep a close eye on the plant afterwards: remove the piece as soon as slime, an odour or mould appears. Anyone likely to forget what is sitting in the pot is better off avoiding this method.
Dried peelings as a fine powder
Clean potato peelings can be dried in an oven at around 60°C until they snap crisply. They can then be ground into powder using a pestle and mortar or a blender.
Use no more than one teaspoon of this powder per orchid pot, and only once per season. Leave any remaining material on the surface so that damp pockets do not form deep within the growing medium, where microorganisms could multiply excessively.
Creating the right conditions for fresh orchid blooms
No potato trick can replace basic care. To encourage an orchid to flower again, getting the position and watering routine right is most important.
| Factor | What the orchid needs |
|---|---|
| Light | A bright position without direct midday sun; an east- or west-facing window with a curtain is ideal. |
| Temperature | Around 18 to 24°C, with no cold draughts from windows or doors. |
| Watering | Water only when the growing medium is almost dry; infrequent thorough watering is better than constant small amounts. |
| Air | Moderate humidity; roots need air within the pot, so choose an airy growing medium. |
| Fertiliser | Orchid-specific fertiliser, used at a very low dose, and not immediately after a potato treatment soak. |
If you use potato water or peelings, wait at least three to four weeks before applying liquid fertiliser again. Too many nutrients in a short period can overwhelm the plant, as orchid roots are sensitive.
How to tell whether the treatment is working
The earliest signs of recovery usually appear in the leaves: their wrinkles ease, they stand more upright and feel plumper to the touch. Aerial roots can also show progress, as new light-green tips indicate active growth.
Months may pass between the final flower and a new flower stem. Those who are patient are often rewarded with a surprisingly vigorous flush of blooms.
Later, the plant may produce a new stem at its base or from the side of an older shoot. Once it reaches several centimetres in length, it is worth supporting the orchid lightly and continuing to provide bright but not hot light.
How useful are household remedies for houseplants?
Potato water, coffee grounds and banana peelings: the internet is full of such suggestions. Many contain an element of truth because they provide nutrients. In potted plants, however, organic material can quickly become problematic, as it breaks down poorly in the confined space and disrupts the balance in the growing medium.
For that reason, these methods work best when they are applied sparingly and with a clear purpose. Potato water for orchids is one such example: an occasional treatment as part of sound basic care involving light, air and careful watering.
Those who check root health regularly, use good orchid growing medium and avoid trying a new remedy for every minor problem have the best chance of keeping plants alive for a long time. The potato then becomes simply a small extra boost that can help a tired orchid return to flowering condition.

Comments
No comments yet. Be the first to comment!
Leave a Comment