
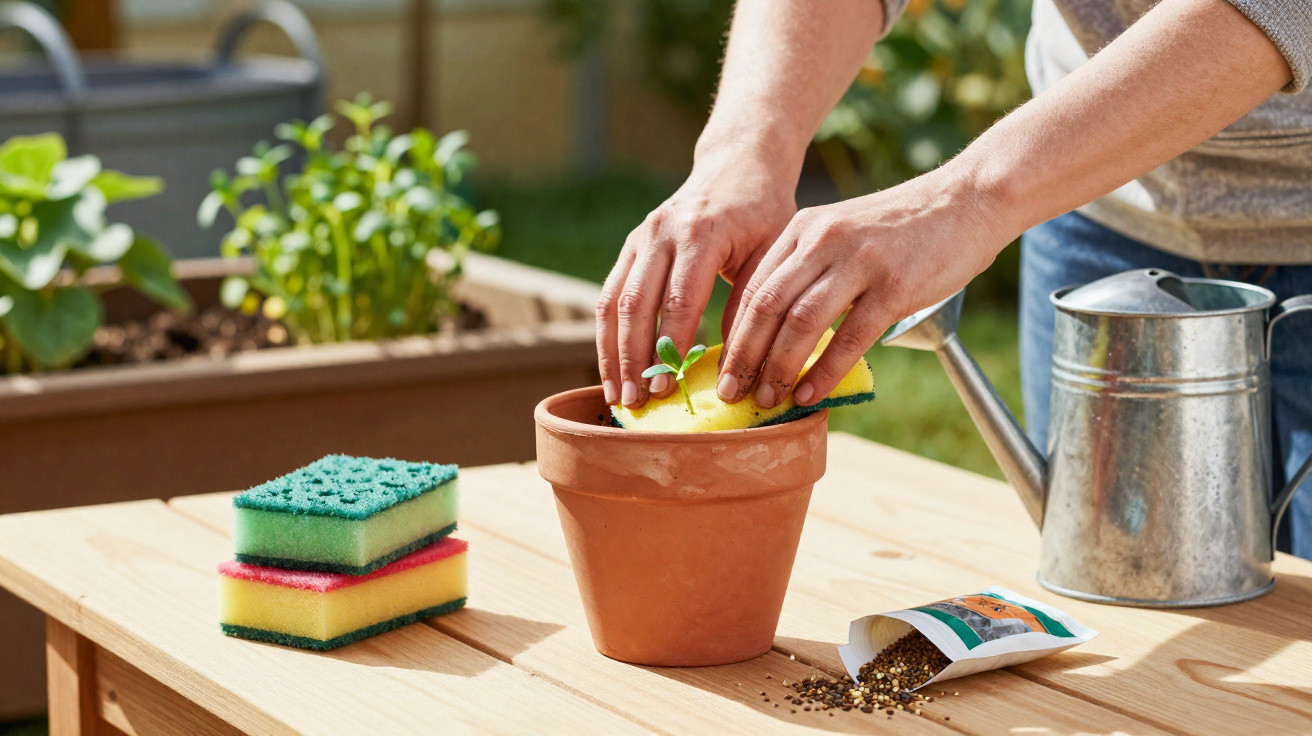
While gardeners are still dealing with changeable weather and irregular watering, an everyday item is usually thrown away without a second thought: the old washing-up sponge. Gardening professionals now recommend reusing it in beds, pots and compost – as a small water store and a way to reduce waste.
Why a washing-up sponge helps thirsty plants
In spring, many plants begin putting on new growth, their roots are still delicate, and soil dries rapidly in the wind and during the first sunny spells. At the same time, watering regularly is not always possible, particularly with window boxes or potted plants.
This is where a discarded washing-up sponge can help. Its porous texture acts as a miniature water reservoir:
“Placed in a pot, the sponge holds surplus watering water and gradually releases it back into the soil – ideal for sudden dry spells.”
When a sponge is laid at the base of a pot, immediately above the drainage holes, and then covered with compost, it can:
- absorb excess water rather than letting it drain away immediately
- keep the compost moist for longer without leaving it permanently wet
- reduce the likelihood of roots being stressed by sudden “thirst shocks”
- help window boxes cope better with wind and the first spells of heat
For anyone unable to water every day or who travels frequently, this water buffer can make a real difference. It will not replace watering for weeks at a time, but it can give plants valuable extra hours before they need watering again.
Compost booster: using a sponge to retain moisture in the heap
Potted plants are not the only ones to benefit. Compost should be neither bone-dry nor soaking wet. Microorganisms work most effectively when the heap remains slightly damp – much like a wrung-out sponge.
A sponge can serve precisely this purpose in compost, provided it is made from a suitable material.
“Natural sponges stabilise moisture levels in compost while also improving aeration – a benefit for earthworms and microorganisms.”
If a natural sponge is cut into coarse pieces and mixed with kitchen scraps, grass clippings or leaves, it has several effects:
- it absorbs surplus liquid from wet kitchen waste
- it slowly releases moisture during dry conditions
- it creates small air channels within the heap
- it helps improve the balance between moist, nitrogen-rich ingredients and dry structural material
As a result, the compost warms more evenly, decomposes more effectively and is less likely to smell rotten. Over time, a sponge made from natural materials will itself break down into humus.
Which washing-up sponges can go in the garden – and which cannot
The material is crucial. Not every washing-up sponge is suitable for soil or compost.
| Type of sponge | Use in soil | Suitable for compost |
|---|---|---|
| Natural fibre (cellulose, loofah) | suitable | suitable |
| Conventional yellow plastic sponge | limited use only; do not bury in an edible garden | not suitable |
| Sponge with a scourer side (green/blue) | only as a short-term water buffer; do not bury in beds | not suitable |
Natural sponges made from cellulose or the loofah gourd decompose over time and are well suited to garden and compost projects. Conventional synthetic sponges, by contrast, contain plastics and often additives that have no place in the soil.
If using these synthetic versions, they should only be used in a pot as a temporary water reserve and removed later. They do not belong in beds, raised beds or compost intended for vegetables.
Preparing a kitchen sponge for garden use
A used washing-up sponge needs thorough cleaning before it is used in the garden. In the kitchen, it accumulates grease, washing-up liquid residues and, above all, bacteria.
“A damp sponge can quickly become an ideal breeding ground for germs – it is better off outdoors than beside the sink.”
To ensure it does not harm the environment, it should first be taken out of kitchen use:
- Rinse the sponge thoroughly under hot water until no foam remains.
- Boil it in a pan of water for several minutes, or pour boiling water over it.
- Optionally, soak it with a little household vinegar to reduce residues.
- Allow it to dry thoroughly, then clearly label it “garden use only” or store it separately.
Afterwards, the sponge should never return to the kitchen. It has, in effect, changed its role – moving from the sink to the flower bed.
Four clever ways to use a sponge in spring
1. A water reservoir at the bottom of a pot
Place one or more sponges at the very bottom of the pot, directly above a drainage layer of gravel or expanded clay. They cover the drainage holes, are covered with compost and work quite literally like a sponge in a flowerpot.
This is especially useful for:
- window boxes in full sun
- hanging pots that dry out quickly
- herbs and summer flowers with high water requirements
2. Support for even germination
Small pieces can be used for raising seedlings. Cut cubes from a natural-fibre sponge and press one seed into each cube. Put the pieces in a tray, moisten them and top up the moisture regularly.
Once the young plant has reached a height of a few centimetres, transfer the whole cube, including the seedling, into a pot or bed. Initially, the cube remains in the soil, keeping the compost around the small root ball moist before slowly decomposing if it is made from natural material.
3. Moisture protection and light insulation
A sponge laid flat on the soil around a sensitive plant can act like a small protective shield. Held in place with a stone or wooden stake, the upper layer slightly protects the soil from evaporation and softens the effects of very light late frosts.
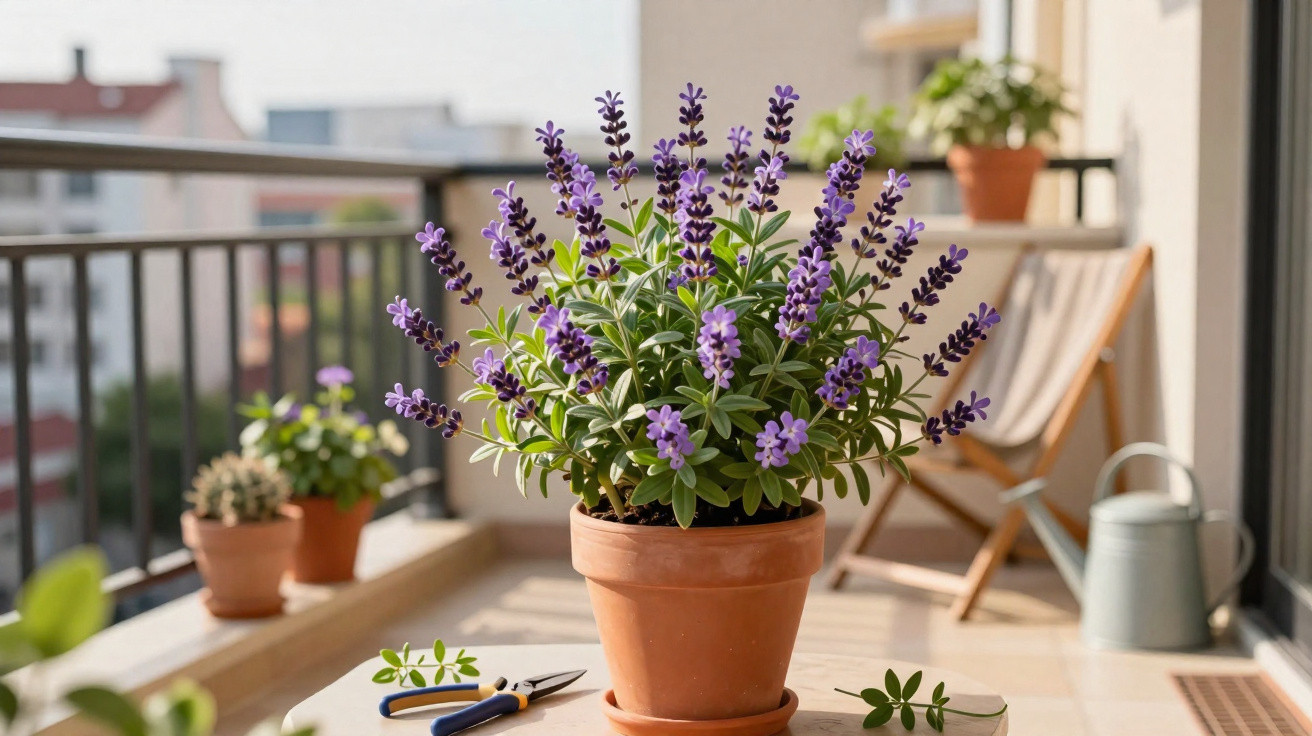
If preferred, the sponge can be treated with a few drops of essential oils that pests avoid, such as clove or lavender. It is not a replacement for professional pest control, but it can form one part of a gentle plant-protection approach.
4. A moisture anchor in compost
Only pieces of natural sponge should be added to a compost heap or compost bin. Mix them in to provide a lasting anchor for moisture. If the top of the heap dries out, the inner areas remain active for longer because of the sponges.
How to tell when the sponge has reached the end of its life
An old washing-up sponge will not last indefinitely, even in the garden. Anyone using one should check its condition from time to time. Warning signs include:
- a strong, unpleasant smell
- visible mould growth
- material breaking down into crumbly flakes
With natural sponges free from washing-up liquid residues, these remains can go into the compost if they are no longer wanted in an edible bed. Plastic sponges should go into general waste as soon as they become brittle. Otherwise, they will break down into ever smaller particles.
Combining the washing-up sponge trick with other water-saving ideas
The sponge trick works particularly well when it forms part of a broader watering plan. Useful additions include:
- mulching with bark pieces, grass clippings or straw so the surface dries out more slowly
- watering early in the morning or late in the evening
- collecting rainwater in butts or cisterns
- choosing suitable plants and varieties that tolerate dry spells better
Combining these strategies not only saves tap water, but also ensures that plants experience less stress from constant shifts between wet and dry conditions.
For many amateur gardeners, the thought of burying a washing-up sponge may initially seem rather absurd. Yet after the first hot days of the year, it often quickly becomes clear that pots with extra water storage cope far more steadily through critical periods. At the same time, part of the kitchen waste gains a useful second life – exactly where every bit of moisture matters.


Comments
No comments yet. Be the first to comment!
Leave a Comment