
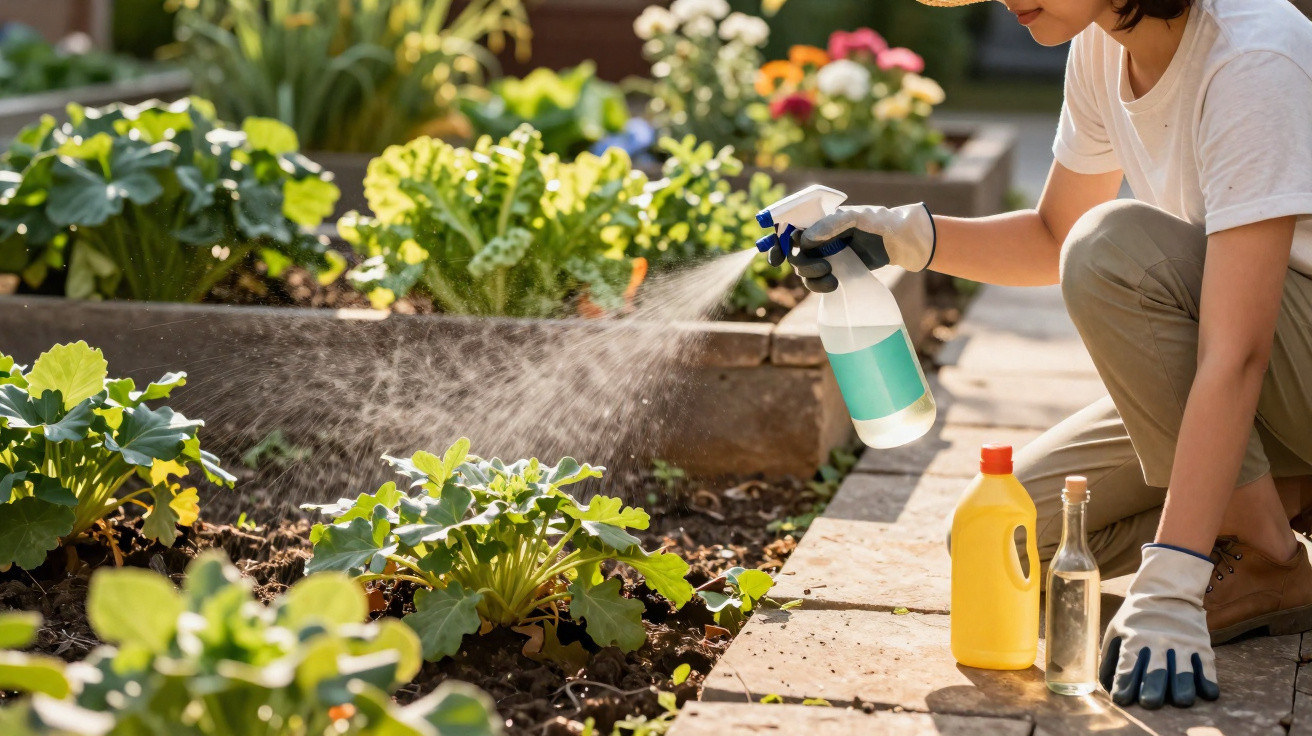
Anyone with a courtyard, a patio or gravel paths knows the routine: as soon as temperatures rise, weeds push into every crack and joint. Many people instinctively reach for vinegar or chemical weedkillers. Yet there’s a everyday product found in almost every home that can make those options work noticeably better - helping unwanted plants die back faster.
Why washing-up liquid suddenly matters in the garden
How surfactants break through a plant’s protective layer
Washing-up liquid is best known as a grease-buster for plates and pans. Outdoors, it plays a different part: the surfactants it contains can disrupt the natural waxy coating on the leaves of many plants. This thin, wax-like film usually repels water.
That’s exactly what makes the method work. When you add washing-up liquid to a weed-killing mix, the solution clings far more effectively to leaf surfaces. Instead of beading up and running off, it spreads across the plant. As a result, vinegar or other active ingredients can penetrate further into the plant tissue.
"Washing-up liquid acts like a door-opener in the garden: it breaks through the leaves’ natural protective layer and makes weed mixes far more effective."
What happens next is straightforward: the plant loses moisture more quickly, dries out and can no longer maintain its own protective function properly. Weeds rooted in patio joints or wedged between gravel stones can be weakened much more efficiently this way.
The simple base mix: turning a kitchen staple into a garden helper
The basic recipe takes seconds and needs no special know-how. For a gentle but clearly effective mixture, you’ll usually only need:
- 1 litre of water (ideally lukewarm)
- 1 tablespoon of washing-up liquid, preferably fragrance-free and without additives such as bleach
- Optional: about 250 ml of household vinegar, to increase the acidic effect
Stir everything thoroughly, then pour it into a clean spray bottle or pump sprayer. Timing matters: dry, sunny days are best, with no rain expected for a few hours.
Spray the solution directly onto the leaves of the unwanted plants until they are clearly coated. You’ll often notice the first changes after only a few hours: leaves lose their firmness, become soft, discolour and start to wilt.
Risks and limits of this home remedy
Why plain vinegar often disappoints
Many amateur gardeners have relied on plain household vinegar for years. It does attack the above-ground parts of plants, especially the leaves. The acid effectively “burns” the surface cell structures. The real issue is below: the roots are often left largely untouched.
That’s why a plant may look dead at first, only to sprout again from the ground a few days later. With stubborn species that have strong root systems, it can feel like a short-lived fix. Without an added booster, frustration builds - because you end up having to treat the same spots again and again.
Adding washing-up liquid improves how well the vinegar sticks to the plant. The solution stays on the leaves for longer and can work into tiny crevices more effectively. This means the plant as a whole is more likely to be harmed, including the parts below ground.
Where it makes sense to use it - and where it doesn’t
As handy as the approach is, it isn’t suitable everywhere. It works best on areas where you don’t want anything valuable to grow, such as:
- joints between patio slabs
- gravel and chippings paths
- driveways and garage approaches
- step edges, wall bases and kerbstones
On the other hand, avoid using it in borders, on lawns and near edible plants. If you spray too generously, you risk damaging perennials, vegetables or young shrubs. On grass, it can quickly leave unattractive brown patches.
"This mixture belongs primarily on mineral surfaces - not in vegetable beds or densely planted areas."
How much is too much? Be cautious with soil and salt
Washing-up liquid contains surfactants and other additives. In small quantities, healthy garden soil can usually cope without trouble. However, if you repeatedly treat large areas, you may affect soil structure over time. The ground can become less able to absorb water, and rain is more likely to sit on the surface.
You’ll also find popular recipes that add table salt. At first glance, the effect seems dramatic: where enough salt gets into the soil, little will grow for a long time. That can sound tempting on paths, but it comes with clear risks:
- Salt accumulates in the soil and is only washed out very slowly.
- Rain can carry it into neighbouring beds.
- Earthworms and other soil organisms are sensitive to it.
If you do use salt, apply it extremely sparingly and only where you genuinely want no plants in the long term. For most private gardens, a blend of water, vinegar and washing-up liquid is entirely sufficient.
Turning weed control into a routine rather than a chore
The right timing makes the difference
Weeds are far easier to tackle early on. Instead of doing a big “clear-out” only a few times a year, it pays to do a brief check at regular intervals. Small plants with soft, young leaves react much more strongly to the mixture than older, woody growth.
A practical approach in several steps looks like this:
- Early in the year, spot the first green tips in paving or gravel.
- Spray precisely - don’t flood the whole area.
- For thicker clumps, loosen or tear them slightly by hand first.
- After a few days, check whether a second pass is needed.
Stick with this routine and you prevent large carpets of weeds from forming. You also use less product overall, and the work is spread more comfortably across the season.
Combining it with classic methods
Reaching for a spray bottle doesn’t replace everything else. In fact, pairing home mixes with hands-on work is often the most efficient option. Shallow-rooted weeds, in particular, are usually much easier to pull out after treatment.
Useful add-ons include:
- a joint scraper for tight gaps between paving stones
- a hand hoe or paving/joint brush for wider cracks
- hot water on very small, clearly defined areas
If you refill the joints with sand or a specialist jointing material after pulling weeds out, you make it harder for new seeds to settle. Over the long term, that can reduce the workload significantly.
What the terms really mean - and where the limits are
What surfactants and microfauna have to do with your garden
Surfactants in washing-up liquid reduce the surface tension of water. That helps liquids spread more easily and seep into the finest gaps. In wastewater, surfactants are usually broken down largely by bacteria. In garden soil, the speed of breakdown can vary depending on the product and the amount used.
So-called microfauna - tiny organisms such as mites, springtails or nematodes - work alongside bacteria and fungi to break down organic matter and convert it into nutrients. If you repeatedly apply strong mixtures across large areas, you can disrupt this balance. That’s why targeted, spot treatment is preferable to blanket spraying.
Practical examples for different garden situations
On a block-paved driveway, one or two treatments per season are often enough, combined with the occasional sweep. On a shaded patio with lots of joints, it may make sense to do a quick touch-up every two to three weeks - but at a very low dose.
On areas covered with chippings, it’s best to remove leaves and other organic debris before spraying. If old leaves remain, they act as a protective layer and a seedbed for fresh growth. Clean, open gravel surfaces respond far more reliably to the mixture of water, vinegar and washing-up liquid.
Keep these points in mind and a simple kitchen product becomes a precise ally against persistent greenery - without turning your garden into a chemical zone.

Comments
No comments yet. Be the first to comment!
Leave a Comment