
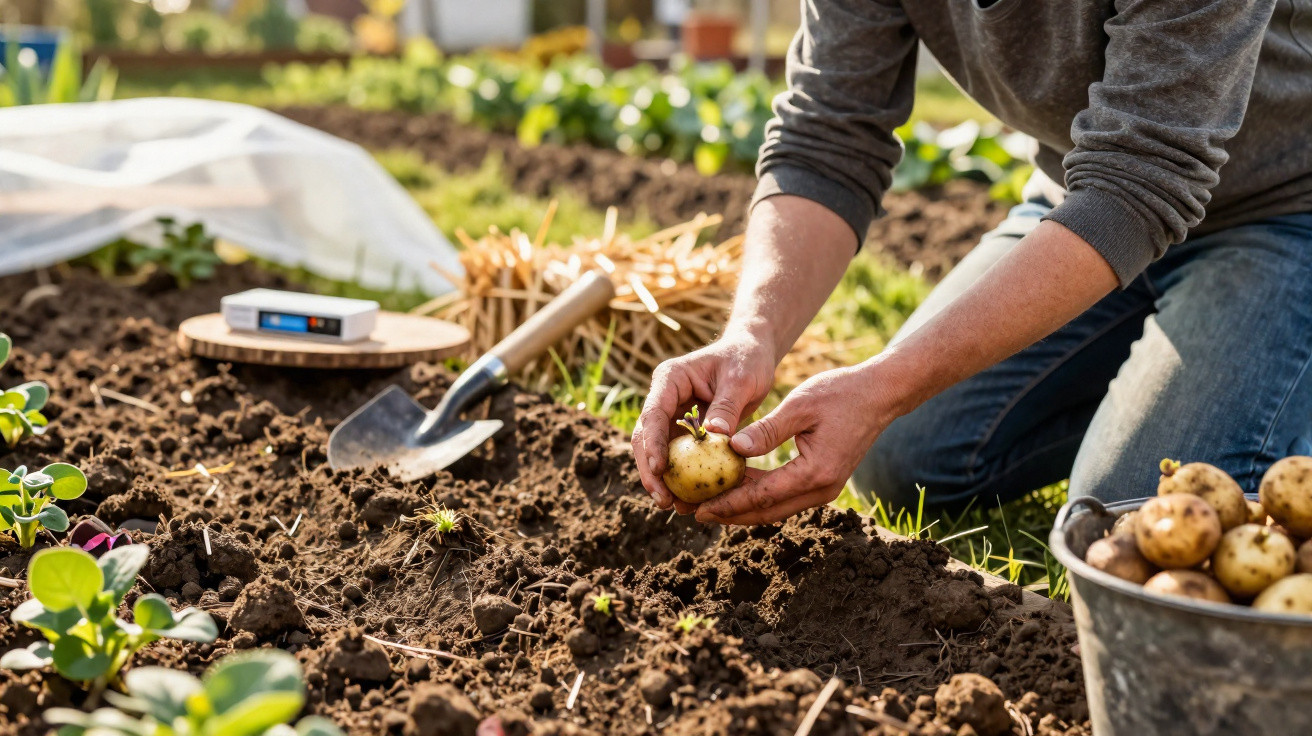
In April, the vegetable garden really gets going: the seed potatoes are ready, and the same questions come up every year. Is it already time to plant, should you wait, how deep do they go, and how often should you water? If you take a half-hearted approach now, you can easily throw away two weeks of harvest time and end up with disappointing, undersized tubers. A few deliberate steps are enough to prevent that.
Why April decides your potato harvest
April is notoriously changeable: a brief spell of warmth can be followed by ground frost, and rainfall can swing from none at all to sudden downpours. At exactly this point in the season, potatoes set themselves up for root growth, strong shoots and, later on, reliable tuber formation. Work methodically now and you can use less water, reduce cold damage, and bring harvest time forward by up to two weeks.
"Five simple measures, carried out consistently, turn average potatoes into robust plants with steady yields."
The basic principle is straightforward: start with well-prepared tubers, match them to loose, suitable soil, plant at the right moment, give one thorough watering, then cover the bed with a thick layer of mulch. It may not sound dramatic, but in the plot it acts like a turbo boost.
Step 1: Pre-sprout seed potatoes properly
It pays to check your seed potatoes closely at the start of the month. The best pre-sprouted tubers have short, sturdy shoots, often dark green through to violet. If the shoots are long, thin and pale, it usually means the tubers were kept too warm or in conditions that were too dark.
A few practical pointers:
- Lay the tubers in a single layer in shallow trays, somewhere bright but frost-free.
- Aim for around 10 to 15 °C, and avoid direct sunlight.
- If a tuber has too many shoots, reduce them to two or three - you’ll get fewer potatoes, but they’ll be larger.
You can still plant without pre-sprouting, but expect the harvest to be delayed by around 10 to 14 days. If you’re planning early potatoes for the kitchen, that lost time is noticeable.
Step 2: Prepare the soil thoroughly
Before you plant, treat the patch with the same care you would give a flower bed. Doing it properly now prevents headaches later, such as misshapen tubers and weak, unhealthy growth.
Weeds, stones and soil structure
First, clear out anything that will get in the way: persistent perennial weeds, thick root fragments and larger stones. Then loosen the soil deeply and break up any big lumps. Potatoes perform best in soil that is loose, deep and rich in humus, so their roots can move through it easily.
Adjust pH and nutrients
Potatoes are at their happiest in slightly acidic conditions. A pH value between 5.5 and 6.5 is widely considered ideal. In soils with a lot of lime, scab is more common - those rough patches that show up on the skin.
With a simple home soil test kit, you can quickly see where your garden sits. If the soil tests too alkaline, options include:
- well-rotted leaf mould as a soil improver
- modest applications of elemental sulphur (slow acting, use sparingly)
For a starter feed, a thin layer of mature compost on the surface is usually enough, paired with an organic fertiliser that’s low in nitrogen. Too much nitrogen produces lush foliage but smaller tubers.
Step 3: Choose the right moment in April
The week number on the calendar matters less than the soil temperature. A reliable rule of thumb is that, at 10 cm depth, you should measure at least 8 to 10 °C, and the soil should not feel wet and icy.
In milder areas, planting often starts in early April. In cooler regions, the best window is more commonly mid to late April, once hard frosts are less likely. A basic soil thermometer pushed into the ground is enough to remove the guesswork.
"If you put potatoes into freezing, waterlogged soil, you risk rot and a sluggish start - and the plants can take a long time to catch up."
Step 4: Depth, spacing and planting technique
Once the timing is right, the planting itself comes next. This is where you decide whether plants will later compete with each other or have the space they need to build good tubers.
In the ground
- Row spacing: 60 to 70 cm
- Spacing within the row: 30 to 40 cm, depending on the variety
- Planting depth: 10 to 15 cm
In practice, make shallow trenches, place the tubers in with the shoots facing upwards, and cover them loosely with soil. Press the soil down gently so the tubers make good contact, without compacting the bed.
In a pot or grow bag
If you only have a balcony or patio, potatoes still do surprisingly well in containers. What matters most:
| Container size | Number of tubers | Substrate depth |
|---|---|---|
| approx. 40 litres | 3–4 tubers | at least 30–40 cm |
| approx. 20 litres | 2 tubers | approx. 30 cm |
Use a compost mix that stays open and stable in structure, and make sure it drains well. In containers especially, waterlogging can quickly lead to rot.
Protection from late frosts
If your weather app warns of overnight frost, drape horticultural fleece over the rows. It keeps the young foliage a few degrees warmer and helps prevent the shoots turning black.
Step 5: Water deeply once, then mulch
Right after planting comes the most important single action of the season: one proper, penetrating watering. About 10 litres of water per square metre is enough to soak the root zone deeply.
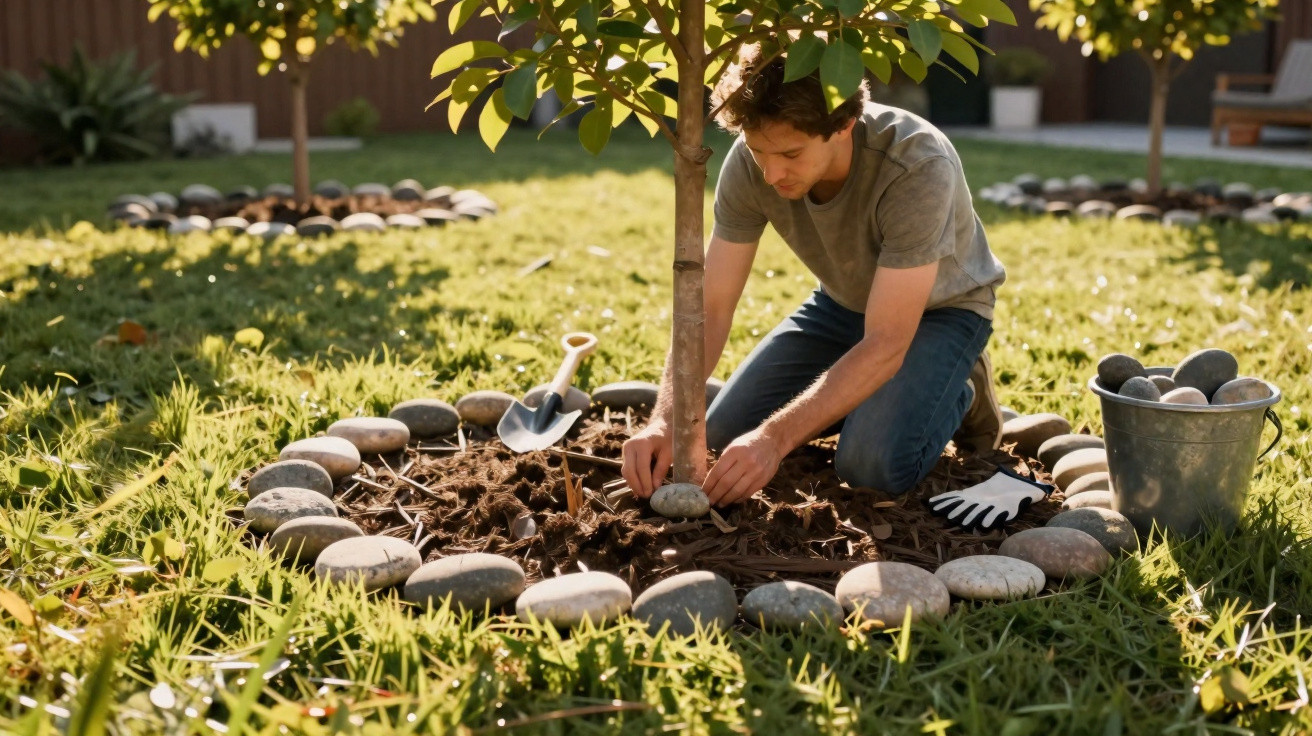
Immediately afterwards, apply a thick layer of mulch, around 15 cm deep. Good materials include:
- clean straw
- hay that’s free of problematic weeds
- dried, shredded plant material
Mulch slows evaporation, keeps moisture and temperature more even, and shields the soil from heavy rain. If you lift the mulch and still find fresh, lightly moist soil underneath, you can often go far longer without watering than many people expect.
Watch young shoots and top up the mulch
After a few weeks, the first green shoots will push through the mulch layer. At that stage, it’s worth adding another 5 cm of mulch around the stems. The plants reach for the light, while tuber formation begins below on the underground shoots.
This gentle “stretching” under the mulch acts like a mild stress signal. Combined with deep first watering and pre-sprouting, it often brings harvest time forward. Many gardeners report up to two weeks’ head start compared with traditionally grown crops that are watered regularly but only at the surface.
If another cold spell arrives, simply lay an extra sheet of fleece over the mulch. That way, the growth advantage you’ve built up over weeks is protected.
Mistakes in April that reduce yield
Several common pitfalls show up in gardens year after year:
- putting tubers into wet, cold soil
- spacing plants too closely, so they shade each other
- overdoing nitrogen, which drives leaf growth only
- watering little and often instead of watering deeply less frequently
- skipping mulch, which lets the soil dry out
Keep these points in mind and you’ll avoid a lot of frustration later - especially plants that dry out in early summer.
Helpful background for hobby gardeners
Many people wonder why pH matters so much. In slightly acidic soils, certain nutrients are more available, and some disease organisms are less comfortable. That helps reduce the risk of scab, for example. For a rough check, simple test strips from a garden centre are sufficient.
The “water deeply once” approach can also feel counterintuitive at first. The reasoning is simple: roots grow towards water. When moisture sits deeper in the soil, roots follow, and plants cope better with longer dry periods. If you only dampen the surface repeatedly, you effectively spoil the plants and make them dependent on the watering can.
If you plant several varieties, you can use the same five steps to compare how strongly each responds to pre-sprouting, mulching and soil temperature. Over the years, that makes it easier to identify the varieties that suit your garden and local climate best.
Comments
No comments yet. Be the first to comment!
Leave a Comment