
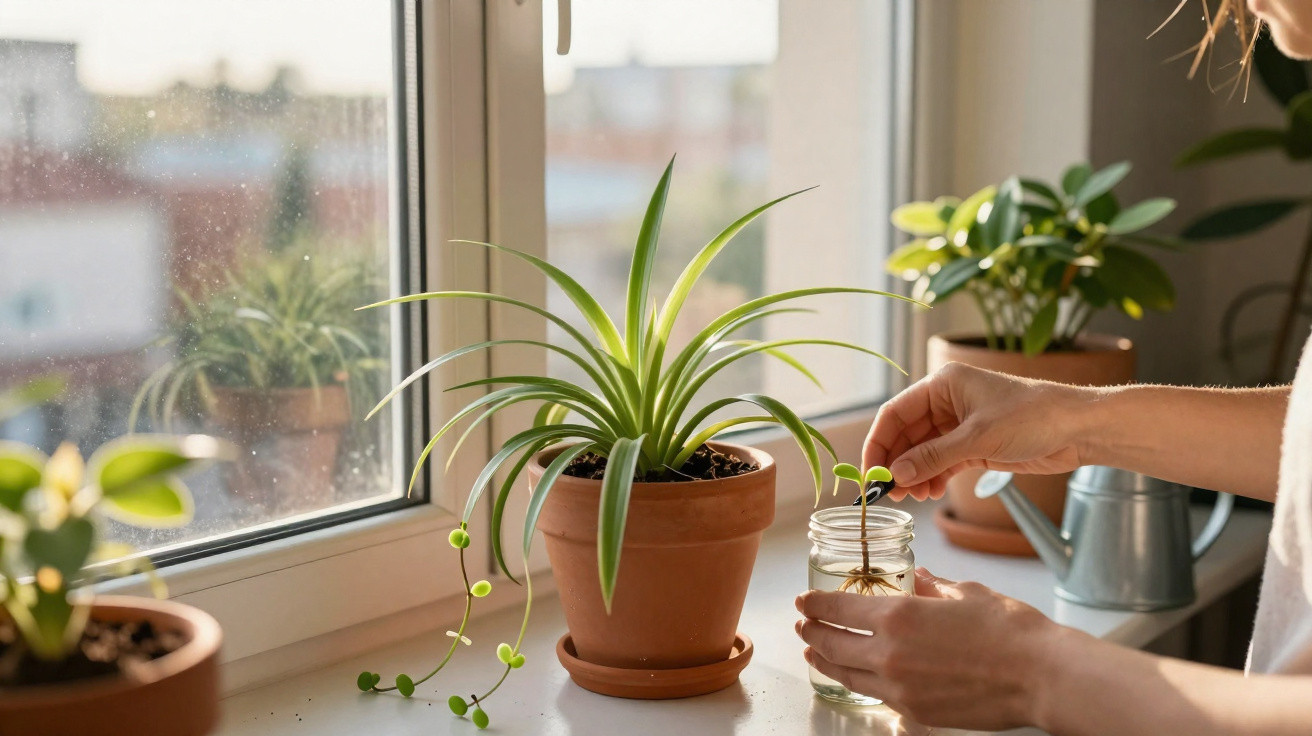
For months, your spider plant has been growing beautifully – yet the characteristic hanging plantlets are completely absent.
What is really causing this?
Many indoor gardeners know the problem: rich green foliage and a vigorous plant, but not one tiny “plantlet” at the end of its long shoots. This is especially frustrating with the spider plant, which is known for producing countless babies. The good news is that this is rarely down to a “black thumb”; instead, two subtle mistakes involving light and pot size are usually to blame, and both can be put right with just a few simple changes.
How a spider plant decides when to produce plantlets
The spider plant (Chlorophytum comosum) is among the easiest houseplants to grow. Even so, it follows a fairly clear strategy when reproducing. It only begins producing offspring once it is properly established.
A well-cared-for spider plant will generally start sending out long, arching shoots after around one to two years. Small rosettes of leaves, known as plantlets, form at their tips. Over time, these develop into independent plants.
Before it even considers putting energy into offspring, the mother plant first stores energy reserves in its fleshy roots.
The plant responds directly to its surroundings. Two factors in particular trigger reproduction:
- Light levels and day length
- The amount of room in the pot
When these two conditions are balanced favourably, the spider plant changes its priorities: less growth in the root zone and more energy directed towards flowers and, later, plantlets.
The number-one light mistake: days that are too long and the wrong position
The most common reason for a lack of plantlets is found right on the windowsill. Spider plants enjoy bright light, but they are sensitive to the length of time they are illuminated – including artificial light within the room.
A spot by an east- or west-facing window is ideal. There, the plant receives plenty of brightness without being scorched by intense midday sun. This precise combination encourages it into “reproductive mode”.
Less than 12 hours of light per day for several weeks noticeably encourages flowering and the later formation of plantlets.
Keeping a spider plant directly beside a powerful ceiling light, or in an office lit for long hours, deprives it of this natural “day-night structure”. As a result, the plant continues investing in leaves and roots rather than daughter plants.
How to adjust the light correctly
- Move the pot closer to a bright east- or west-facing window.
- Reduce artificial light in the evening, or move the plant to a darker area at night.
- Maintain day lengths of under 12 hours for at least three weeks.
- Avoid direct, scorching midday sun, which causes leaf damage and stress without encouraging offspring.
In these conditions, the spider plant will often flower first, although the flowers are inconspicuous. The small new plants then develop from the flower stems.
Pot mistake: too much space and too much care
The second obstacle to plantlets lies below the soil. Many plant owners tend to choose pots that are too large or repot too often. For a spider plant, this effectively prevents reproduction.
The plant is happiest when its roots fill the pot well. A “snug” pot tells it that the available space has been fully used – the perfect point at which to spread through plantlets.
A pot that is too large only encourages root mass – the plant puts its energy into its base rather than into plantlets.
What the right pot looks like for lots of plantlets
- Repot only every two years, once roots are clearly pushing out of the pot.
- When repotting, choose a pot only one size larger.
- Use a free-draining growing medium so excess water can drain away easily.
Nutrient supply matters at the same time. Too much fertiliser removes any reason for the spider plant to “reproduce”. With everything available in abundance, it can comfortably expand its own foliage and root system instead.
A mild, controlled “shortage”, on the other hand, acts like a wake-up call:
- Apply liquid fertiliser once a month in spring and summer, but no more often.
- Fertilise very sparingly, or not at all, in autumn and winter.
- Allow the top layer of compost to dry between waterings.
Water wisely: mild stress rather than constantly wet compost
Too much water can also be counterproductive. Permanently damp compost may produce lush foliage, but it is unlikely to encourage offspring. Spider plants are naturally robust and cope well with short dry spells.
Ideally, water when the top two to three centimetres of compost have dried out. During the darker part of the year, the interval between waterings can comfortably be longer.
A minimal amount of drought stress redirects energy away from pure growth and encourages the production of long shoots with plantlets.
Combined with a compact pot and shorter days, this creates the ideal set of signals for a real cascade of plantlets.
How to detach and root spider plant plantlets
Once the small plants at the ends of the shoots have formed their own fine roots, they are ready to begin life independently. Wait for a stable time of year; spring through to late summer is ideal.
Step-by-step guide to removing plantlets
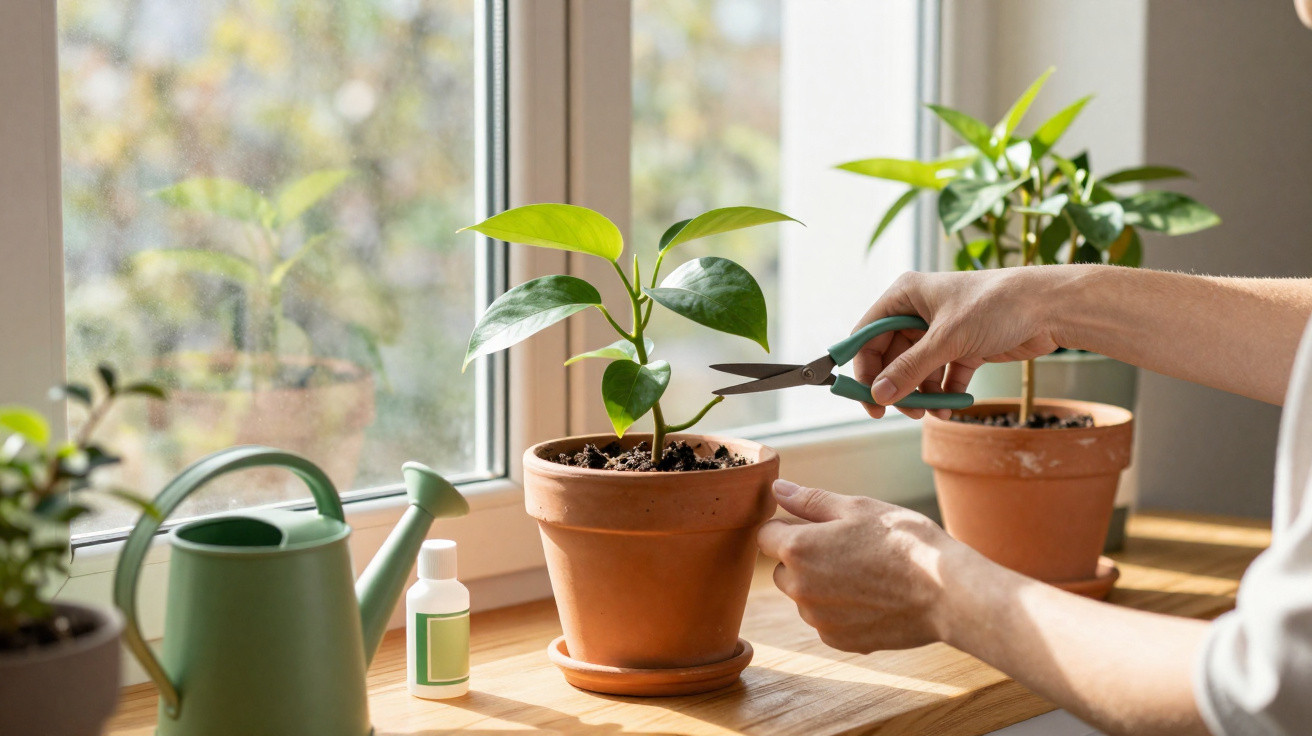
- Use clean, sharp scissors or a sharp knife.
- Cut the connection between the mother plant and the plantlet just below the leaf rosette, leaving around two centimetres of “stem”.
- Alternatively, place the plantlet in a small pot of compost while it is still attached to the mother plant, then separate it only after it has rooted.
There are two reliable methods for the actual rooting process.
| Method | Procedure | Time until strong roots form |
|---|---|---|
| In water | Suspend the base of the plantlet in a glass of water, keeping the leaves dry. Place it somewhere bright but out of direct sunshine, and change the water regularly. | Around 1–3 weeks, until roots are roughly 3 cm long |
| Directly in compost | Place the plantlet in loose, well-draining compost, keep it consistently lightly moist, and position the pot somewhere warm and bright. | Several weeks; the first new leaves show that it has established itself |
Young spider plants prefer temperatures of 18 to 22 degrees and a bright setting that is not overly harsh. Humidity can be slightly higher, for example by placing a bowl filled with water nearby. Do not fertilise until at least four to six weeks have passed, and then only at a weak concentration.
When the mother plant is ready – and when patience is needed
Even in perfect conditions, very young plants need time. A small, newly bought spider plant will usually focus on its own growth during the first year. Only once the root ball has properly developed will it produce the long shoots with flowers and plantlets.
So, if you have followed every rule on light and pot size but still cannot see any plantlets, consider the age of the plant. A strong spider plant that is one to two years old is the ideal starting point for a real “family” on the windowsill.
Practical extra tips for a spider plant colony
Once you have got the hang of it, you can turn your home into a small spider plant laboratory with surprisingly little effort. Here are a few practical ideas:
- Plant several plantlets together in a wide pot to quickly create a dense, cascading clump.
- Put spider plants in children’s bedrooms: they are considered good air purifiers and easily tolerate minor care mistakes.
- Use plantlets as small gifts: they are easy to transport and are popular “beginner plants”.
The terminology is worth noting too: the long shoots from which plantlets hang are called “runners”, or “stolons” in botanical language. These runners are the sign that the position, pot and care routine are all within the right range.
Anyone who understands that a spider plant reacts specifically to day length, available space and mild stress can almost control its growth. Rather than passively waiting for plantlets to appear by chance, small adjustments to lighting, pot choice, watering and fertiliser can trigger a genuine wave of new plants – without costly specialist tricks, simply through a better understanding of this hardy houseplant classic’s needs.


Comments
No comments yet. Be the first to comment!
Leave a Comment