
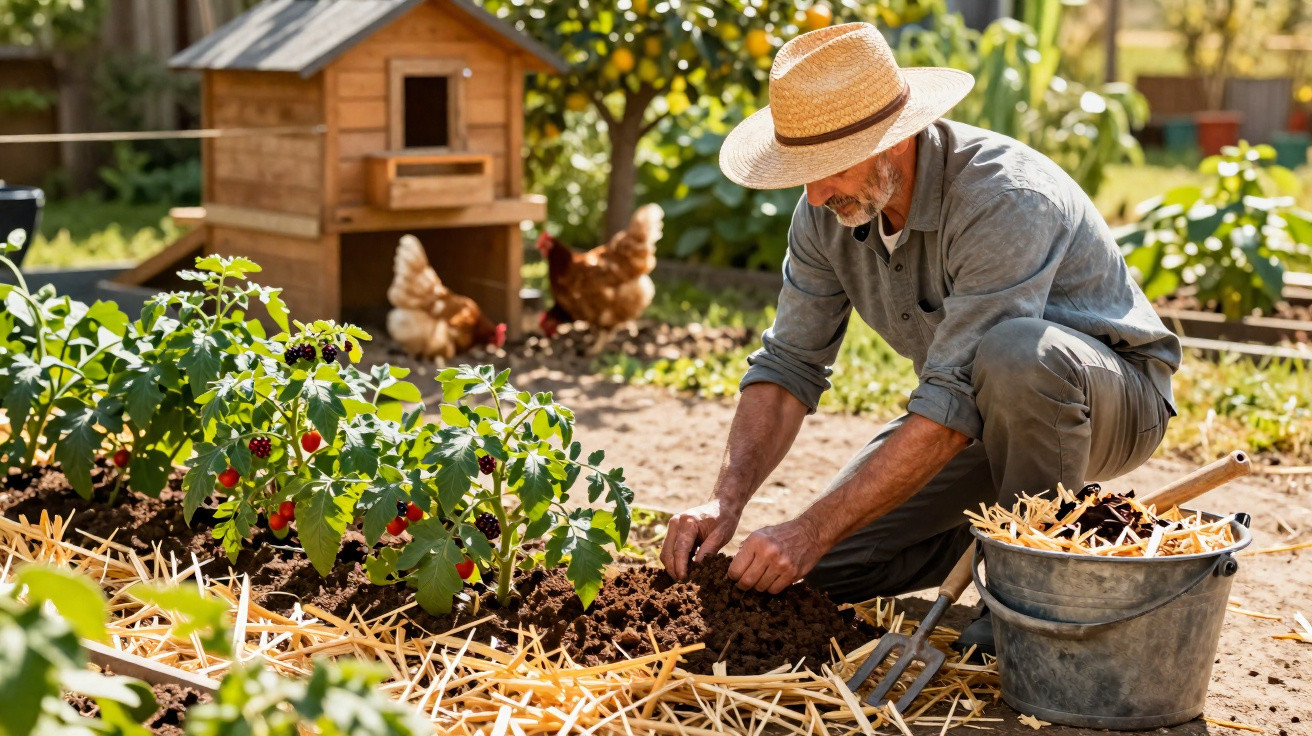
Anyone with a chicken coop in the garden is sitting on a genuine treasure-usually without realising it. Among the feathers, straw and leftover feed, a natural fertiliser builds up that can easily outperform traditional farmyard manure or shop-bought organic fertiliser. Used properly, it can turn vegetable beds and fruit trees into true heavy producers within a few months.
Chicken coop instead of the garden centre: why this fertiliser is so powerful
A nutrient cocktail plants thrive on
Chicken manure is one of the most potent natural fertilisers that most home gardeners can realistically access. It is particularly rich in:
- Nitrogen – drives leafy growth and strong new shoots
- Phosphorus – helps flowering and root development
- Potassium – supports cell strength, flavour and how well fruit stores
Together, these nutrients deliver a visible boost in the bed: sturdier foliage, faster growth, more generous flowering and, in many cases, larger fruit. Compared with classic cattle or horse manure, well-prepared chicken fertiliser is often more concentrated and faster-acting.
"Anyone who keeps chickens owns a free nutrient factory right behind the house-no synthetic fertiliser, no plastic packaging, no transport miles."
The secret ingredient: mixed bedding
The material becomes especially valuable when the droppings are blended with coop bedding. Typically, that includes:
- Straw or hay
- Wood shavings
- Leaf litter or torn pieces of cardboard
This mix of a “green” component (droppings, which are nitrogen-rich) and a “brown” component (straw/wood, which are carbon-rich) creates an almost ideal foundation for high-quality compost. DIY stores sell pricey bags of specialist compost and soil activator for this purpose-yet the chicken coop effectively produces a very similar material, just fresher and free.
Why patience is essential: fresh chicken manure can burn plants
Tip it straight onto the bed? A classic mistake
As tempting as it sounds, freshly mucked-out coop waste should never be put directly around young plants. The nutrient levels are so high that roots can effectively “cook”. Common results include:
- Leaves suddenly turning yellow or brown
- Plants wilting even though the soil is moist
- Roots dying back, with harvests failing
This mistake happens most often in spring, when you are keen to see growth. If you empty the coop and spread the material straight onto veg, you risk losing the crop entirely.
Wait six months: how the material matures into premium compost
The safe approach is to run a dedicated compost heap just for chicken bedding. A practical routine is:
- Remove all dirty bedding from the chicken coop.
- Create a heap or use a compost bin in a semi-shaded spot in the garden.
- Layer the material loosely-do not compact it.
- Keep it slightly damp: don’t let it dry out, but avoid waterlogging.
- Leave it to rest for at least six months.
During this time, microorganisms and soil life break down the harsh components. The sharp ammonia smell fades, the material darkens, and it becomes crumbly with an earthy texture. When it smells more like woodland soil than a coop, it is ready to use.
"Only after the curing phase does ‘too hot’ chicken manure become a gentle-yet extremely effective-soil improver."
Get the dose right: 2 to 3 centimetres is plenty
Less really is more here
After half a year, the heap will have shrunk dramatically. What remains is concentrated, which is why a relatively thin layer is enough on the bed. A rule of thumb that even beginners can follow:
- Spread 2 to 3 centimetres of composted chicken bedding
- Apply to bare soil or a lightly loosened surface
- Optionally work it in slightly if the soil is very loose
This feeds the topsoil steadily without damaging structure or stressing roots with excessive salt levels. Thicker layers add little benefit, and can even reduce oxygen around the root zone.
Where this fertiliser works particularly well
Chicken compost is best suited to hungry crops-plants with high nutrient demands. Excellent choices include:
- Tomatoes, peppers, chillies
- Pumpkin, courgettes, cucumbers
- Brassicas such as white cabbage, savoy cabbage, broccoli
- Heavy-cropping fruit trees, e.g. apple or pear
- Berry bushes, provided you keep a little distance from the main stem
A strong application of chicken compost is less suitable for very undemanding plants such as wild perennials, herbs, or species that prefer poor soil. Too many nutrients can even be counterproductive there, as the naturally compact, aromatic growth habit can be lost.
The key step: add a protective mulch layer on top
Hold moisture, energise soil life
After spreading, the compost performs far better if it is not left exposed on the surface. Covering it immediately with mulch solves several issues at once:
- The soil dries out more slowly.
- Nutrients are not washed out as quickly.
- Heavy rain is less likely to damage the fine soil structure.
- Weed seeds find it harder to germinate.
Suitable cover materials include partially dried grass clippings, shredded leaves, straw-like plant residues, or fine woodchip. The layer can comfortably be 5 to 8 centimetres thick, particularly in drier areas.
"The combination of mature chicken compost and mulch turns the top few centimetres of soil into a kind of ‘nutrient sponge’ that plants can draw on for weeks."
Slow release instead of a nutrient shock
Under mulch, the soil stays evenly moist and relatively cool. Earthworms and other soil organisms thrive and gradually pull organic matter downwards. This means nutrients are released steadily rather than all at once. The result is:
- Even growth instead of extreme spurts
- Tougher plants with stronger root systems
- Lower risk of nutrient leaching during heavy rain
From coop to super soil: all steps at a glance
| Step | What to do |
|---|---|
| 1 | Remove and collect dirty bedding from the chicken coop. |
| 2 | Build it into a loose heap in a semi-shaded place. |
| 3 | Let it mature for at least six months, keeping it slightly damp. |
| 4 | Apply the finished compost 2–3 cm thick to beds and beneath fruit trees. |
| 5 | Cover immediately with mulch, e.g. grass clippings or leaves. |
If you follow this routine once or twice a year, you steadily build healthier soil. Sandy or heavily used ground, in particular, improves noticeably-becoming darker, more crumbly, and better at holding water over time.
Practical tips, risks and sensible combinations
Keep hygiene and safety in mind
Despite all the benefits, chicken fertiliser comes with a few points worth taking seriously:
- Wear gloves when mucking out; ideally also a simple dust mask.
- Keep fresh droppings away from vegetables that will be eaten raw.
- Never site the compost near wells or open watercourses.
- If you suspect illness in the flock (e.g. parasites), do not use the manure on edible beds.
Sticking to the six-month curing period greatly reduces germs and parasites. For a home garden this is usually sufficient, provided the heap is not kept soaking wet or allowed to dry out completely.
Ideal add-ons in the vegetable garden
Chicken compost is powerful, but it does not replace every aspect of soil care. It fits best within a system that combines several elements:
- Green manure with clover, lupins or phacelia between crops
- Regular mulching with grass clippings and leaves
- Occasional applications of rock dust to top up minerals
This combination improves not only nutrient supply, but also soil structure. The ground becomes easier to work, retains more water, and supports far more living activity.
If you already keep chickens, these simple steps let you benefit twice over: fresh eggs from your own garden and a fertiliser that others pay good money for. With a little spring planning and a quietly maturing compost heap in the background, vegetable beds and fruit trees can almost seem to move towards record harvests on their own.





Comments
No comments yet. Be the first to comment!
Leave a Comment