
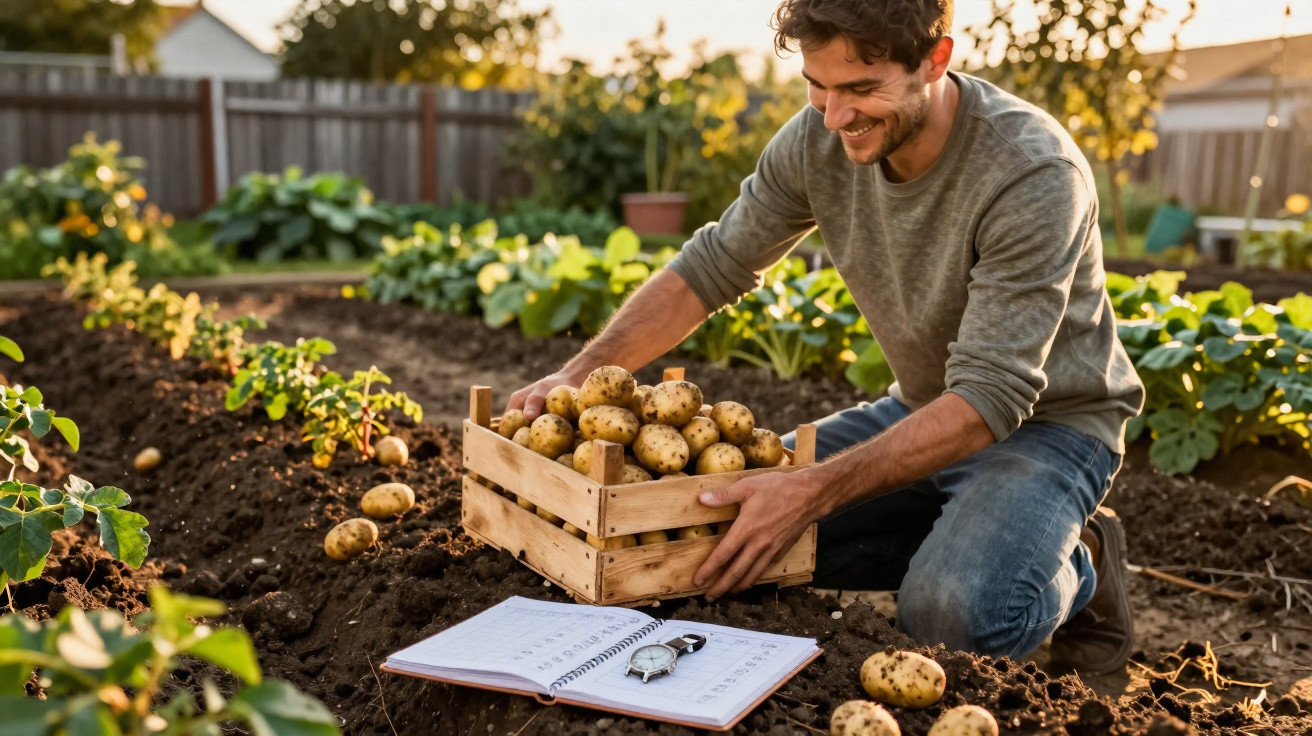
Anyone planning on growing potatoes quickly runs into mixed advice: dates printed on seed packets, your neighbour’s rules of thumb, even moon calendars. A professional explains what actually matters - not a fixed date, but a handful of clear signals from the soil and the weather. If you follow those, you’ll harvest noticeably more - and healthier - tubers.
The perfect time: the soil decides, not the calendar
In many gardeners’ minds there’s a rigid rule: “you plant potatoes at the end of March” or “at Easter”. In the plot, it’s more nuanced. Cold, wet ground slows the tubers down, encourages rotting and can make plants more prone to disease. But starting too late also costs the crop valuable growing weeks.
"The pros’ rule of thumb: plant when the soil is warm enough - not when the calendar shows a certain date."
Experienced growers look for signals you can measure or feel:
- Soil temperature: At least 7–10 °C is ideal - higher is better.
- Risk of frost: No severe late frosts on the horizon.
- Soil condition: Crumbly, and no longer waterlogged.
A simple soil thermometer (inexpensive from most garden centres) lets you check the temperature at 10 cm depth. If it’s consistently above 10 °C, you’re essentially good to go. Depending on location, many regions reach that point somewhere between late March and early June.
The “sit test”: how to judge readiness without a thermometer
If you don’t have a thermometer, you can use your body as a rough gauge. One seasoned professional recommends a straightforward sit test: sit on the bare soil for a few minutes. If you can tolerate it without feeling cold, the ground is often warm enough.
Typical windows by area:
- Coastal areas and mild western locations: usually from late March.
- Central regions and many lowland areas: often from mid-April.
- Cooler areas, higher ground, uplands: more like early to mid-May.
Planting a week later rarely causes problems; planting into icy soil can. If you wait, you often end up with sturdier plants and a more reliable crop.
Preparing the soil: tubers need air and a loose crumb
Potatoes don’t enjoy compacted, concrete-like ground. They do best in loose, deep soil that drains well, without holding water like a sponge. You can check quickly by hand: pick up a handful of soil and gently squeeze - if it falls back into separate clods, the structure is fine; if it stays as a sticky ball, there’s too much clay and moisture.
That’s why professionals suggest the following preparation - ideally in the previous autumn, but at the latest a few weeks before planting:
- Work in organic matter: Spread 3–4 cm of well-rotted compost over the bed and lightly hoe it in.
- Loosen heavy soils: Mix in some sand or fine grit to improve drainage.
- Keep rotation in the bed: Don’t grow potatoes in the same spot more often than once every four years.
This rotation reduces pressure from problems such as potato scab and nematodes. If you keep planting in the same bed, you risk tubers becoming smaller and more vulnerable with each season.
The black film trick: an earlier harvest without a greenhouse
A proven professional tactic is to lay a dark, ideally black, mulch film over the bed for a few weeks before planting. Sunlight warms the dark surface and that heat is transferred into the soil, raising temperatures in the root zone by around 2–3 °C.
The result: you can often start planting 1–2 weeks earlier without the tubers getting chilled. If you dislike plastic film, you can use dark mulch such as chipped bark instead - it acts a bit more slowly, but it also helps warm and protect the soil.
Good seed potatoes: where amateur and professional part ways
The second key to a generous crop is healthy planting material. Supermarket potatoes can look tempting, but they’re often treated to prevent sprouting - or they may carry diseases you don’t want in your garden.
"For dependable yields, professionals choose certified seed potatoes from specialist suppliers."
These tubers are inspected, free from certain diseases and bred for strong germination. In ideal conditions, about 1.5 kg of seed potatoes can produce 10 to 20 kg of eating potatoes - so the extra cost usually pays back.
Pre-sprouting (chitting) gives a turbo boost
If you want an earlier crop, pre-sprouting (chitting) is the go-to method. Place seed potatoes somewhere bright and fairly cool for four to six weeks before planting. A popular approach is using empty egg boxes: put one tuber per compartment, with the end that will sprout facing upwards.
On planting day, the sprouts should be roughly 1–2 cm long and sturdy - not thin or translucent. This gives the tubers a head start of around two weeks in the soil, which can make all the difference in shorter summers.
Planting day: how professionals put tubers in the ground
On the day you plant, three things matter most: light, drainage and correct depth. Potatoes need plenty of sun, and they cope better with wind than with sitting in wet soil. So choose a spot where rainwater can drain away quickly.
Typical steps in open ground:
- Draw planting trenches around 10–15 cm deep, with row spacing of about 60–70 cm.
- Place pre-sprouted tubers in with sprouts facing up, spacing them 30–35 cm apart.
- Cover with loose soil so the sprouts are only just covered.
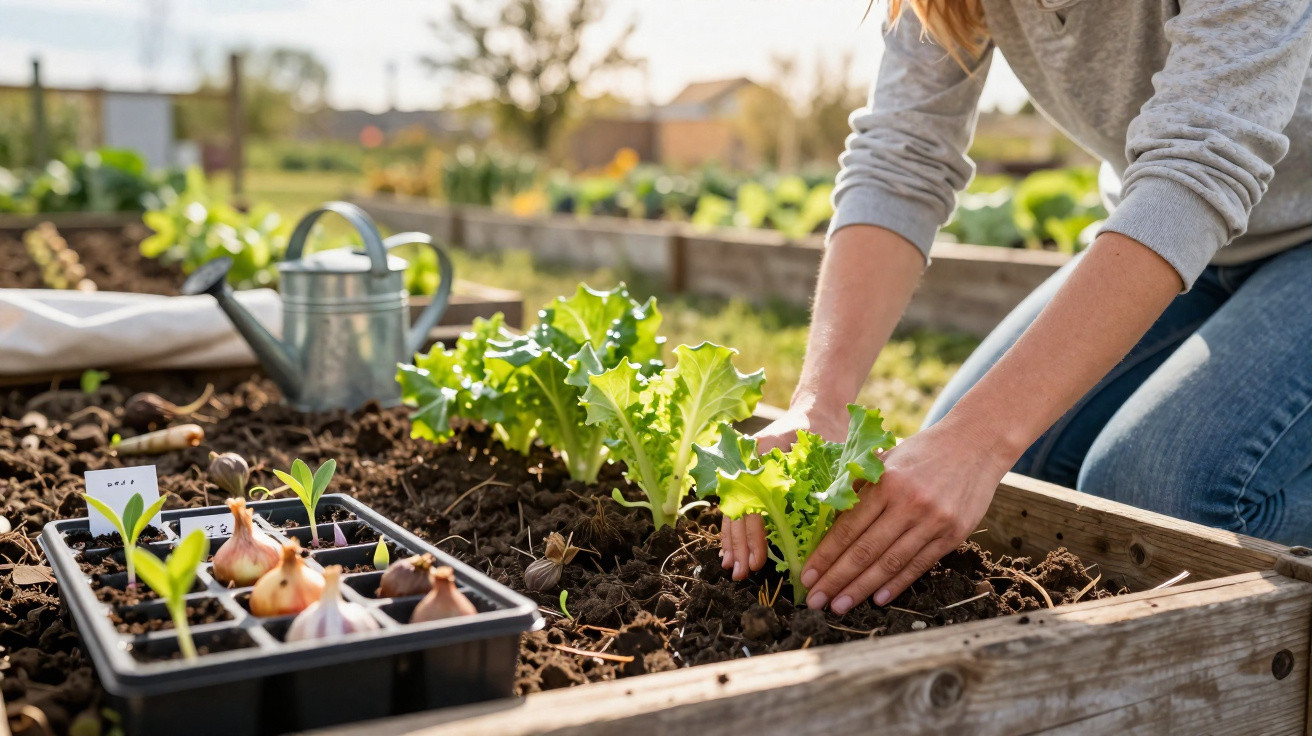
If you’re planting in a pot or raised bed, begin with a 15–20 cm layer of compost/soil, set the tubers on top and cover them. As in the ground, good drainage is essential so water doesn’t collect at the base.
Earthing up: unglamorous, but extremely effective
When the young plants reach about 20 cm tall, there’s a step some gardeners underestimate: earthing up. This means pulling loose soil from between rows (or from the sides) up around the stems to form a small ridge.
It delivers several benefits at once:
- Developing tubers stay dark and don’t turn green.
- More roots - and therefore more tubers - can form in the loose ridge.
- The soil stays moist for longer, and weeds get fewer opportunities.
Often, earthing up twice is enough: once when plants are 20 cm high, and again a few weeks later. In containers, you achieve the same effect by topping up with soil gradually until it nearly reaches the rim.
Extra tricks for higher yields and healthier plants
Beyond timing, soil and seed, a few other details can make a real difference - and they’re easy to overlook. In dry springs, it’s worth paying close attention to watering. Potatoes prefer evenly moist conditions, but not wet. If you water only occasionally but in large amounts, stress cycles can occur and may lead to cracks in the tubers.
A mulch of grass clippings or chopped plant material helps retain moisture and encourages soil life. Active soil full of earthworms and micro-organisms turns compost and organic residues into nutrients the potatoes can use directly.
Potatoes in balcony containers: small space, surprisingly big harvest
Even without a garden, you can still grow your own tubers. Large buckets, grow bags or sturdy sacks with drainage holes can work extremely well. Aim for at least 30 litres per container and use a high-quality, loose growing medium. The process mirrors a bed: soil at the bottom, tubers on top, cover, then top up in stages and water regularly.
Risks such as waterlogging or overheating can be reduced by using saucers with spacers (so the base isn’t sitting in water) and moving containers to a lightly shaded spot on very hot days. In sheltered courtyards, balcony potatoes often ripen a little earlier than those in fully exposed plots.
If you watch the soil and weather signals and choose your tubers carefully, you’ll get closer every year to what professionals mean by a “rich potato harvest” - without expensive specialist kit, just careful observation and a few well-judged steps.

Comments
No comments yet. Be the first to comment!
Leave a Comment