
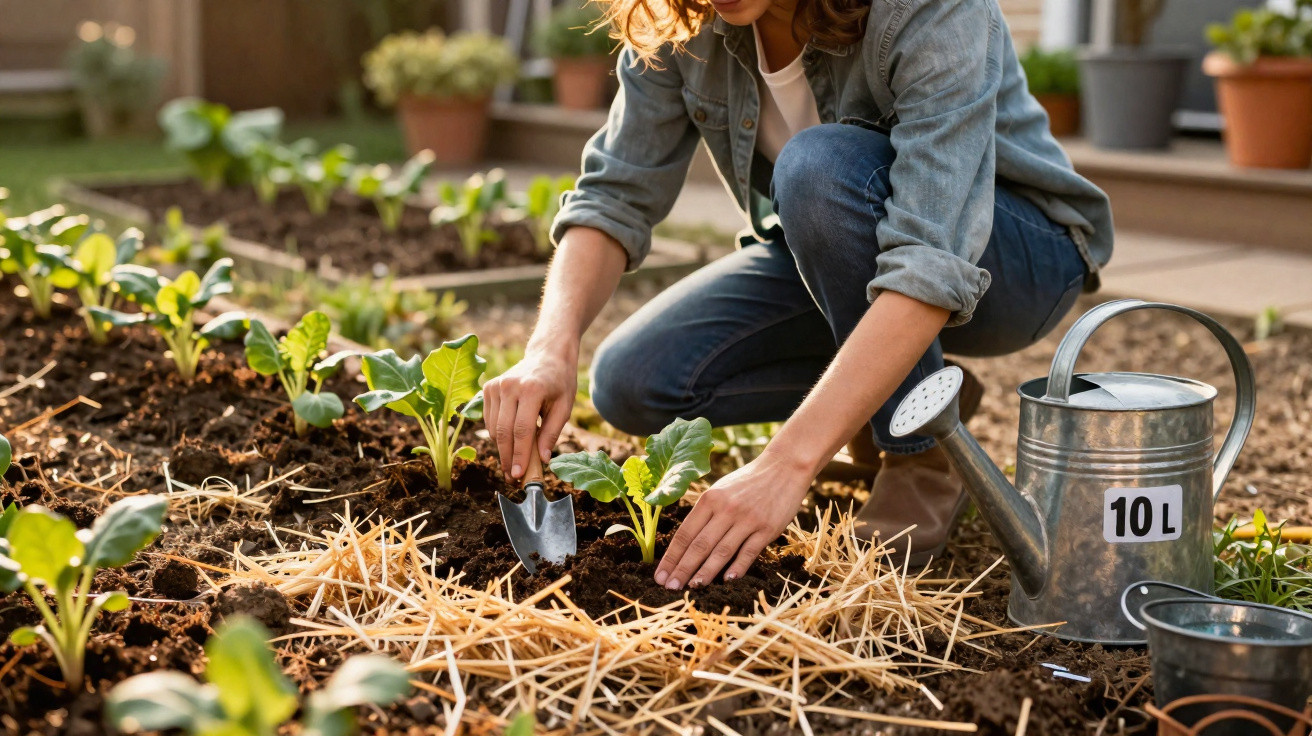
Spring is itching to get going: the beds are prepped, the young plants are ready. Then it happens. After transplanting, those delicate seedlings droop, sit there for days without putting on any growth, or die off altogether. The cause is rarely a lack of “green fingers” - it’s usually down to the wrong watering and planting technique. With a few targeted, almost surgical moves, the problem is surprisingly easy to fix.
Why seedlings often look “frozen” after transplanting
Moving from a small pot into open ground is a genuine shock for a plant. In a pot, conditions are consistent: loose compost, even moisture, and very little competition. In a bed or container, the soil structure, temperature and water supply can all change at once.
What actually happens to the root system
The most delicate root hairs are especially vulnerable. They’re as fine as hair and they’re responsible for taking up water. When you ease a plant out of its pot and settle it into new soil, many of these tiny roots tear off or get crushed.
“After transplanting, the plant runs on ‘low power’ - weakened roots, high stress, and very little uptake capacity.”
At this point, many gardeners make a familiar mistake: they either water too little and the plant dries out, or they drown it and rob the soil of oxygen. The outcome is much the same - the plant stalls, wilts, or collapses completely.
The magic starting amount: 10 litres of water per square metre
The most important trick for a gentle start after transplanting is a very specific quantity of water. Not “by feel”, not “until it looks right”, but a clear rule of thumb.
How much water the plant really needs at the start
Immediately after planting, the soil should receive an amount of water equivalent to around 10 millimetres of rainfall. In practical terms, that means:
- 10 litres of water per square metre of area
- or, another way to picture it: 1 litre per 0.1 square metres
This volume wets the soil deeply enough without turning it into a swamp. The earth settles around the roots, fine gaps close up, and the plant regains reliable contact with the soil.
“Too little water dries out the finest roots; too much water squeezes the air out of the soil - both are poisonous at the start.”
What matters is not dumping all the water on in one go. Water slowly so the soil can absorb it, rather than letting it bead and run off on the surface.
Targeted dry spells: how “controlled thirst” builds strong roots
Once that first, very deliberate watering is done, the second crucial part of the method begins: don’t keep topping up. Many gardeners mean well and reach for the watering can every day - and that is exactly what weakens the plant.
The 3-centimetre finger test
Before you water again, use a simple but highly effective check:
- push a finger about two to three centimetres into the soil
- if the top layer still feels moist → don’t water
- if that zone is dry and crumbly → water again now
Done this way, the plant literally learns to grow downwards. The roots “go looking” for water deeper in the soil instead of staying comfortable in a permanently damp top layer.
Why daily watering weakens plants over time
If you moisten your beds every day only at the surface, you end up raising pampered plants. The consequences are easy to spot:
- roots remain in the upper, warmer layer
- the first hot days bring heat stress
- plants flop over quickly and recover poorly
There’s also a quiet killer at work: constantly wet soil forces out air and encourages fungal diseases. Roots can effectively suffocate, and rot can take hold - often long before you see anything on the surface.
“A gentle alternation between moisture and dry phases makes plants tougher than any extra dose of fertiliser.”
The perfect timing: why late afternoon is worth its weight in gold
When you transplant is almost as important as how much you water. Choose the wrong time and you send seedlings straight into unnecessary heat shock.
Why you’re far better off in the evening
The ideal window for transplanting is late afternoon or early evening. At that time, sunlight is easing off, the air is milder, and evaporation drops.
That gives young plants an entire night to recover without direct sun. Roots can start producing new fine roots, leaves lose less water, and overall stress levels fall noticeably.
Success through pressure: firm the soil properly
After placing the plant in its hole, the soil shouldn’t be left fluffy. Air pockets around the roots are risky because water can’t reach those spaces - fine roots can dry out inside these “voids”.
How to prevent dangerous air pockets
Once the hole is backfilled, press the soil firmly around the root ball with your hands. Don’t stamp it brutally, but do make the pressure clearly felt.
“Well-firmed soil means no dead air space - instead, close contact between soil and root.”
This step is particularly important in light, freshly worked soils. Skip it and you lose the benefit of precisely measured watering, while increasing the risk of drought damage right in the middle of the root ball.
A natural shield: mulch as your ally
With the plant in the ground, the root zone properly firmed, and the starter watering done, add the final protective layer: a thin mulch covering.
Mulching correctly without endangering the plant collar
Mulch helps in several ways. It reduces evaporation, keeps the soil moist for longer, and protects the surface from sealing after rain. To make sure it really helps, follow this order:
- spread a mulch layer 2–3 centimetres thick around the plant
- use only clean, healthy organic material, such as grass clippings, leaves or straw
- keep the area directly around the plant collar (the transition from root to stem) clear
That bare ring around the stem is often underestimated. If mulch sits right against the plant collar and stays damp for a long time, the risk of young stems rotting rises sharply. Typical “bending over” failures in seedlings often come from exactly this.
The new planting standard: what a smart routine looks like
If you treat seedlings according to a clear sequence, losses drop dramatically. A practical day-to-day order could look like this:
- dig the planting hole and loosen the soil slightly
- ease the plant out of the pot carefully, disturbing the root ball as little as possible
- place the plant, backfill, and press the soil firmly
- use a watering can or rose to distribute the starter amount precisely
- plant in late afternoon so the night is available for recovery
- add mulch, but leave the plant collar clear
- control future watering intervals with the finger test
“With a clear routine, the delicate transplanting phase becomes a predictable, everyday job.”
Why this method also helps balcony and container plants
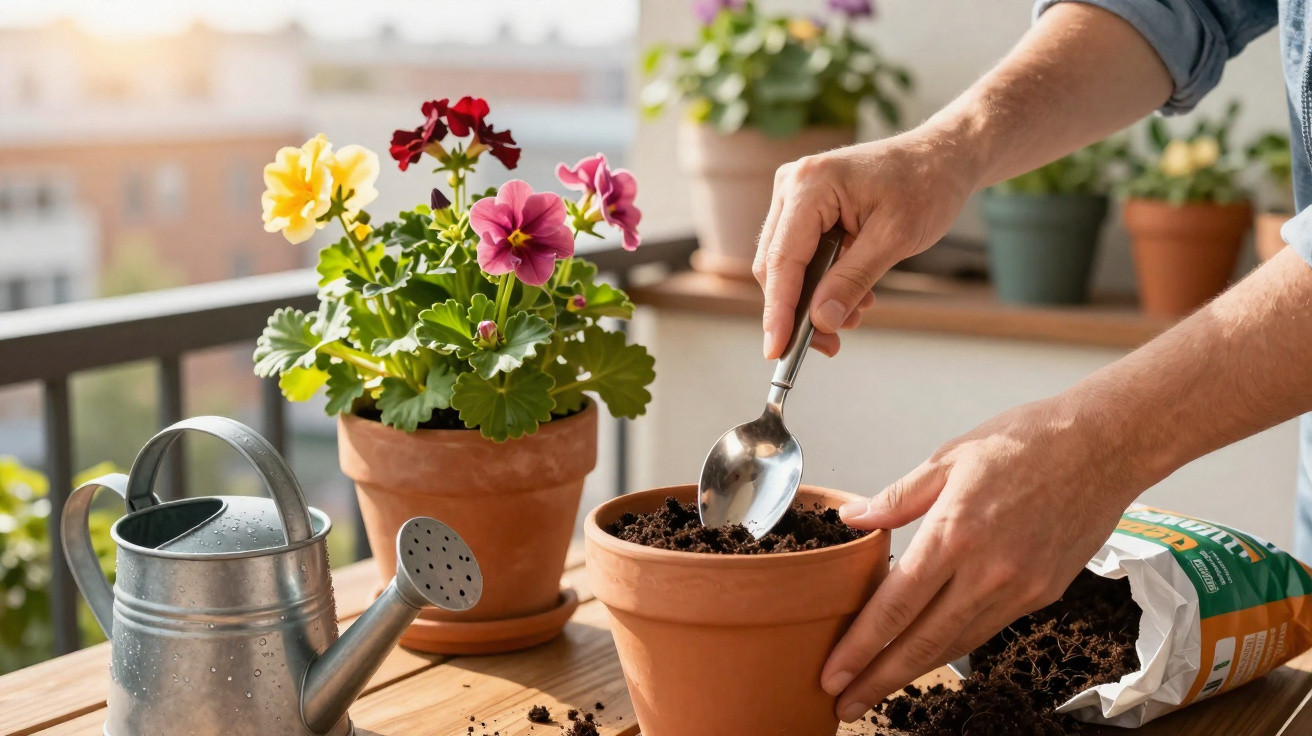
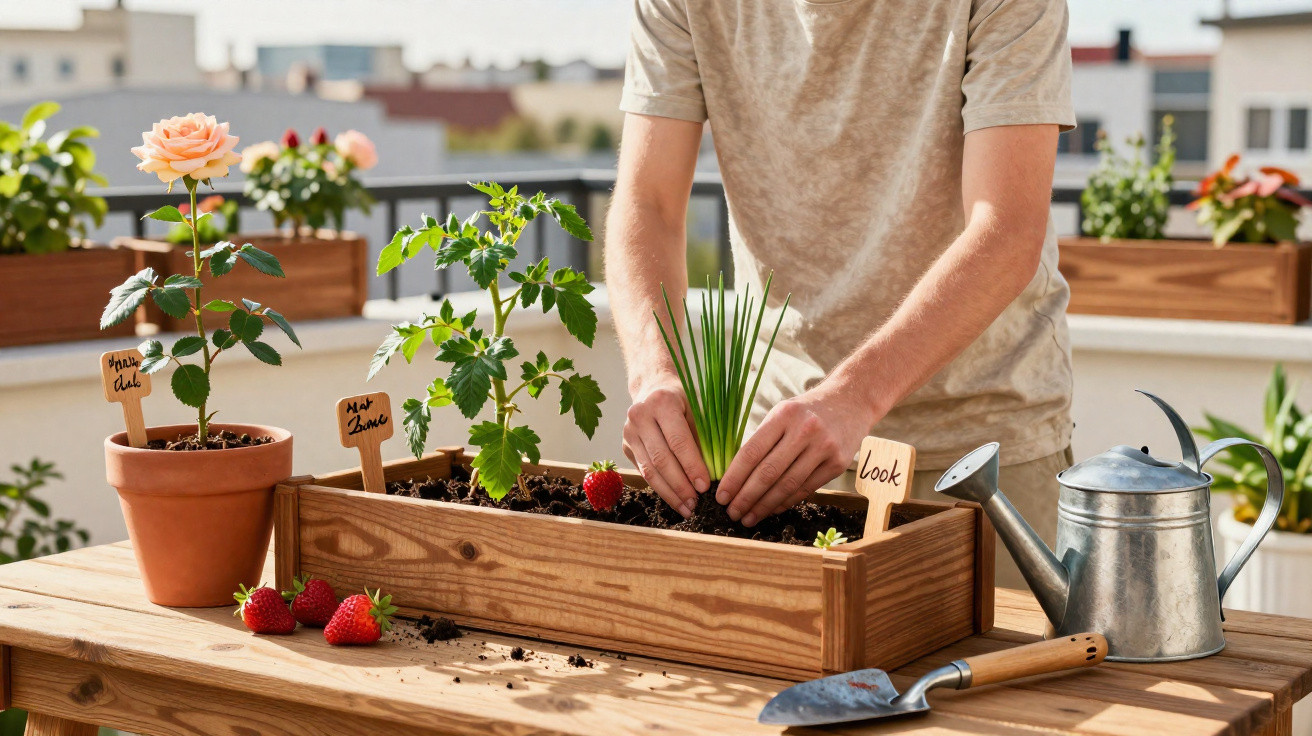
These principles don’t only apply to a large vegetable patch. Tomatoes in pots, peppers in containers, or flowers in window boxes all benefit too. In containers, the temptation is strong to keep “just adding a little” water. If you stick to the finger test and water based on soil condition rather than the time of day, you’ll end up with much tougher plants.
For container plants, it also helps to form small watering rings: a slightly raised ridge of soil around the plant. That way, water doesn’t run to the edge of the pot - it goes where the roots actually are.
Additional tips for better planting success in spring
Before transplanting, it pays to take a quick look at the plants themselves. Very long, leggy shoots are best shortened slightly. That reduces the leaf mass the plant must support after planting, leaving more energy to build new roots.
If you’re planting sensitive crops such as tomatoes or peppers, you’ll gain even more by hardening them off a few days beforehand: outside during the day in a sheltered spot, then back indoors overnight or against a house wall. The shift from indoor conditions to garden air becomes much gentler, and the watering technique described above can deliver its full effect.
That turns a tricky phase into an advantage: plants that get through transplanting without shock get going straight away instead of pausing for weeks. You’ll see it in summer - sturdy stems, rich green leaves, and noticeably earlier harvests, with significantly less water used.
Comments
No comments yet. Be the first to comment!
Leave a Comment