
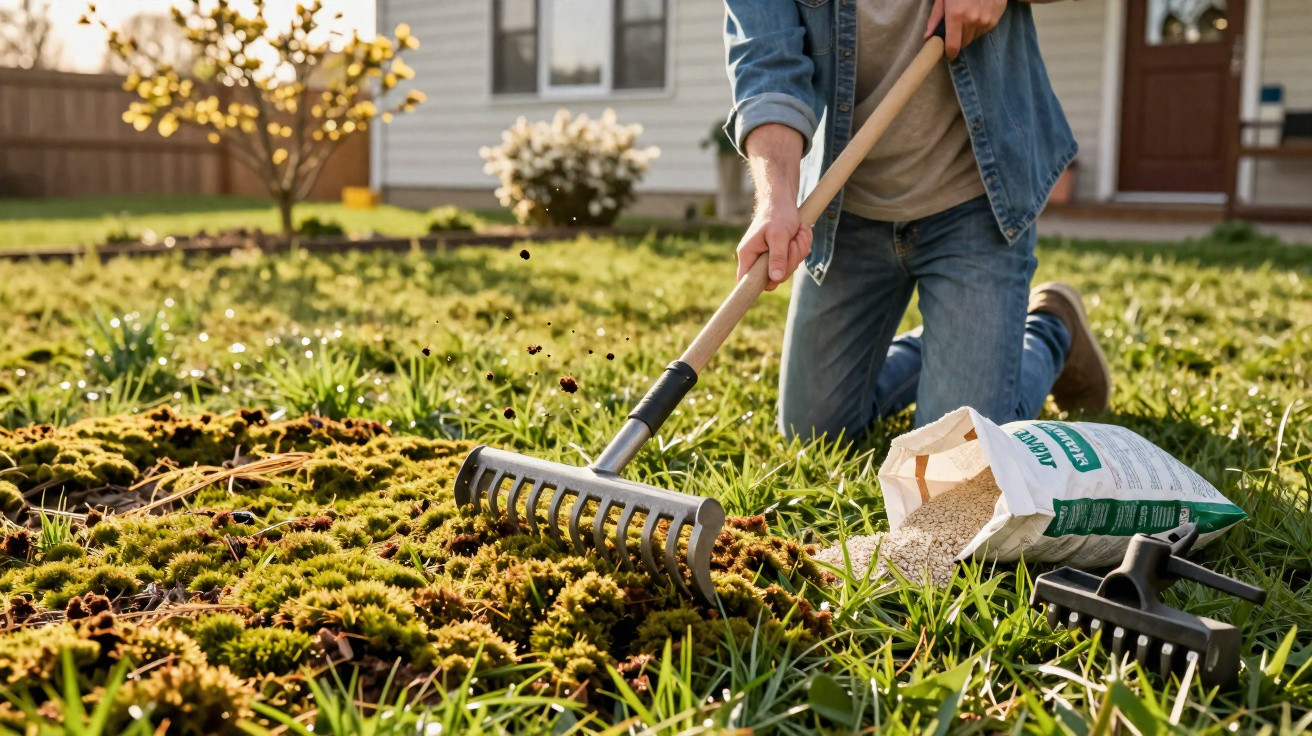
Many amateur gardeners automatically reach for chemical moss killers in spring. Yet the underlying issue usually lies deeper in the soil. Planning a few targeted jobs in March can strengthen your lawn for the long term, make the turf denser and push back moss almost as a by-product – without any specialist products.
Why March reveals your lawn’s true condition
Once the snow has disappeared and temperatures begin to rise, your lawn gives an unforgiving picture of its real state. Yellow patches, puddles, bare areas and dense cushions of moss in between are not simply cosmetic flaws; they are more like a diagnosis.
Moss is not an enemy but a warning sign: the soil is compacted, wet and often too dark – and grass has no chance there.
Garden professionals repeatedly point out that quality lawn grass needs soil that is loose and drains well. Where water continually collects, the ground feels as hard as concrete or your shoes sink into it, the grasses are under stress. Moss, by contrast, thrives in precisely these conditions.
Typical causes in spring include:
- Compacted soil caused by foot traffic, children playing or garden furniture
- Waterlogging after rain because water cannot drain away
- Permanent shade beneath trees or alongside walls and hedges
- Thin turf resulting from a lack of nutrients or an unsuitable mowing height
The good news is that there is no need to dig up the entire garden. Three focused measures in March are often enough to make a lawn noticeably denser and more resilient.
Step 1: Loosen the soil with a garden fork and aerate it properly
The most important work takes place below the surface. Rather than using machinery, a standard garden fork is usually sufficient in a domestic garden.
How to aerate a lawn by hand
Choose a dry day when the lawn is not muddy. The soil should have dried slightly while retaining some moisture, so that it does not break up into large clods.
- Push the garden fork vertically into the lawn to a depth of around 8–10 centimetres.
- Gently tilt the handle forwards or backwards to create fine cracks in the soil.
- Pull out the fork, move one step – roughly 15 centimetres – and make the next insertion.
- Work especially thoroughly in areas where puddles form or the ground sounds hard.
These numerous small holes and fissures work like air channels: they allow surplus water to drain away, bring air to the roots and relieve compacted sections. On smaller lawns, an hour of work is enough to treat the entire area.
Thoroughly loosening the lawn with a fork once a year has a stronger long-term effect than any moss treatment chemical.
Step 2: Apply a light topdressing of sand and fine material
The second stage follows immediately after loosening the soil: spread a thin layer of fine material to fill the holes and improve the soil’s structure. Gardeners refer to this as topdressing.
The ideal mix for hard-wearing lawn soil
For the best result, combine equal parts of:
- finely sieved topsoil
- coarse sand, such as play sand or river sand, rather than fine building sand
- mature, sieved compost or leaf mould
If one of these materials is unavailable, coarse sand on its own will do in an emergency. At the very least, it improves drainage, which is better than doing nothing.
Apply the mixture as follows:
- Scatter the material in a thin layer over the area you have loosened with the fork.
- Work it in with a sturdy yard broom or rake so that the holes are filled.
- Spread any excess evenly; the lawn must not be completely covered.
The thin layer of sand, soil and compost does not close the air channels; it supports them and improves nourishment for the roots.
This treatment delivers a lasting improvement to the soil structure. Water drains away more quickly, the soil stays looser and the organic element feeds soil life. Lawn grass benefits from exactly this in the following weeks: it can regrow more densely and naturally crowd out moss.
Step 3: Rake out moss firmly and keep the first cut higher
After aerating and topdressing, it is time to do what many people would prefer to tackle straight away: remove the moss from the lawn. Now, however, is the right moment, as the roots will immediately gain more light, air and space afterwards.
Rake properly rather than brushing gently
Use a sturdy scarifying rake or a metal leaf rake. Then work vigorously across the lawn:
- Pull the rake firmly back and forth to loosen moss thatch and dead grass.
- Go over shaded spots and heavily thatched areas several times.
- Rake up the loosened material afterwards and remove it from the lawn.
Put the removed material on the compost heap or in the garden waste bin. It must not be left on the surface, as it would hinder grass growth again.
After raking, the lawn often looks alarmingly bare – that is exactly the intention. It allows light and water to reach the soil again.
First mow: raise the blades rather than cutting low
The first cut of the year comes after raking. Mowing too close at this point weakens the lawn all over again. Set your mower considerably higher than you would in summer, to a cutting height of around 4–5 centimetres.
For the first few days after this process, the lawn may look somewhat battered. Some parts can appear patchy while others look dull. Within one to two weeks, it will usually begin to grow back much more vigorously because the roots suddenly have better conditions: looser soil, more oxygen and less competition from moss.
When is the best time of year, and what are the limits?
The ideal period for this three-part treatment is the middle of March. In mild areas, experienced gardeners can begin as early as late February, provided the soil is no longer frozen and has started to warm slightly.
These conditions are particularly suitable:
- The ground is neither frozen nor completely waterlogged.
- Daytime temperatures are clearly above zero.
- Conditions are dry, at least for several hours at a time.
If the soil is heavy and wet, it is better to postpone the work for a few days. Pushing a fork into sodden ground or raking it can compact the surface even further.
Where moss is useful and lawns reach their limits
Not every area is suited to the look of an English lawn. In deep shade beneath dense trees, on permanently damp north-facing sides or in hollows where water constantly gathers, grasses struggle to establish themselves even with the best care. In such places, a deliberately retained moss carpet or planting with shade-loving perennials may be less troublesome in the long run.
For ordinary home gardens with average sunlight, though, this March routine usually brings clear improvements. Repeating it year after year gradually builds stable soil in which grasses retain the upper hand.
What else you can do for a dense lawn
After the three main steps, it is worth considering two additional measures: overseeding and nutrient supply.
Where larger bare patches remain after raking, overseed straight away. Special lawn overseeding mixes germinate quickly and close gaps before moss or weeds can settle in again. Lightly rake the seeds into the soil and keep them moist for several days during dry weather.
A moderate application of lawn fertiliser in March or April helps the turf recover. Fast-acting mineral fertilisers work quickly, while organic fertilisers provide a slower, steadier boost and support soil life. If you have already used compost in the topdressing mix, the lawn will have received a useful initial boost.
Anyone whose lawn gets heavy use during the year – as a children’s play area, for example – benefits particularly from this March combination. The grasses form stronger roots, recover more quickly from wear caused by foot traffic and cope better with dry spells in summer. In this way, a patchy winter lawn gradually becomes dense, hard-wearing green turf again, without the need to turn to chemicals at every sign of moss.






Comments
No comments yet. Be the first to comment!
Leave a Comment