
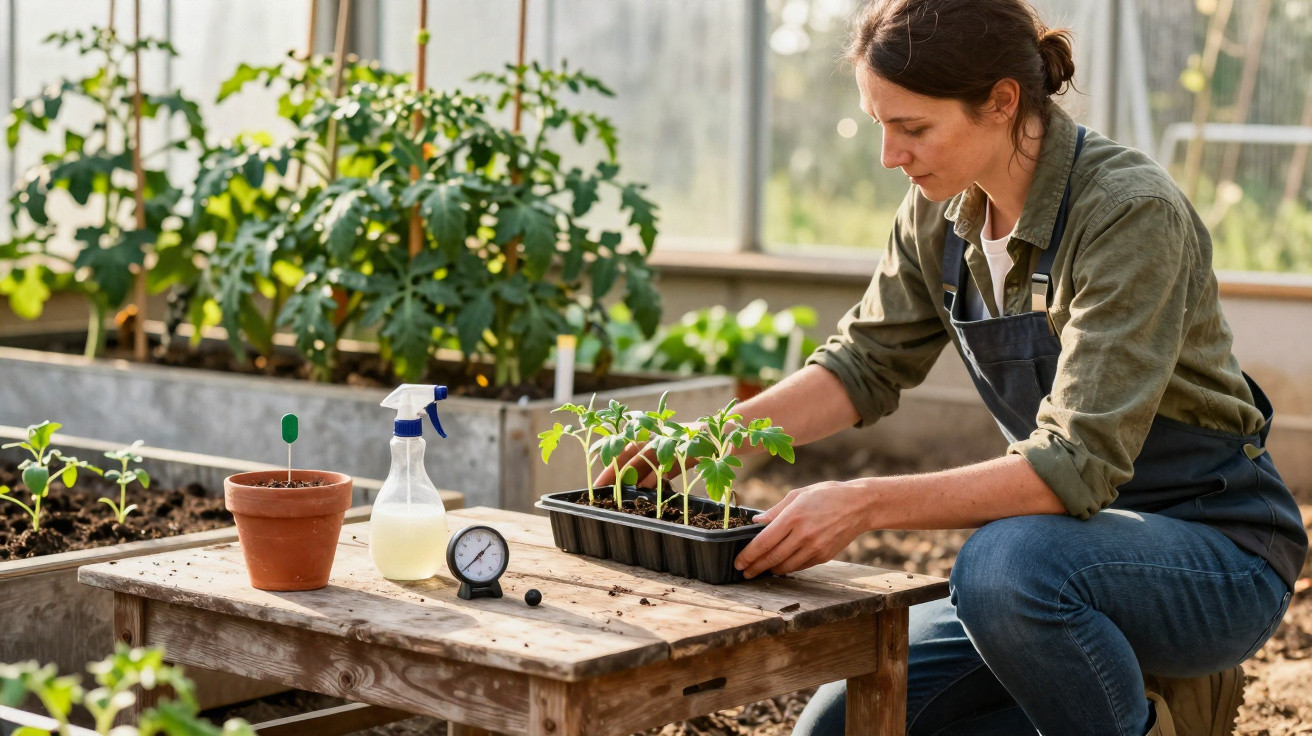
The first genuinely warm day of spring can make you want to clear the living-room shelf and plonk every tomato seedling straight into the bed. The calendar, the garden centre and the neighbours all insist: “Now’s the right time.” Yet two days later the shoots are limp, the leaves have turned pale and growth has stalled. What looks like a mysterious disease is usually just a simple husbandry mistake - and a forgotten in-between step.
Why tomatoes crash from the living room into a coma
Indoors or under glass, tomatoes live like guests at a spa. Whether they’re on a windowsill, in a heated greenhouse or in a bright garage, the temperature barely fluctuates, the air is still and the light levels stay fairly gentle. The plants adapt to that comfort.
That means the foliage stays exceptionally soft, the protective leaf layer (the cuticle) remains very thin, the stomata are not yet good at managing water loss, and the roots tend to sit near the surface. In other words, these young plants are pampered and highly sensitive.
Outside, they meet a completely different set of conditions:
- harsh UV radiation, especially in the midday sun
- wind that dries out leaves and soil
- big temperature swings between day and night
- soil that is often still cold and very damp
If you move tomatoes, peppers, chillies, aubergines or basil straight from indoors to outdoors with no preparation, you trigger a major shock response. Leaves scorch, shoots flop, and growth often pauses for weeks. Tougher crops such as radishes or carrots cope with those swings easily, but the classic “southerners” react very badly in open ground.
The real enemy in spring is rarely the date you choose, but the sudden change in climate - without an acclimatisation period.
The forgotten key phase: hardening off tomatoes properly
Gardeners call this step “hardening off” young plants. The idea is straightforward: get the plants used to real garden weather gradually, before they take up permanent residence in the bed.
A good time to begin is when daytime temperatures reach about 15 °C and no night frosts are forecast. From there, allow roughly seven to ten days in which your tomatoes experience progressively more light, wind and temperature variation.
Nine-day plan for sturdy tomato plants
One practical routine looks like this:
- Day 1 to 3: 1–2 hours outside, in the shade and sheltered from wind. Then back indoors or into the greenhouse.
- Day 4 to 6: 4–5 hours outside; gentle morning sun is fine, but move them back into shade from midday.
- Day 7 to 9: 6–8 hours at their future position in the bed or raised bed; if nights are still cool, bring them back in overnight.
Over this period, the plant effectively “works out”: leaves develop a tougher protective layer, roots become more active, and water regulation shifts to outdoor mode. Treat this stage seriously and you’ll end up with noticeably stronger plants that cope far better with heatwaves and short cold snaps.
A week of patience in spring often translates into a month’s head start in summer.
Low-stress planting: how to set tomatoes into the soil correctly
Once your plants are hardened off and the weather has settled, the next critical point arrives: planting out. Mistakes here can still reduce your later harvest.
A proven approach:
- Water the root ball thoroughly: Before planting, stand the pot in water until no more air bubbles rise. This sends the plant into the bed with a reserve of moisture.
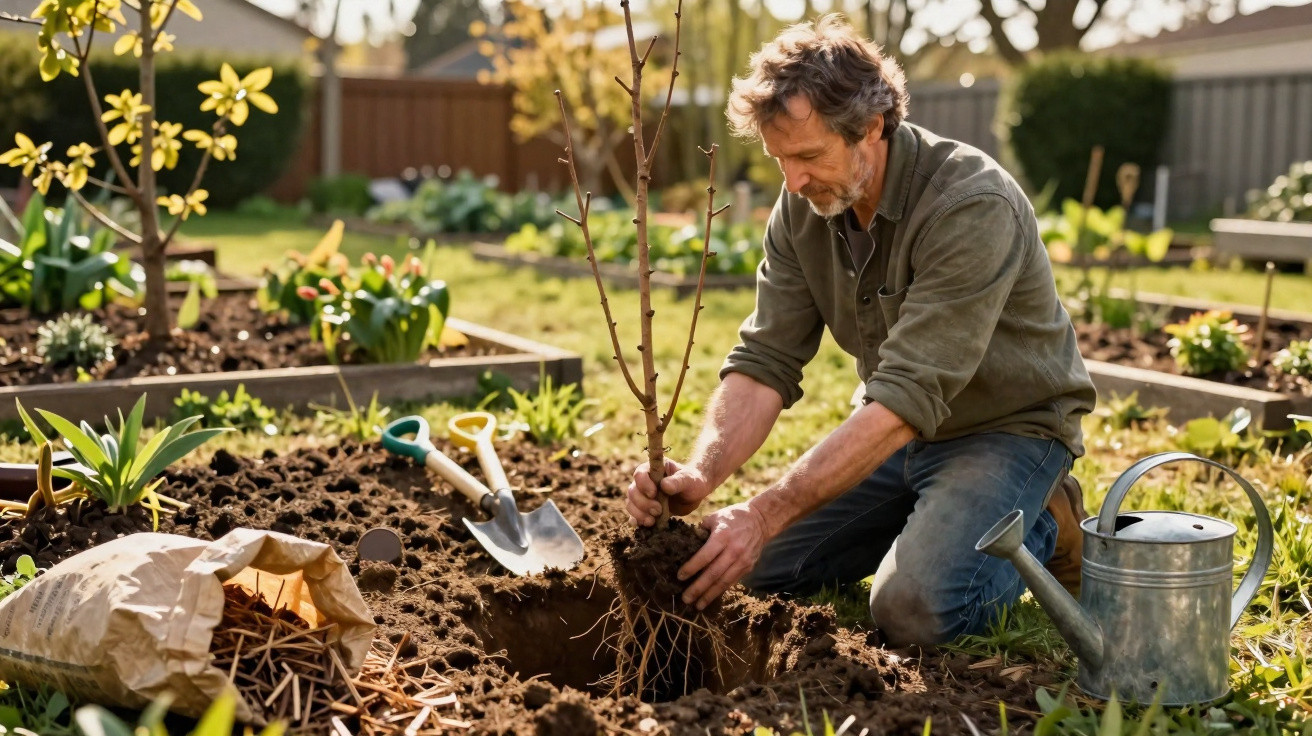
- Dig a generous planting hole: Around 20 cm deep and wide. Loosen the soil beneath; on heavy ground, improve it with a little compost if needed.
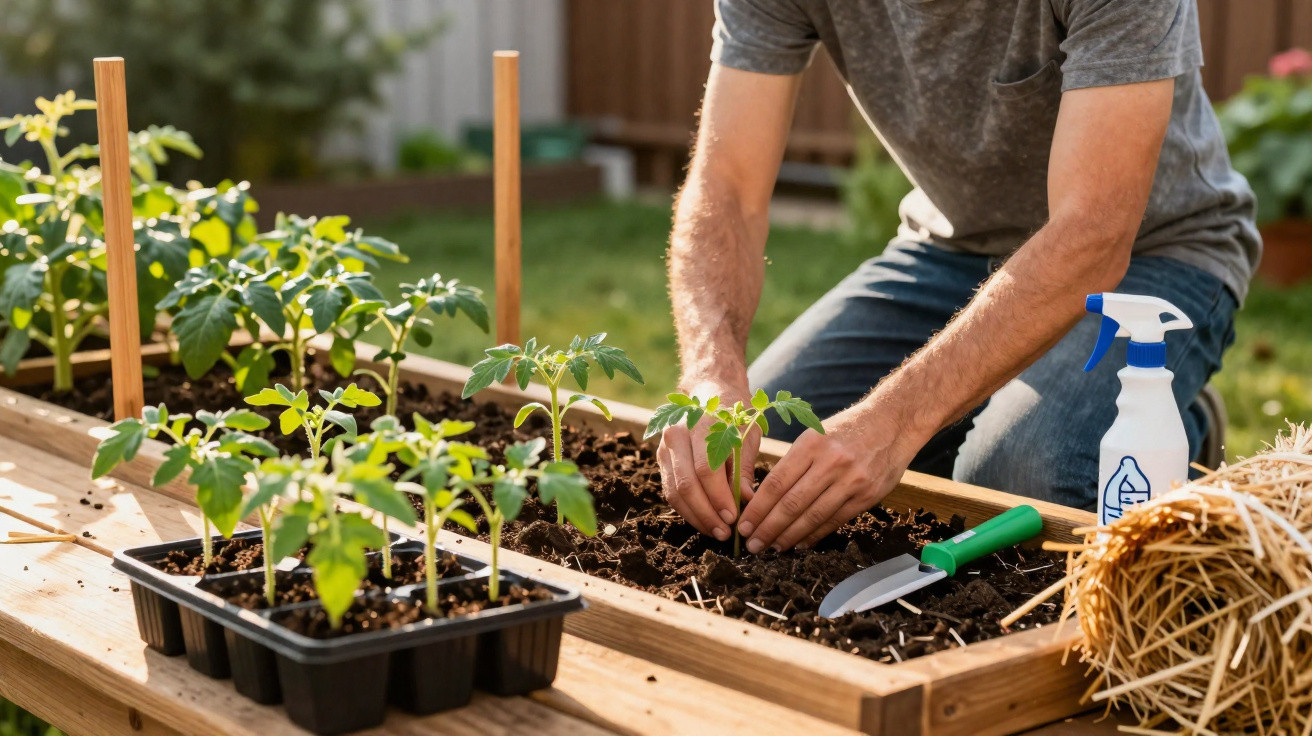
- Plant deeply: Position the tomato so that about 10 cm of the stem sits below the soil surface. The buried section forms extra roots, which makes the plant sturdier and more drought-tolerant.
- Put the cane in immediately: Insert the support at planting time so you don’t damage roots later.
- Mulch generously: Cover the soil with straw, dried grass clippings, shredded leaves or similar material. This helps retain moisture and smooths out temperature swings.
This keeps transplant stress much lower, and the tomato gets moving again faster.
Moisture as a risk: keeping tomatoes healthy
Tomatoes thrive on sun and moving air, but they struggle when leaves stay wet for long periods. In early summer especially - warm days followed by cool nights - a damp microclimate can easily form around the plant. That’s when fungal diseases gain the upper hand.
Common issues include:
- Downy mildew (Mildew / late blight): brown patches, a grey-green coating on the underside of leaves, and fruit beginning to rot.
- Powdery mildew: a whitish, dusty film on the leaves.
- Botrytis (grey mould): a fluffy grey growth, often where tissue has been damaged.
- Bacterial leaf spot diseases: small, sunken dots on leaves and fruit.
Prevention starts with watering habits and spacing:
- Water at the base: Never over the foliage; water the soil directly, ideally in the morning or late evening.
- Leave enough room: 60–80 cm between plants so air can move through the row.
- Use a roof or polytunnel cover: If you struggle every year, a simple rain shelter keeps the leaves drier.
Leaves that stay wet for hours are almost an invitation to fungal spores - dry plants remain healthy for far longer.
Why many gardeners spray milk
A slightly unusual but popular tip among hobby growers is spraying with milk. Many gardeners mix whole or semi-skimmed milk with water at roughly a 1:5 to 1:10 ratio, then mist the foliage every 10 to 15 days.
The proteins and milk sugar leave a thin film on the leaf surface. That changes conditions for fungal spores and can slow their development. At the same time, the spray provides a small amount of nutrients via the leaves. It doesn’t replace careful cultivation, but it can support overall plant health - especially in wet summers.
Typical misunderstandings about tomato seedlings
A lot of tomato problems come from persistent myths. Three of them surface again and again in spring:
| Myth | Reality |
|---|---|
| “If the calendar says it’s time, nothing can go wrong.” | Temperatures and soil moisture vary widely from year to year. The condition of the young plant matters more than any date. |
| “The earlier they’re in the bed, the earlier the crop.” | Stressed, shocked plants usually never regain the ‘lost’ advantage. Tomatoes planted later but without stress often fruit at the same time - or even sooner. |
| “Deep green and sturdy means immediately garden-ready.” | Even dark-green, bushy shop-bought tomatoes are often not hardened off. They need the same acclimatisation as home-grown seedlings. |
Practical add-ons for a reliable tomato season
If you find yourself getting impatient every year, a simple system can make the process easier: a small rolling shelf or lightweight crates you can put outside in the morning and bring back in at night. That way, the hardening-off routine happens almost automatically, without lugging individual pots around.
It’s also worth considering what you plant alongside. Tomatoes pair well with herbs such as basil or chives, which can confuse pests. Very hungry neighbours like pumpkin or courgette right next to them are less ideal, because they pull lots of nutrients from the soil at the same time. A balanced plan in the veg patch spreads water and nutrient demand more evenly.
One more factor that’s often overlooked is site choice. A sunny, airy position where a breeze dries the plants quickly after rain is better than a sheltered but stagnant back courtyard. If you do want tomatoes in a still corner, you’ll need to lean harder on rain covers, mulch and wider spacing.
Build the one missing in-between step - hardening off - into your spring routine, then plant with care, and you remove a large share of the season’s risks right at the start. The payoff appears a few weeks later: robust plants, full trusses and far less stress when summer weather turns into a rollercoaster.
Comments
No comments yet. Be the first to comment!
Leave a Comment