
What looks like a quirky sight actually hides a remarkably effective protective method.
At first glance, it may seem like an internet joke, yet this season it is proving a talking point on balconies, patios and in vegetable gardens. Influencers, amateur gardeners and even some professionals are advocating keeping empty toilet roll tubes rather than throwing them away, then placing them straight beside young plants. At precisely the stage when delicate seedlings are most vulnerable, these unassuming cardboard tubes can stop one night from undoing all your hard work.
Why toilet roll tubes can save spring in the vegetable garden
For gardeners, spring brings hope and anticipation – as well as stress. Newly planted tomatoes, lettuces, peas and flowers are fragile. A drop in temperature to just above 0 °C, combined with a few hungry slugs, can wipe out entire rows overnight.
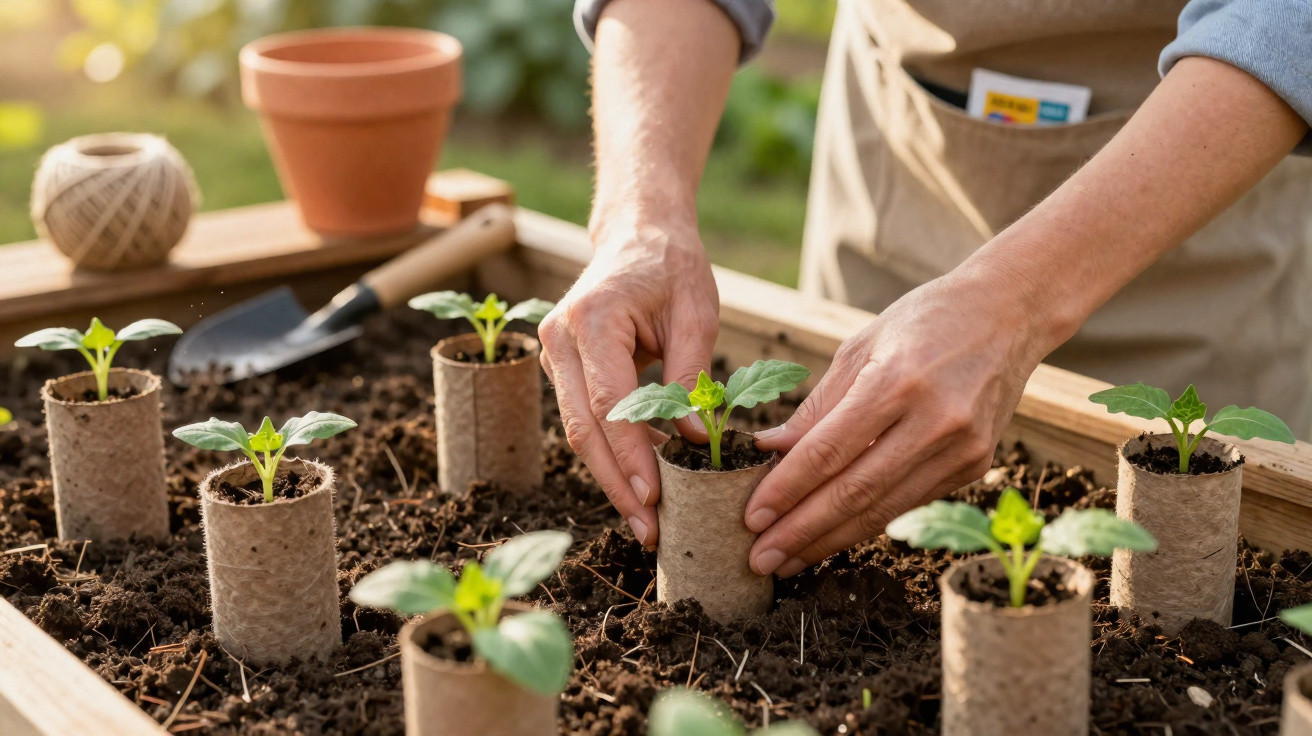
This is where toilet roll tubes come in. The cardboard creates a small, enclosed ring around each plant, and this simple shape delivers several benefits:
- It reduces cold draughts at ground level.
- It makes it harder for slugs to reach the stem.
- It keeps the area around the root collar slightly drier and more stable.
- It creates a marginally warmer microclimate around the young shoot.
The key advantage is that cardboard remains permeable. Water can still reach the soil freely, so waterlogging is avoided. At the same time, the tube acts as a small windbreak that softens the worst temperature fluctuations.
An old toilet roll tube becomes a simple yet highly effective life insurance policy for vulnerable young plants.
At a time when gardening equipment is becoming more expensive, the idea is appealing financially too. Plant cloches, polytunnels and heated mini greenhouses can soon become costly, whereas empty cardboard tubes already accumulate at home and often go straight into the bin.
How to use toilet roll tubes properly around lettuces, tomatoes and more
The technique is straightforward, although a few small practical mistakes are common. They can be avoided with just a little care.
Step-by-step: protective collars in the bed
- Plant as usual in the bed and water thoroughly.
- Place a toilet roll tube upright over the plant without crushing its leaves.
- Gently push the tube 2–3 centimetres into the soil so it stands securely.
- Leave the top edge of the tube extending slightly above the leaves.
This creates a firm collar around the stem. Slugs first have to negotiate the cardboard barrier before they can reach the tender plant. During light ground frosts, the tube helps cushion sudden cold spells, especially in exposed beds or windy locations.
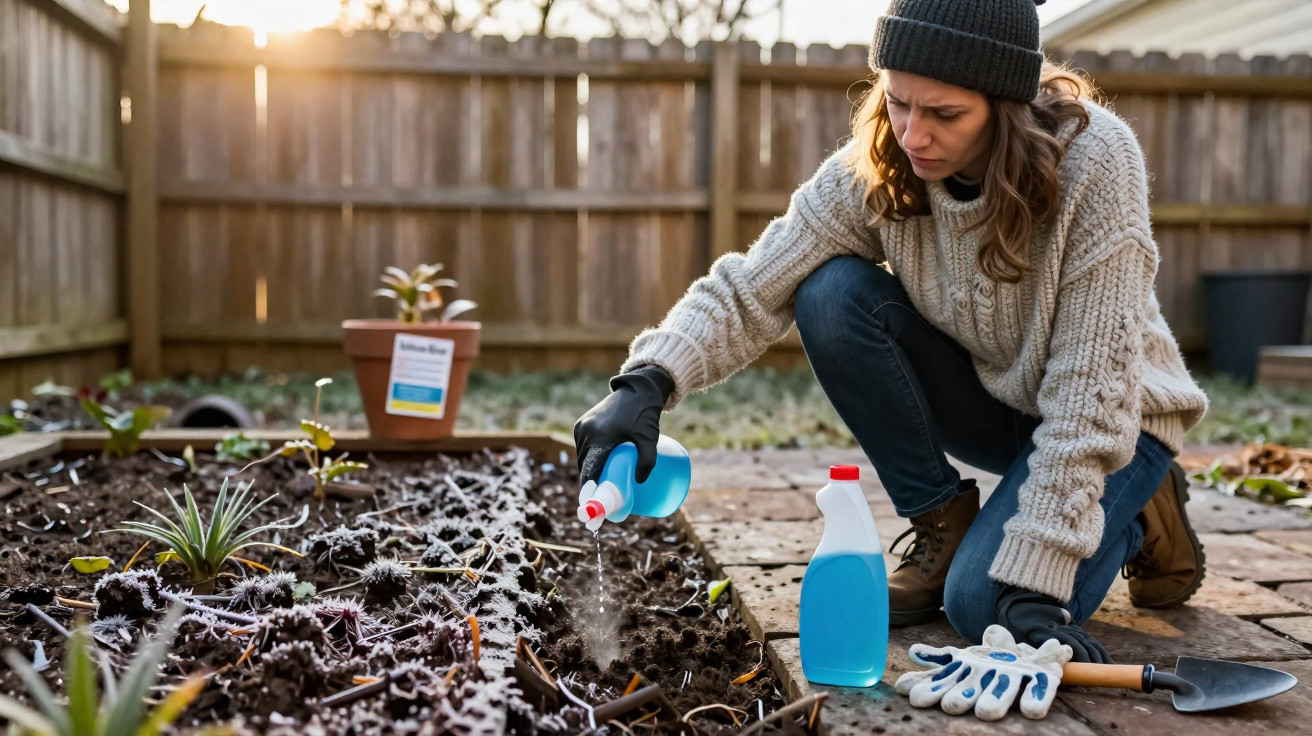
If a frosty night is forecast, the protection can easily be strengthened. A loose ring of straw or leaves around the tube keeps cold away from the ground. Where a late frost is expected, you can also lay horticultural fleece over the row in the evening. The cardboard rings then prevent the fleece from flattening the plants.
More than frost protection: other uses in the garden
Once you start using cardboard tubes in the garden, further possibilities quickly become apparent:
- Marking direct-sown rows: Cut tubes in half and position them like small “towers” over freshly sown spots.
- A barrier against birds feeding: Particularly for peas and beans, the tube protects new shoots from pecking beaks.
- A mini windbreak for balcony planters: In container gardens, split tubes apart and place them as half-arches around sensitive young plants.
- Providing shade in a south-facing position: On very sunny balconies, the cardboard gives the stem some light shade during its first few days.
The same tube can therefore often be used in different areas of the garden for several weeks before eventually breaking down into the soil or ending up on the compost heap.
Toilet roll tubes as inexpensive propagation pots for strong roots
Many problems in the bed begin indoors. Raising plants on a windowsill often produces leggy, weak growth with delicate roots. Cardboard tubes can help again here, this time as small biodegradable seedling pots.
Turning cardboard tubes into propagation containers
You can make them in only a few steps:
- Keep the tube at the preferred height or trim it down; around 6–8 cm is usually enough.
- Cut one end into four equally wide tabs.
- Fold the tabs inwards to form a base.
- Fill with loose seed compost and press it down lightly.
- Add one or two seeds and water carefully.
After three to four weeks, once the seedlings look sturdy and have developed their first true pair of leaves, plant the entire unit – tube included – into the bed. In time, the roots grow through the cardboard, which gradually decomposes. This removes the need for pricking out and repotting, processes that often stress the roots.
Anyone planting young plants in cardboard pots reduces root damage and gains a few crucial days of growth.
The method is also engaging for children. They can follow the entire journey from seed to plant and see how something apparently destined for waste becomes a valuable part of a natural cycle.
From protective collar to humus: clever compost uses for tubes
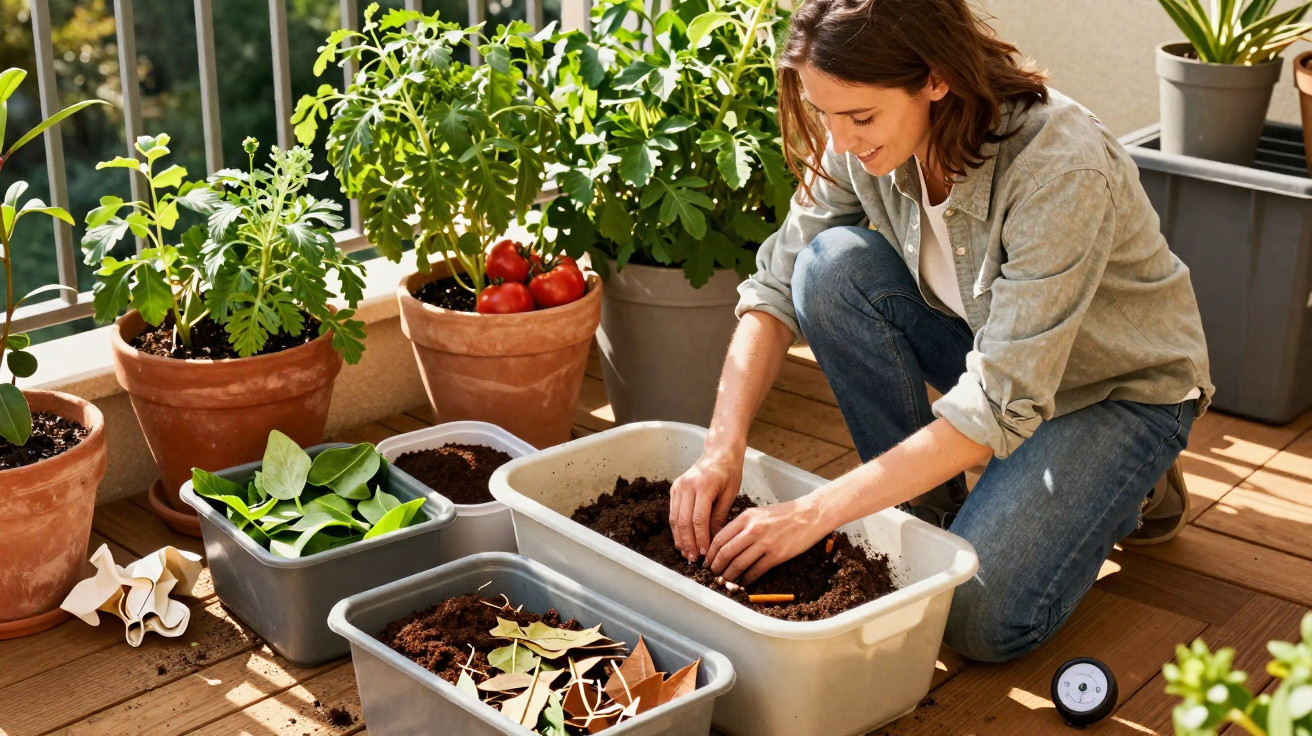
At the end of their gardening life, the tubes make one final contribution to the compost heap. In composting, cardboard counts as “brown material”: it adds carbon to the mix and balances damp, nitrogen-rich kitchen waste.
| Use in the compost | Effect of the cardboard tubes |
|---|---|
| In thin layers between grass cuttings | Prevents compaction and keeps air in the heap |
| Cut into small pieces and mixed with kitchen waste | Absorbs moisture, reducing odours and rotting |
| Loosely crumpled as an intermediate layer | Provides habitat for compost worms and micro-organisms |
To speed up decomposition, it is worth tearing the tubes by hand or roughly cutting them up. Combined with coffee grounds, vegetable peelings and garden waste, they help create nutrients that will feed your beds next year.
Common mistakes and limitations of this method
As useful as toilet roll tubes are, they do not solve every problem. Understanding their limitations makes it possible to use them more effectively.
- Cardboard collar too tall: If the tube extends too far upwards, the plant receives less light and air. Trim it shorter instead.
- A permanently waterlogged site: In very wet corners, cardboard can start to go mouldy. Choose another protection method there.
- Choose untreated cardboard: Avoid printed, coated or heavily coloured tubes, as they may introduce unwanted substances into soil and compost.
- Underestimating a slug infestation: Where slug pressure is extremely high, the cardboard barrier alone will not be enough; additional measures such as slug fences or beer traps may be necessary.
In particularly windy locations, lightly firm the soil around the cardboard. Otherwise, gusts can knock the tube over and remove the protection. Those who water frequently should also ensure that the soil inside the ring has a chance to dry out briefly after watering.
How to incorporate the tube into everyday gardening
Many households can collect enough tubes within a few weeks to equip an entire bed. It helps to set up a small collection point at home or in a storage area, such as a box or bucket where empty tubes can be kept dry.
A possible seasonal plan could work like this: in late winter, use the first tubes as propagation pots. During April and May, plant these out into the bed with the young plants, while fresh tubes serve as frost and slug protection. By midsummer, used and battered tubes gradually make their way to the compost heap, returning their final value to the system.
This approach is especially effective in small gardens or on balconies. Where there is no room for large polytunnels or permanent raised beds, cardboard rings make targeted protection possible: shield sensitive spots, secure particularly vulnerable varieties and stabilise troublesome corners.
Why this simple trick changes many amateur gardeners for the long term
Anyone who has watched an entire row of tomatoes survive a late frost while unprotected neighbouring plants die will view cardboard tubes differently. The visible contrast after a few cold nights is often more convincing than any theory.
At the same time, regularly checking the cardboard collars sharpens your awareness of the garden’s microclimate: where does the soil stay damp for longer? Where does the wind strike directly? Where do the first slugs appear? These observations can help you plan beds more effectively the following year, position varieties differently or even reorient whole rows.
The result is not simply a clever upcycling tip, but a different way of gardening: making the most of available resources, supporting plants precisely where they need it and treating soil as a living system. An empty toilet roll tube may seem insignificant, but in spring it often determines whether carefully raised young plants survive the night or leave only a bare patch in the bed by morning.

Comments
No comments yet. Be the first to comment!
Leave a Comment