
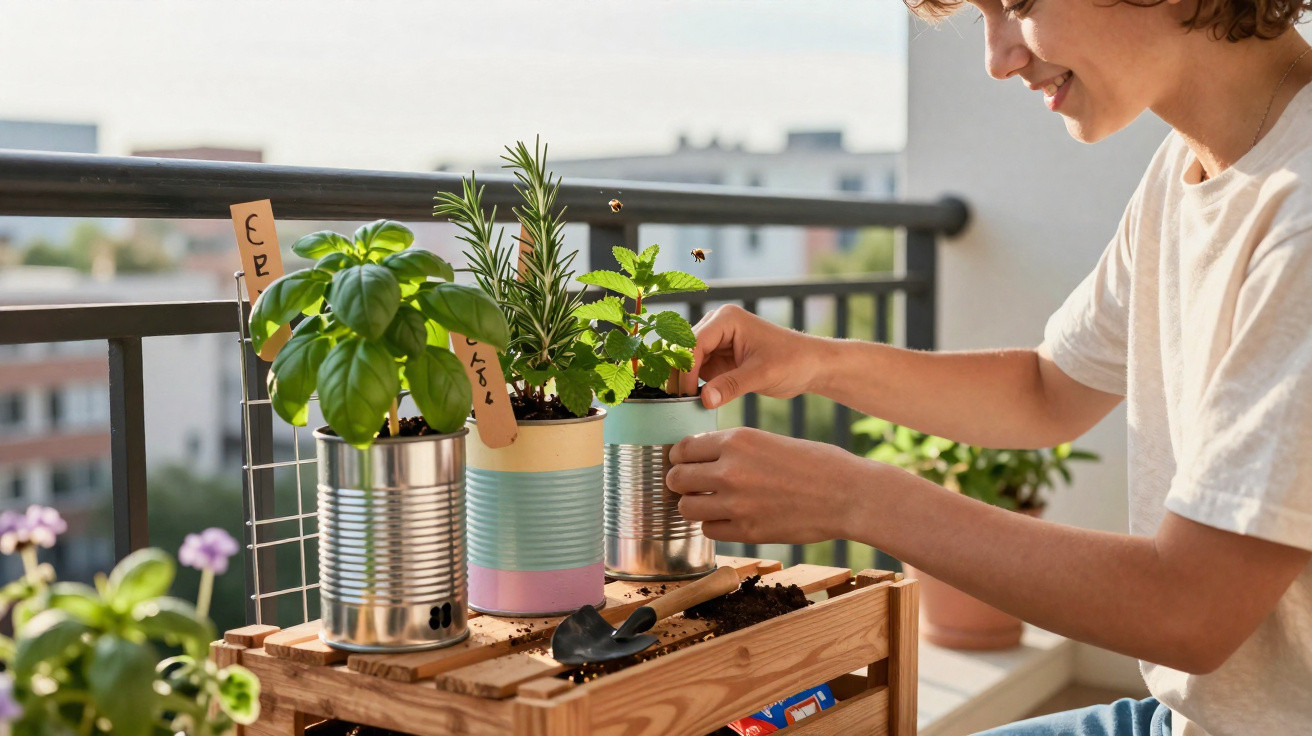
Empty tin cans usually get tossed into the recycling without a second thought. Gardeners are now urging people to pause: those very cans are ideal for a small herb garden - even where space is tight. What sounds like a quick craft can turn a dull balcony, a bleak terrace or even a windowsill into a genuinely charming mini oasis.
From rubbish to a feature on the balcony and windowsill
In most homes, food cans pile up: tomatoes, beans, sweetcorn, soups - and then the can goes straight into the recycling. Gardeners are increasingly recommending you deliberately keep some back. The reason is straightforward: metal cans are sturdy, free and weather-resistant. That makes them excellent mini plant pots, particularly for herbs.
This is especially useful for anyone short on space. If you’ve only got a narrow railing or a small window, you can hang or line up several cans side by side and suddenly you’ve created enough room for a surprising amount of greenery.
"With just a few simple steps, a heap of throwaway material becomes a decorative, practical herb garden - without spending a penny on new pots."
Compared with many plastic containers, food cans only rust slowly and will last for several seasons. Plenty of people actually like that slightly weathered, “rustic” finish - it evokes vintage décor and suits both modern city balconies and small back-garden setups.
Herb garden from a tin can: how to prepare it properly
The starting point is simple: empty cans that have been cleaned thoroughly. This step alone often determines whether your plants thrive.
Cleaning the cans - the first step people often overlook
Leftover tomato sauce or beans can go mouldy, smell unpleasant and attract pests. So:
- Rinse the can until no food residue is visible
- Soak and remove the label, then rub off most of the glue
- Let the inside dry briefly before adding compost
If you like, stubborn adhesive can be shifted with a little cooking oil or washing-up liquid. It doesn’t need to be spotless, but it shouldn’t still smell of food.
Drainage holes: without them, roots will rot
The key detail with can planters - and any container planting - is drainage. Without outlet holes, water sits at the bottom, roots rot and plants collapse.
Suitable tools include:
- a thin drill bit
- a large nail and a hammer
- a screwdriver for softer metal
A few small holes in the base are enough - three to five small ones are better than one big hole that lets compost fall out. If you’re making hanging planters, it’s also worth adding a hole near the top rim at the back so you can thread through wire or string.
Hanging instead of placing: turning cans into floating herb pots
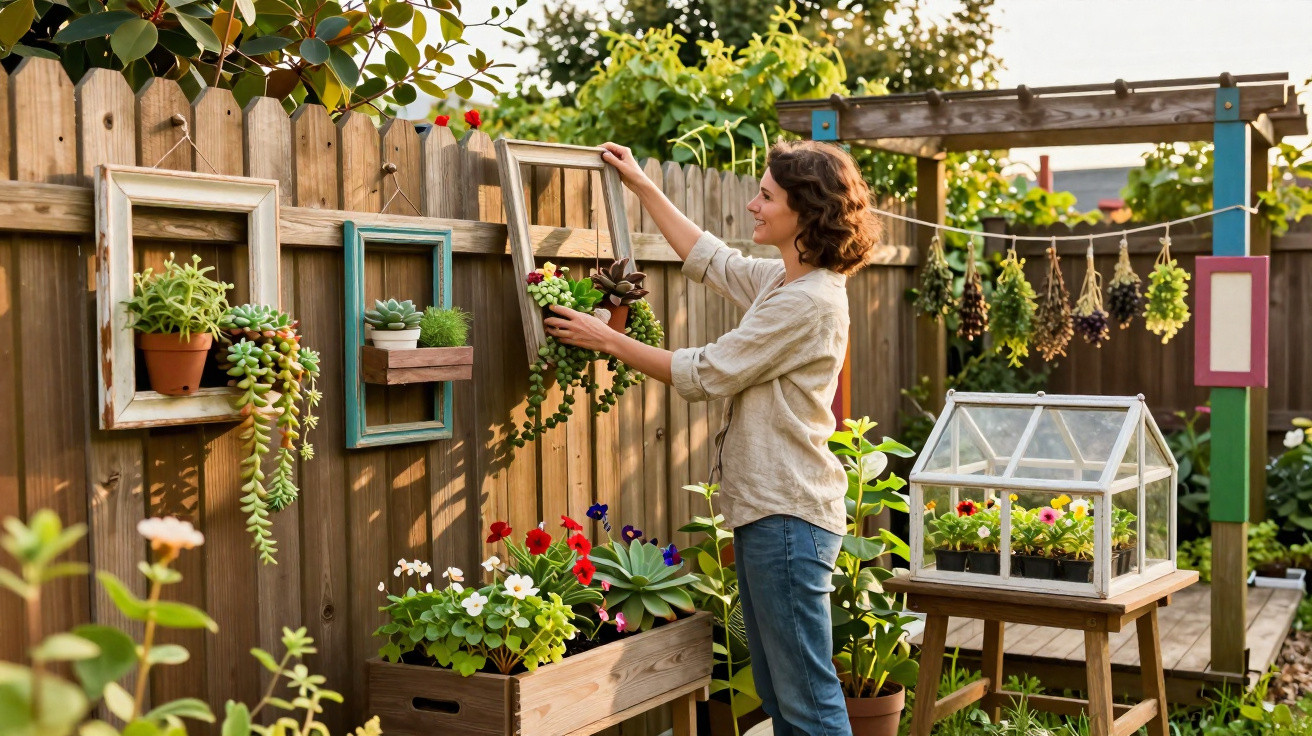
The appeal here isn’t only recycling - it’s vertical gardening. Cans can be fixed to fences, trellises, balcony railings and even old ladders.
Coat hangers, wire, string: what works as a hanger
An old wire coat hanger is ideal. With a bit of force, it can be bent by hand and reused in different ways. The basic idea:
- Unbend the coat hanger and cut it into two or three lengths
- Shape a small hook on each piece
- Hook it into the side hole of the can
- Bend the other end into a larger hook for hanging
If you don’t have wire, use thick parcel string, macramé cord or light chains. The important thing is that the fixing safely supports the weight of the can, compost and a wet plant.
"Vertical tin-can gardens make use of even narrow strips of wall space - ideal for tenants with a mini balcony."
Which compost and which herbs work particularly well
To make this more than a craft idea and turn it into a useful herb garden, you’ll need suitable compost and hardy plants.
The right compost: loose, nutrient-rich and peat-free where possible
A loose growing medium reduces waterlogging while still holding enough moisture. Many hobby gardeners now deliberately choose peat-free compost or a dedicated herb compost. Peat-free options protect peatlands and have proven themselves on balconies.
If your spot is especially wet - for example, if your balcony isn’t covered - a thin layer of gravel or expanded clay pellets at the bottom of the can before adding compost helps excess water drain away faster.
Tough herbs for cans and small balconies
Not every herb enjoys cramped containers. Some cope very well with limited space and are particularly good for beginners:
- Parsley: doesn’t spread too aggressively, ideal for semi-shaded spots
- Chives: grows compactly and regrows quickly after cutting
- Thyme: loves sun and drier compost, and forgives missed watering
- Mint: very vigorous; best in its own can so it doesn’t take over everything
- Basil: likes warmth and steady moisture, but needs a little more attention
If you enjoy cooking, plant a different herb in each can. That way you can instantly see what’s growing where - and grab the right one quickly when you’re in the kitchen.
Styling ideas: from industrial look to a colourful pastel wall
One of the joys of tin-can gardens is the look. With minimal effort you can create personal décor that’s slightly imperfect, but full of charm.
Bare metal or bright, colourful eye-catchers
There tend to be two camps: some people leave the metal as it is. The result feels modern, slightly industrial, and pairs well with wood and brick. Others reach for paint and a brush.
Acrylic enamels or metal spray paints work well. Pastel shades suit light, airy balconies, while bold colours add impact against grey walls. If you’ve got the time, you can decorate each can differently, or stick to a simple scheme - for example, all white with the herb names written in black.
"Several identically styled cans in a row can make an old fence suddenly look like a deliberately designed herb shelf."
Labelling: no more guessing when watering
Especially when plants are young, parsley can look like coriander, and thyme like oregano. Simple labels stop mix-ups:
- Write directly on the can with a waterproof marker
- Push small wooden sticks or pegs with names into the compost
- Stick on blackboard film or small chalkboard labels
Children often love this part - they can draw, write, and look after “their” own can. It also turns the project into an easy, hands-on gardening lesson.
More than décor: benefits for bees, your wallet and the climate
Tin-can herb gardens don’t just look nice - they come with practical upsides.
| Benefit | What it delivers in practice |
|---|---|
| Less waste | Food cans are reused instead of being recycled straight away |
| Saves money | No need to buy new pots; fresh herbs instead of pricey supermarket bunches |
| More flavour | Cut herbs fresh right outside your door |
| Good for insects | Flowering herbs and plants in cans attract bees and bumblebees |
If you plant a few cans with insect-friendly flowers rather than herbs, you’ll help wild bees and other pollinators. Good options include nasturtiums, calendula, or a small packet of “bee-friendly” seed mix.
Practical tips for everyday use and care
To keep your mini herb garden enjoyable for more than one season, it’s worth thinking about care, safety and positioning.
Watering, rust, frost: what to watch out for
- Watering: cans dry out faster than large pots. In summer, check often - when in doubt, water briefly twice rather than overdoing it once.
- Rust: light rust isn’t a problem and is part of the look. If a can eventually rusts through, recycle it and swap in a new one.
- Frost: annual herbs can stay outside until they die back. Perennials, such as thyme, overwinter better with protection - for example in a box close to the house wall.
- Safety: bend any sharp edges around the opened rim slightly with pliers or cover them with tape, especially if children are helping.
If you live in rented accommodation, be mindful of landlord or building rules when hanging anything on the exterior. On an indoor windowsill or a free-standing wooden frame, those issues don’t arise.
Related ideas for even more greenery
The basic approach - using everyday items as plant pots - is easy to expand. Empty yoghurt pots make good seed-starting containers, old wooden crates become mini raised beds, and a retired fruit crate can serve as a shelf for your cans. If you’re a bit more confident with DIY, you can build a vertical herb rack from pallets and hang the cans from it.
For keen home cooks, it’s also worth planting edible flowers in cans alongside herbs: nasturtiums, pansies or calendula look lovely and later add pops of colour to salads. That way, your kitchen really does grow right outside the door - and the old tin can becomes a daily companion when you cook.
Comments
No comments yet. Be the first to comment!
Leave a Comment