
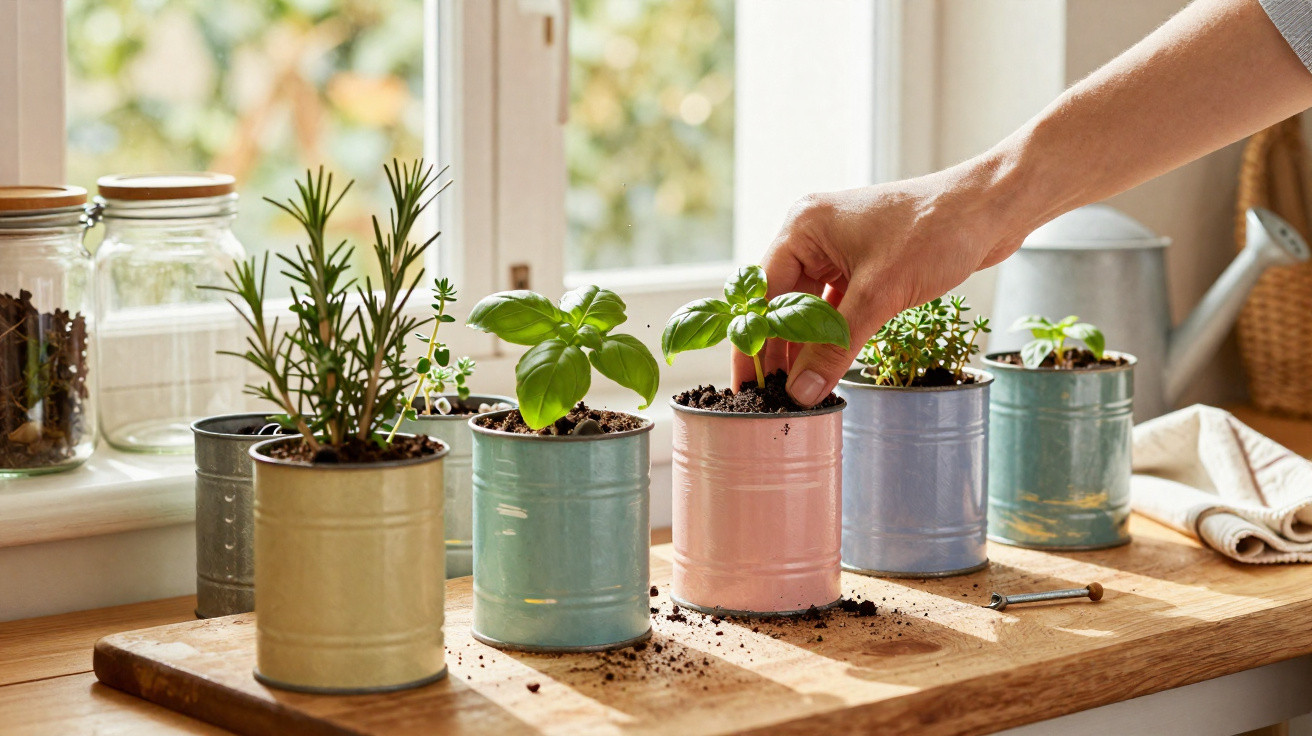
Turning milk tins into decorative pots for aromatic herbs has become a practical option for anyone keen to reuse materials and start a small home herb garden. With the right attention to painting, drainage and rust prevention, these containers can be repurposed for kitchens, balconies and utility rooms in a neat, organised way-helping herbs grow more healthily while also cutting down on the disposal of metal waste.
How do you prepare milk tins to use as decorative pots?
Before you begin, it helps to recognise that a milk tin is made of metal, so it needs proper preparation before it can be painted and sit in contact with moisture and compost. Planning the job well reduces the risk of paint peeling, water building up around the roots and early rusting, and it also makes cleaning and ongoing maintenance much easier.
Start by thoroughly cleaning the tin inside and out. Wash it with water and mild washing-up liquid to remove any powdered-milk residue, paper and sticky labels. Rinse carefully and leave it to air-dry completely; this helps minimise odours and avoids fungi or bacteria that could harm aromatic herbs and affect the growing medium.
How do you prepare and paint the tins for aromatic herbs?
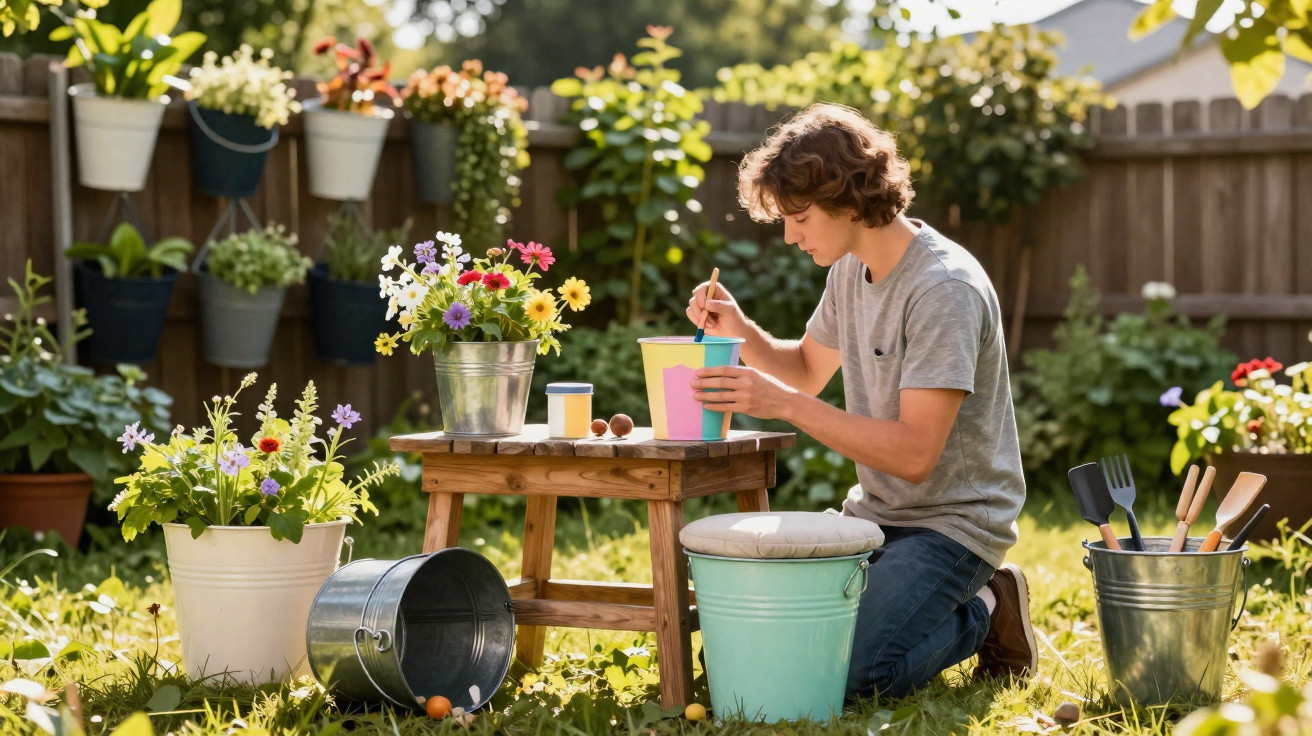
Once the tin is dry, move on to the paint preparation stage, which is key for a tidy finish and longer-lasting results. Many people lightly sand the exterior with fine-grade sandpaper to knock back small ridges and create a surface the paint can grip-especially on very smooth or glossy tins-then wipe away any metal dust with a dry cloth.
Next, apply a metal primer and allow it to dry for the time stated by the manufacturer. After that, use acrylic paint, metal spray paint or a water-based synthetic enamel. For a more personalised look, you can add stencils, use masking tape to form stripes, or paint the herb names with a fine brush, then seal everything with a clear varnish to protect the finish from splashes and indirect light.
How do you ensure good drainage, prevent rust and organise the herbs?
Drainage is essential: without an outlet for excess water, roots can rot and pests may appear. For that reason, it’s common to make holes in the base using nails, a drill or suitable tools-typically three to five small holes depending on the size of the tin-taking care throughout to avoid injuries.
A few extra measures can improve rust resistance and make day-to-day growing simpler, keeping the pot both attractive and functional for longer, even in damp spaces such as kitchens and utility rooms.
- Apply anti-corrosion paint or a suitable sealant to the inside of the tin.
- Add a drainage layer using small stones, expanded clay or broken ceramic pieces.
- Choose a light, well-aerated compost mix designed for container herb gardens.
- Arrange the tins on shelves, hanging supports or well-lit wall cubbies.
What is the quick step-by-step for reusing milk tins?
If you’d rather follow a straightforward checklist, the whole transformation can be broken down into a few clear actions. Sticking to this sequence keeps the task simple, helps you avoid missing any important stage and makes the project doable even if you’ve never set up a home herb garden before.
- Wash the milk tin, remove labels and let it dry completely.
- Lightly sand the outside surface and wipe off the dust with a dry cloth.
- Apply a metal primer and wait for it to dry.
- Paint the tin, decorate if you like, and allow the paint to cure fully.
- Make drainage holes in the base using safe, suitable tools.
- Protect the inside with a sealant or anti-corrosion paint.
- Put stones or expanded clay in the bottom and add the compost.
- Plant the aromatic herbs, water lightly and place in a bright spot.
With these precautions, milk tins used as decorative pots can provide fresh seasonings all year round while keeping your space looking orderly-like a small, at-home gardening workshop. Alongside their decorative appeal, they make it easier to watch plant growth up close, better understand light and watering needs, and make everyday cooking feel more practical and sustainable.
Comments
No comments yet. Be the first to comment!
Leave a Comment