
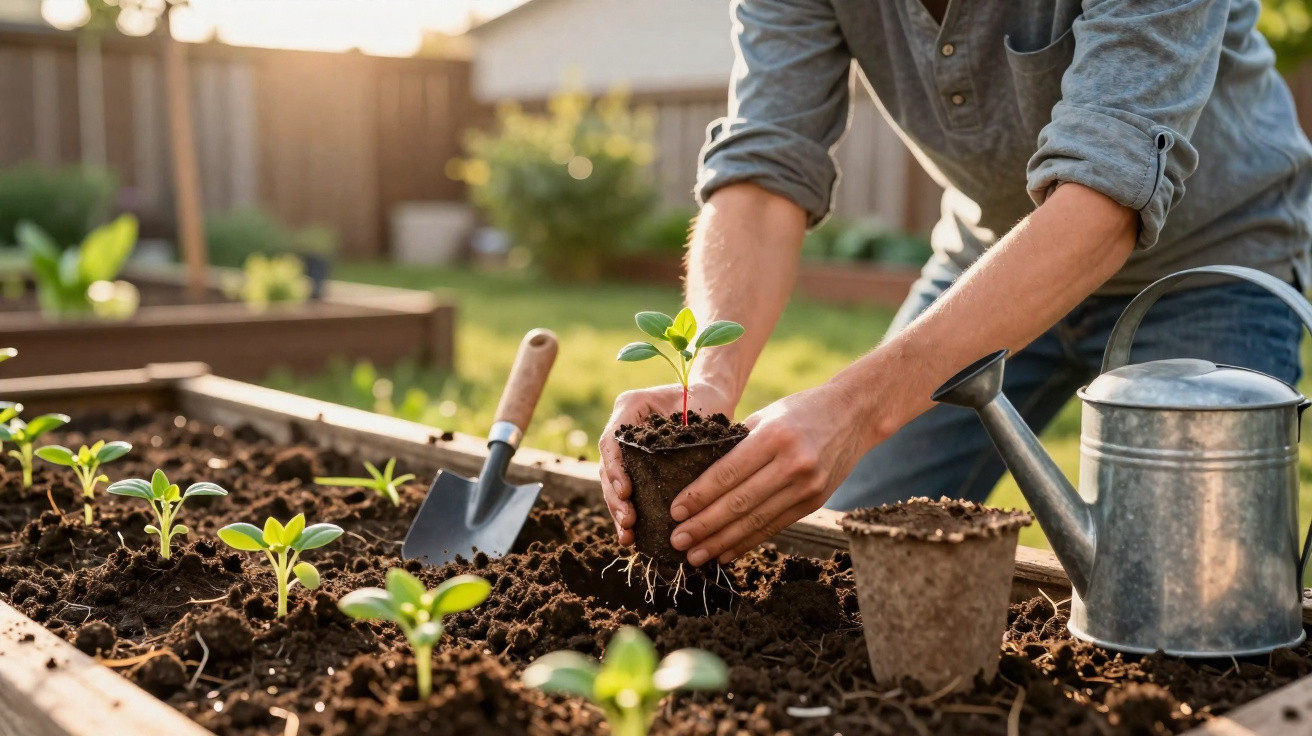
Anyone moving tomatoes, peppers or flowers from pots into the garden bed in spring will know the problem: no sooner have the tender plants been planted than they droop, stop growing for days or collapse altogether. The good news is that a few straightforward rules for watering and planting can prevent almost all of this stress – allowing seedlings to establish themselves with virtually no pause.
Why young plants often stop growing after transplanting
Moving from a pot into the ground is a minor shock for any plant. In its pot, conditions were stable: consistent moisture, loose growing medium and protected roots. Transplanting suddenly disrupts that system.
What happens to roots during planting
The fine root hairs responsible for taking up water are exceptionally delicate. They can be damaged, torn away or exposed when the plant is removed from its pot, carried and placed in the soil.
“After transplanting, the roots are still there, but their ‘fine tools’ for absorbing water have been severely disrupted – and that is precisely what causes growth to stop.”
If things go wrong at this point, the situation can deteriorate quickly:
- Too dry: The damaged root hairs dry out permanently; the plant wilts and may struggle to recover.
- Too wet: Water forces air out of the soil, leaving roots with very little oxygen and effectively causing them to “suffocate”.
Either extreme results in the dreaded post-planting standstill: the plant hangs limp, produces no new roots and becomes highly sensitive to sun and wind.
The crucial amount: how much water young plants actually need
The initial watering: ten litres per square metre – no more, no less
When giving plants their initial watering, professionals do not rely on guesswork but use a clear guideline. Immediately after planting, the soil should receive roughly 10 millimetres of water. In practical terms, this means:
| Area | Water for the initial watering |
|---|---|
| 1 m² garden bed | approx. 10 litres |
| 0.5 m² (small bed) | approx. 5 litres |
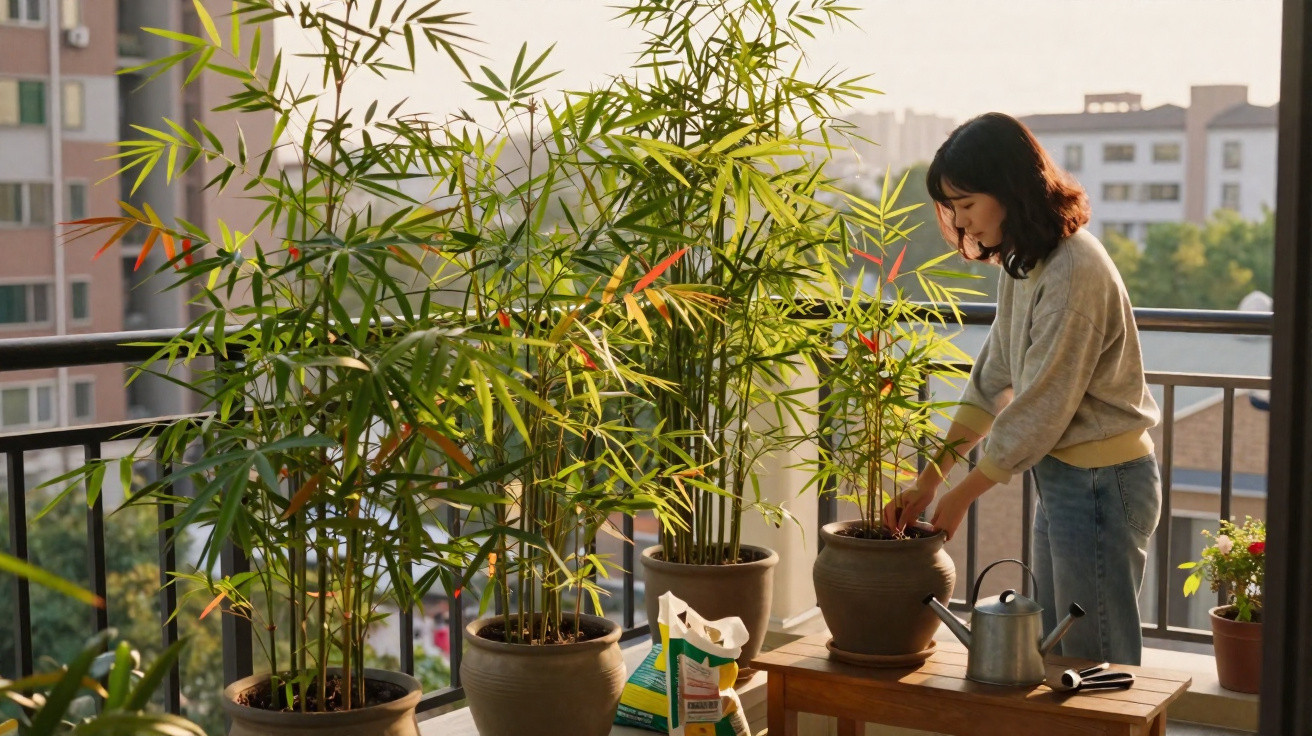
| Large balcony planter (approx. 80 cm) | around 3–4 litres |
This quantity penetrates deeply enough to reach the entire root system without waterlogging the area. It also gently firms the loosened soil, restoring good contact between the roots and the surrounding earth.
“The right initial watering means moistening the soil at depth, not turning it into a swamp.”
Those who automatically add “just a little more” water after planting can quickly overdo it. In particular, heavy soils can become waterlogged, so a plant may initially look well supplied but often dies within a few days.
The value of a controlled dry spell
Use the finger test, not compulsory watering: water again only when the top three centimetres are dry
The most common mistake after the initial watering is continuous irrigation. Many people water every day “just to be safe”, particularly when the sun is out. Over time, this weakens plants.
Experienced gardeners consistently follow this simple rule:
- Push a finger two to three centimetres into the soil.
- If this layer still feels damp or cool, do not water.
- Only water again once the surface is clearly dry and crumbly.
This managed dry phase forces the plant to send its roots further down into the soil. Rather than forming shallow, pampered roots, it develops a strong, deep-reaching root system.
Why permanently moist soil weakens plants
Watering lightly at the surface every day achieves the exact opposite of stability:
- Roots remain in the upper layer, which dries out quickly.
- The plant will rapidly falter in heat and wind.
- Constant moisture around the roots encourages fungal diseases.
“Too much water makes roots lazy and unhealthy – controlled dry spells make them strong.”
For vegetable growers, this means that allowing young plants to “work” a little at the start produces sturdier plants later on, better able to cope with heatwaves and short dry periods.
Three steps for stress-free planting
Step 1: Plant in the late afternoon
Planting time plays a part in determining how much stress seedlings experience. Late afternoon or early evening is ideal. The sun is then lower, evaporation decreases, and the plant has the whole night to settle into the soil.
Planting at midday in full sun exposes a young plant to root damage, evaporative stress and heat all at once – an unfavourable combination that can quickly lead to drooping leaves and sun scorch.
Step 2: Firm the soil around the root ball
Once the plant has been placed in its planting hole, the soil should not be left loose. Air pockets around the roots are deceptive traps: root tips can dry out inside these gaps even when the rest of the soil appears moist.
Instead:
- Fill in soil until the root ball is covered.
- Press it down firmly from the sides and above using both hands.
- Make sure that this does not push the plant upwards again.
“Well-firmed soil provides direct contact between root and soil – only then can the plant truly use the initial watering.”
Step 3: Mulch properly, but keep the stem clear
A thin mulch layer around plants helps retain moisture in the soil and prevents the surface from drying out. Suitable materials include:
- finely shredded prunings
- straw or hay, provided it is not mouldy
- mature compost applied in a thin layer
The layer should be around two to three centimetres thick. One small but important detail matters: leave a narrow ring without mulch around the plant collar – the point where the roots meet the stem.
If organic material rests directly against the stem and stays damp there for an extended time, the risk of rot and the feared damping-off disease in young plants increases.
Practical examples for everyday gardening
Using the method for tomatoes, lettuce and more
For outdoor tomatoes, it is enough to water thoroughly once after planting using the stated amount, then leave them alone for several days as long as the soil remains moist at depth. Strong winds or very sandy soil may make earlier watering necessary, but it should again be thorough rather than small daily amounts.
Lettuce seedlings are more sensitive, yet they also benefit from a defined initial watering and the finger test. Keeping them too wet risks fungal diseases and rot at the base.
What “initial watering” and “mulching” actually mean
In gardening, “initial watering” does not mean casually passing over plants with a watering can. It is a deliberate, one-off watering carried out after planting. A pause follows until the soil genuinely needs another watering.
“Mulching” means covering the soil with organic material. It preserves moisture, protects soil organisms, suppresses weeds and improves soil structure over the long term. With young plants, however, keeping mulch away from the stem is essential to prevent rot.
Why this method saves time and water in the long term
Giving plants clear rules from the outset on water, timing and soil contact avoids a great deal of trouble later: fewer losses, less emergency watering during hot weather and fewer diseases. A deep, reliable root system is particularly valuable in years with dry springs.
These apparently small but precise adjustments – a defined volume of water, dry spells, the right planting time, firmly pressed soil and correctly placed mulch – turn delicate seedlings into resilient plants that cope with the move into the garden bed with almost no interruption to growth.
Comments
No comments yet. Be the first to comment!
Leave a Comment