
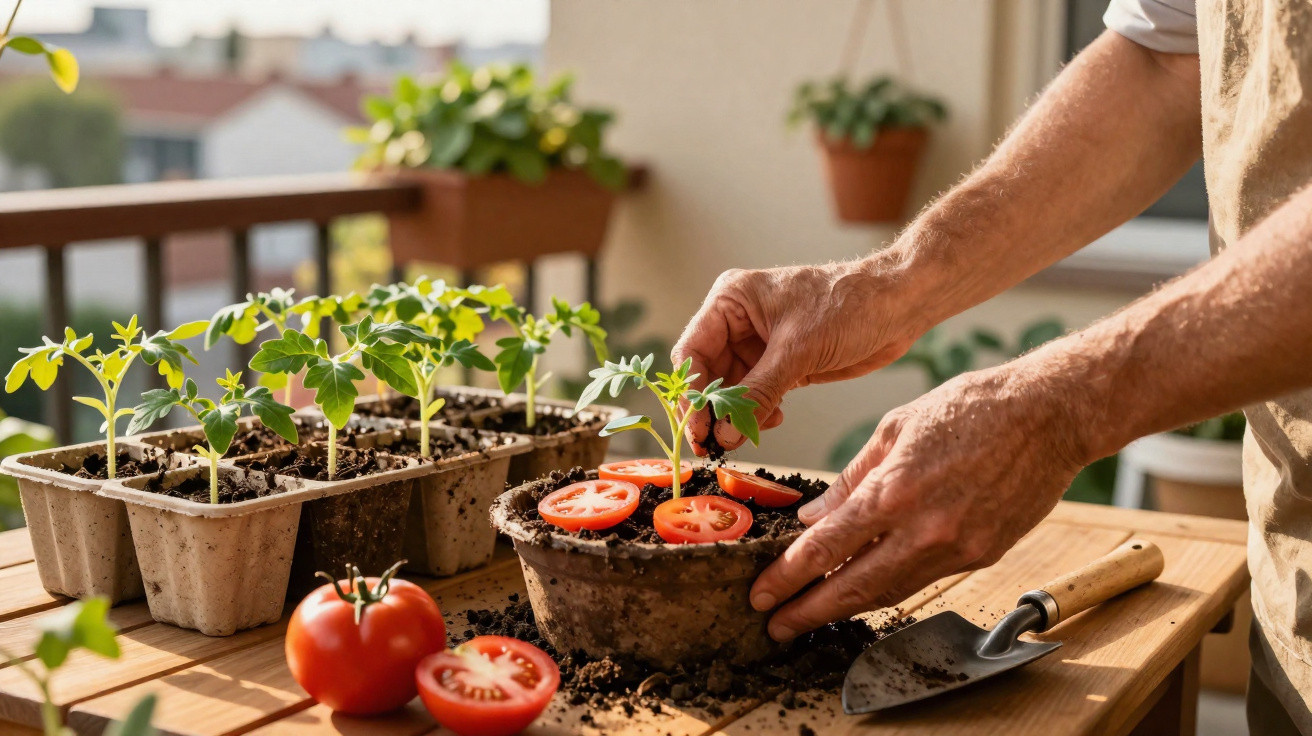
Many people still pay premium prices for shop-bought tomatoes in summer - even though a single supermarket tomato is often enough to fill a terrace or balcony with plants. A British gardening professional shows how his tomato slice trick works and what to watch out for so the spur-of-the-moment idea turns into a genuinely generous harvest.
Why the tomato trick is worth trying right now
Food prices are rising, with tomatoes among the items that can feel particularly expensive. At the same time, lots of people want more flavour on their plates and a bit more independence from the supermarket. That is exactly where this method comes in: one ordinary tomato can produce dozens of young plants with very little effort.
Tomatoes are already one of the most popular vegetables for home growing. They do well in pots, raised beds, greenhouses and even on a sunny balcony. If you have always assumed you needed pricey seed packets to get started, this trick may come as a surprise.
“The idea: don’t scrape out the seeds laboriously - just sow the whole tomato slice.”
Gardening expert Simon Akeroyd uses what many people already have at home: one tomato and an old plastic punnet from fruit or berries. In a matter of minutes, it becomes a mini nursery on the windowsill.
How the tomato slice trick works, step by step
What you’ll need
- 1 ripe supermarket tomato (an aromatic variety works best)
- 1 clean plastic punnet, for example from grapes or berries, with drainage holes in the base
- Seed compost or finely textured multipurpose compost
- A spray bottle or a watering can with a fine rose
- A bright windowsill or a mini greenhouse
Getting set up
Start by rinsing out the plastic punnet and placing it on a saucer so any excess water can drain away later. The holes in the base are ideal because they prevent the compost from becoming waterlogged.
Next, fill the punnet to about two-thirds with lightly moistened seed compost. It should feel damp to the touch, but not soaking wet.
Slicing the tomato and sowing it
Now cut the tomato crossways into roughly four to five slices. The more slices you make, the more evenly the seeds end up spread out.
- Lay the slices flat on the compost without stacking them.
- Leave a little space between slices so the seedlings do not end up too crowded.
- Cover the tomato slices with a thin layer of compost (around 0.5 to 1 centimetre).
- Moisten with a spray bottle or water very gently with a watering can.
The slices should be fully covered with compost, while the seeds remain inside the flesh - that is what makes the whole process so straightforward.
The first few days: warmth, light and patience
Put the punnet somewhere warm and bright. A south-facing window or a bright table right by a window is ideal. Draughty spots or cold windowsills are less suitable.
Keep the compost consistently moist. It must not dry out completely, but it should not sit in water either. A light sheen of moisture on the surface is just right.
“After about 10 to 14 days, there’s usually a whole ‘carpet’ of tiny tomato seedlings in the punnet.”
If you use a clear cover - for instance the punnet lid, or cling film with a few small air holes - you create a mini greenhouse. That often speeds up germination a little more. Open the cover briefly each day so mould does not develop.
Thinning out young plants properly
Once the first “true” tomato leaves appear alongside the seed leaves, it is time to separate the seedlings. Gardeners call this “pricking out”.
How to prick out without damaging them
- Choose only the strongest plants that are growing upright.
- Use the handle of a spoon, a dibber or a pencil to ease underneath the root.
- Always hold a seedling by a leaf, not by the stem.
- Move it into small pots filled with fresh compost and firm in lightly.
- Water carefully after potting on.
Trying to save every single plant can quickly overwhelm both your windowsill space and your patience. It is usually better to keep only some of the seedlings and put the rest on the compost heap. That way there is room for growth and air can circulate.
Care until planting outside
Return the pricked-out tomatoes to a bright, warm spot. The more light they get, the sturdier and more compact they remain. In low light, they tend to grow tall and weak.
Water regularly, but with restraint: the compost should never become bone-dry, yet it should dry slightly between waterings. Sitting in water encourages root rot.
After two to three weeks, the plants usually develop a stronger root system. At that point, a light feed can be worthwhile - for example, a diluted liquid fertiliser intended for vegetables or tomatoes.
When to move them outdoors
| Region | Start on the windowsill | Planting outdoors |
|---|---|---|
| Southern areas / mild locations | Late February to March | after the last frosts (mid-May) |
| Northern areas / higher-lying regions | March to early April | late May to early June |
Before planting out, the young tomatoes should be “hardened off” for about a week: put them outside for a few hours at a time in a sheltered spot during the day, then bring them back indoors overnight. This gradually acclimatises them to wind and temperature swings.
From tomato slices to baskets of harvest
Once the plants are settled into a bed, a container or a raised bed, they are no different from tomatoes grown from seed in the usual way. They need:
- a sunny, warm position
- nutrient-rich, loose compost or soil
- regular watering, ideally directed at the roots
- canes, strings or spirals for support
- for cordon varieties: regular removal of side shoots
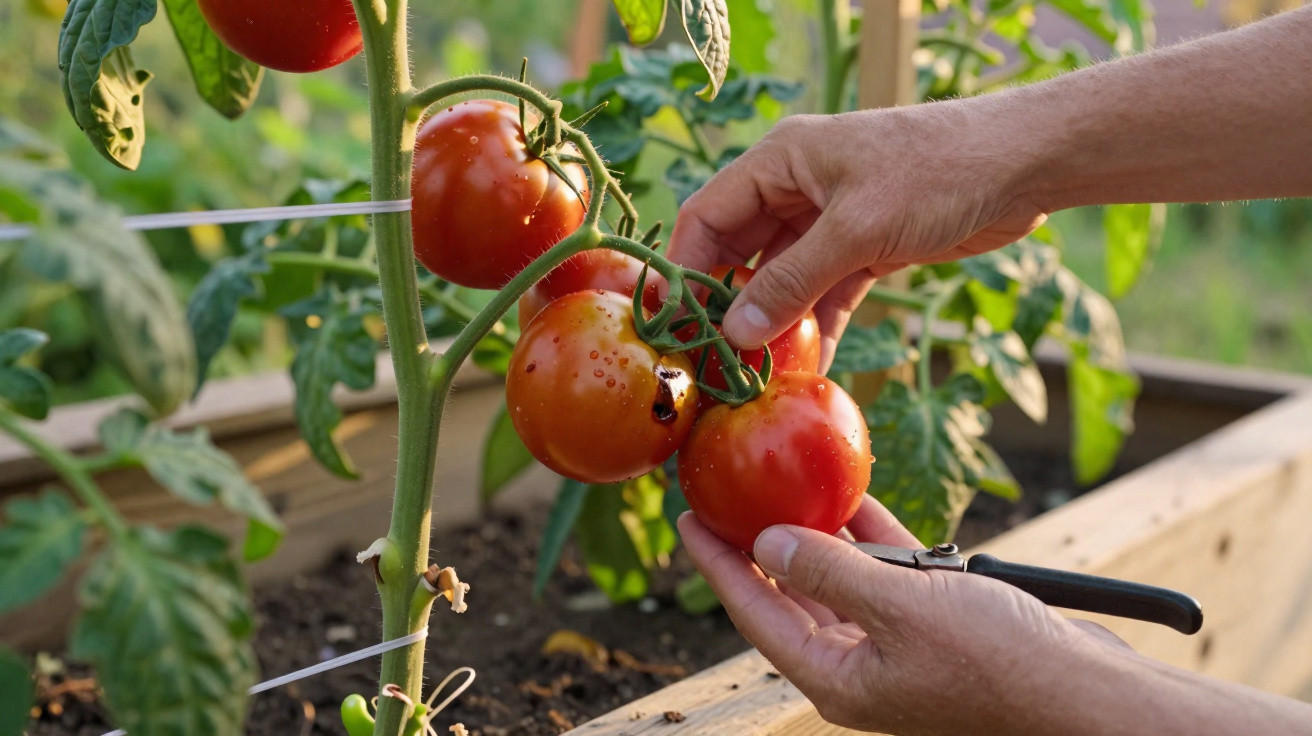
If you stick to the basics, you will usually pick plenty of sweet, aromatic fruit in high summer - and you will barely remember that all those plants originally came from a single supermarket tomato.
What to know about varieties, risks and limitations
One point that comes up again and again is that many shop tomatoes are hybrids. Their offspring can differ from the original fruit - in flavour, size or yield, for example. For plenty of hobby gardeners, that is not a major issue as long as the plants produce tasty tomatoes.
If you want true-to-type plants, it makes more sense to buy seed for a specific variety on purpose. For beginners, families with children, or anyone simply hoping to add more greenery to a balcony, the slice trick is still ideal.
There is also a small disease risk: supermarket tomatoes can theoretically carry pathogens. In practice, that does not often show up with this method, but it cannot be ruled out entirely. Clean tools, fresh compost and a well-ventilated windowsill reduce the risk significantly.
Practical tips for even better yields
If you grow your tomato plants in large pots (at least 10 litres in volume), they are more likely to receive a steady supply of moisture and nutrients. A mulch of grass clippings or straw helps the compost stay damp for longer. In a greenhouse or under a rain cover, leaves remain drier, which helps prevent fungal diseases.
Another useful tip: as soon as the plants produce their first flowers, gently shake the main stem. This spreads the pollen more effectively so more blossoms set fruit. Many gardeners also swear by nettle feed or dedicated tomato fertilisers for vigorous growth.
“Once you’ve seen how a forgotten tomato can turn into a whole army of plants, you’ll walk past the vegetable aisle much more calmly in summer.”
This supermarket trick is also a great way to get children interested in gardening: the journey from slice to first red fruit is something they can watch day by day on the windowsill. And at the end, a home-grown tomato rarely lands on the plate without comment.
Comments
No comments yet. Be the first to comment!
Leave a Comment