
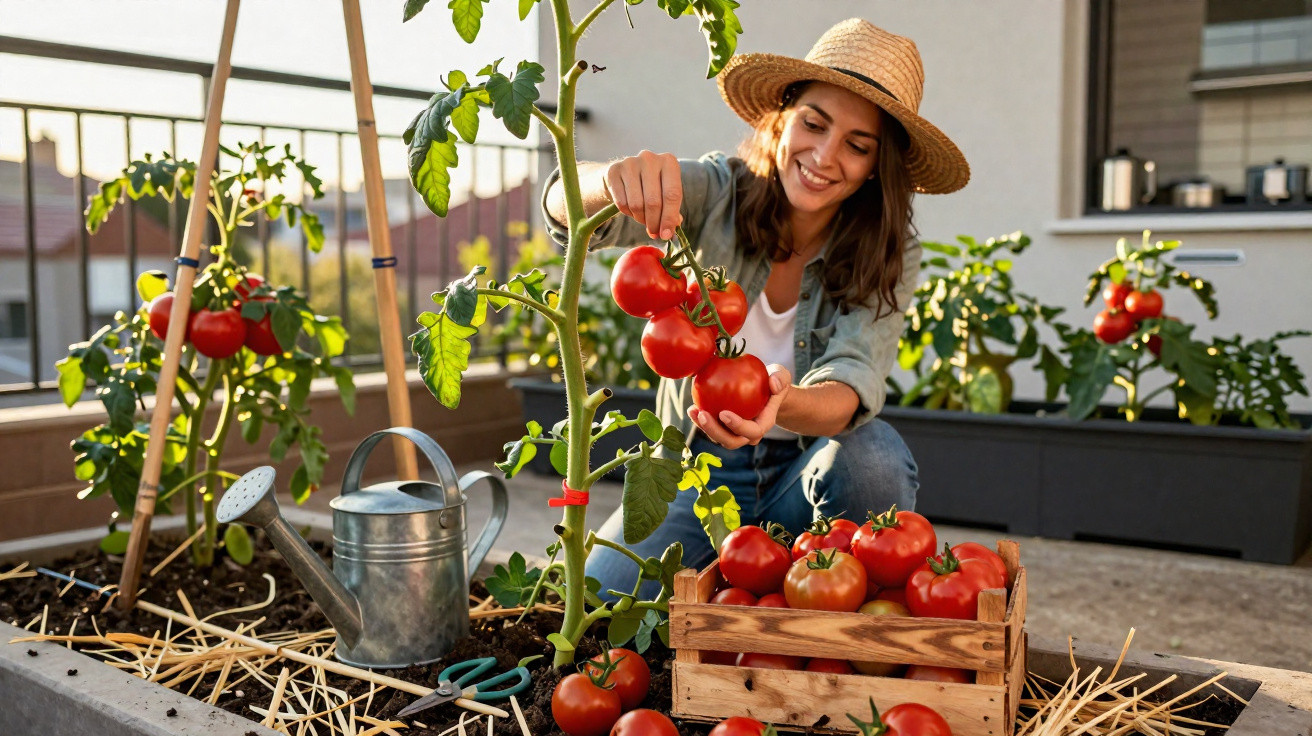
If you want to pick your own tomatoes in summer, you often run into the same frustrations: masses of leafy growth but barely any fruit, brown patches from fungal attack, or plants that run out of steam just when you’re counting on them most. The good news is that tomatoes respond extremely well once a few key levers-soil, water, variety and routine care-are set up properly.
Choosing the right tomato variety for garden, balcony and kitchen
The most important decision comes well before you reach for a watering can: selecting the variety. Not every tomato suits every growing spot-and certainly not every dish.
- Cooler climates with a short summer: choose early varieties that ripen quickly.
- Warmer regions with a long summer: go for larger, later-ripening types, often with a meatier texture.
- Balconies and containers: compact bush tomatoes and cherry tomatoes work best.
If you like thick slices for salads, pick fleshy types such as oxheart-style varieties. For sauces and ketchup, elongated tomatoes with less juice are a better match-classic “Roma” types or similar. Cherry tomatoes really shine on a balcony, patio or in a raised bed: they produce lots of small fruits, are often sweeter than larger relatives, and they tend to forgive minor care mistakes more readily.
Another detail many people overlook: varieties labelled as “resistant to fungal diseases” won’t give a 100% guarantee, but they can significantly cut losses-especially in rainy areas.
If you match the variety to the site, you halve the risk of disease and harvest frustration before you even lift a spade.
Sowing tomatoes: light, warmth and keeping a cool head
Depending on where you live, sowing usually begins between February and March. Place the seeds into a loose, low-nutrient seed compost; temperatures of 18 to 25 °C are ideal. In that range, tomatoes germinate quickly and grow strongly.
A common pitfall is insufficient light. When seedlings don’t get enough brightness, they become leggy-tall, thin and weak. Aim for 14 to 18 hours of light per day. If you don’t have a sunny south-facing window, conservatory or similar, a basic grow light can make the difference; it doesn’t need to be high-tech, just bright enough.
Once the first true leaves show, it’s time to prick out. Move the young plants into individual small pots. You can set them a little deeper so the lower part of the stem can form extra roots. This helps produce sturdy, compact plants with a strong root ball.
From living room to garden: hardening off tomatoes properly
Before tomatoes are planted outside, they need a bit of conditioning. If you take them straight from a warm windowsill into full sun, you risk scorched leaves and a stalled plant.
The approach is simple: put the pots outside for a few hours at a time over several days-starting in bright shade, then gradually increasing sun exposure. After about a week, the plants are used to wind, UV light and temperature changes and can move permanently into the open ground or a greenhouse-provided the last night frosts have passed.
The perfect soil: deep, open and slightly acidic
Tomatoes are deep-rooting plants. They do best in soil that is loose, well-aerated and rich in organic matter. A slightly acidic pH of roughly 6.2 to 6.8 is ideal. If you’re unsure, you can check with an inexpensive soil test kit.
Before planting, loosen the ground thoroughly and remove large stones and old root material. Then add a generous amount of mature compost or well-rotted manure to the planting area. Fresh manure, by contrast, is too strong and can damage roots.
A helpful planting trick is to set the young plant deep enough that the stem sits in the soil up to just below the first leaves. Tomatoes can produce new roots along the buried stem, expanding the root system so the plant can take up more water and nutrients.
Planting correctly: spacing, support and a hunger for sun
Crowding is one of the quickest routes to unhealthy tomatoes. In a bed, leave 70 to 80 centimetres between plants. With better spacing, foliage dries faster and fungal spores have a much harder time.
It also pays to install supports at planting time-stakes, spirals or tomato cages. Adding them later can easily nick the roots. In windy locations, sturdy stakes are invaluable; in containers, spirals often provide reliable support.
Tomatoes thrive in sunshine. Around eight hours of direct sun per day is a solid guideline. A breezy spot that dries quickly is preferable to a still, damp corner by a fence.
Watering like a professional: infrequent, but thorough
Many tomato troubles come down to watering mistakes. A lot of gardeners water too often but only in small amounts. That keeps roots near the surface, makes the plant more sensitive to stress, and can lead to fruit splitting or blossom-end rot.
- Always water straight onto the root zone, not over the leaves.
- Water less often, but enough each time to soak the soil deeply.
- Water in the morning so plants can start the day well.
As a rough guide, each watering should mimic about 2.5 to 5 centimetres of rainfall-something you can check in a bed by sinking a tin in the soil as a simple gauge. In pots, the surface can dry slightly between waterings, but the compost should never dry out completely inside.
Mulching: natural protection against drought stress
A thick layer of straw, leaves or dried grass clippings acts like insulation. It helps the soil stay moist for longer, reduces temperature swings and makes it harder for weeds to establish.
Mulch noticeably reduces water needs and stops soil and pathogens splashing onto lower leaves after a thunderstorm.
One key point: use only dry material. Fresh, damp grass clippings can rot and encourage mould. A layer of 5 to 7 centimetres is usually sufficient.
Fertilising without overdoing it: fewer leaves, more fruit
Tomatoes are heavy feeders, but too much nitrogen leads to an ocean of foliage-and very few tomatoes. Ideally, you’ve already mixed compost into the planting hole. From the first flower clusters onwards, a balanced feed with a stronger emphasis on potassium is enough.
Smaller, regular feeds throughout the season work better than a single big “boost”. Liquid fertiliser in watering cans or organic tomato pellets are both effective options. Yellowing leaves on older shoots suggest a nutrient shortfall, while very dark green, lush leaves paired with poor fruit set point to excess nutrients.
Pinching out: keeping rampant side shoots under control
Many varieties produce small side shoots in the leaf axils (between the main stem and a side branch), often called “suckers”. If you leave them to grow, the plant becomes overly bushy, air movement decreases, and the plant’s energy is spread across countless flowers.
By regularly pinching these shoots out with your fingers, you direct growth into the existing trusses. The result is not only larger tomatoes, but also fewer fungal issues because the plant dries more quickly.
Preventing disease: airflow, spacing and clean watering habits
One of the biggest threats is brown fungal blight, which creates dark spots on leaves and fruit and can wipe out a crop within days. Prevention matters most:
- never water over foliage-always at the root
- water in the morning so leaves can dry during the day
- remove leaves that touch the soil
- maintain enough space between plants
In the garden, a straightforward rule helps: don’t grow tomatoes-and other nightshades such as potatoes or peppers-in the same spot for at least three years. This breaks the cycle of many soil-borne pathogens.
If a large green caterpillar starts chewing through leaves, hand-picking is usually enough. In most home gardens, harsh chemicals are rarely necessary if you check plants regularly.
Heat, thunderstorms and split fruit: how tomatoes react to stress
When temperatures rise above about 30 to 32 °C and humidity is high, pollination suffers. Pollen becomes sticky and flowers often drop without setting fruit. During heatwaves, a light shade film, horticultural fleece or a shade sail at midday can help-especially in a greenhouse.
If skins split after heavy summer rain, it’s usually caused by sharp swings in water supply: too dry, then suddenly too much. More even watering and a good mulch layer greatly reduce the risk.
Harvesting and ripening indoors: getting the most from every plant
You can tell a tomato is ripe by more than its colour. It yields very slightly to gentle pressure and detaches easily from the truss. Picking every two to three days takes weight off the plant and encourages fresh flowering.
Before the first cold nights arrive, you can cut semi-ripe fruit with the stalk attached and let it ripen indoors at room temperature. A bright place helps, but direct sunlight is not essential.
How tomatoes respond to neighbours, companion planting and a spot near the house
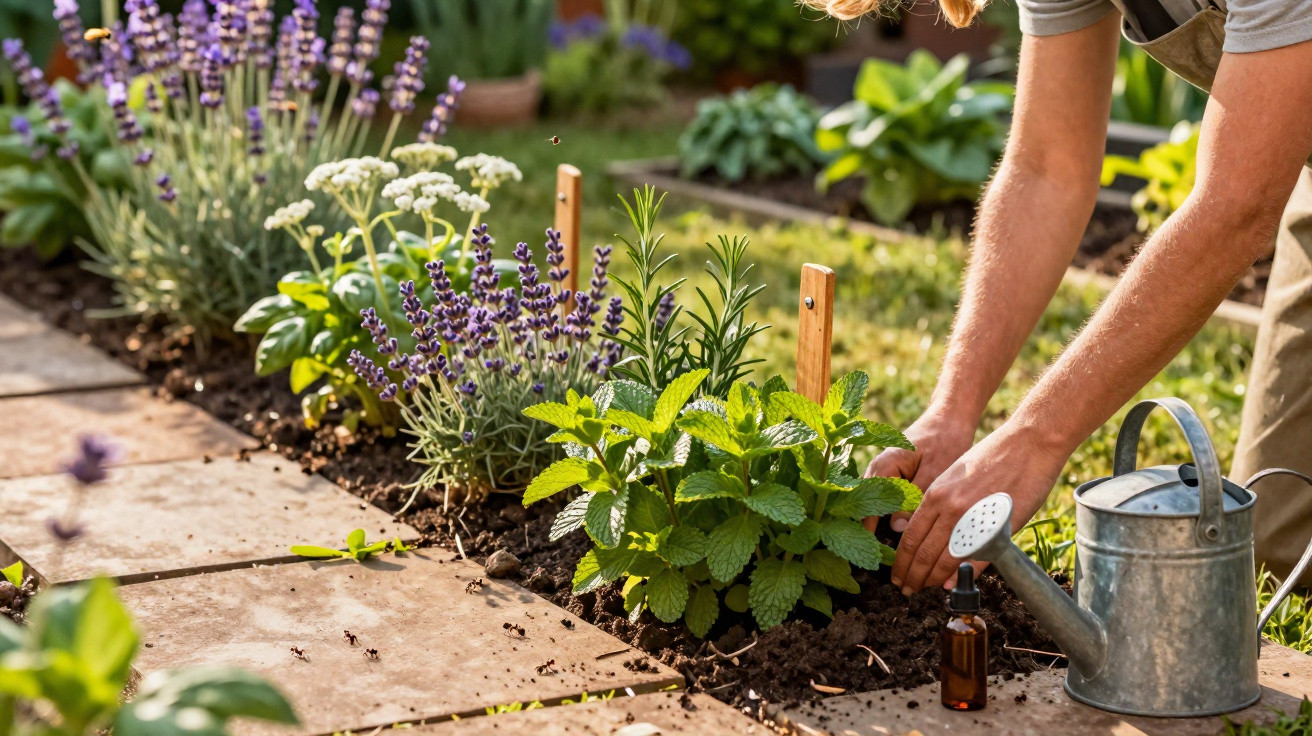
Tomatoes like an airy position, but they also benefit from certain companion plants. Classic bed partners include basil, pot marigold (calendula) or tagetes. These attract beneficial insects and can confuse pests. Avoid placing tall plants right next to tomatoes if they will cast heavy shade and steal light.
In a pot against a warm house wall, tomatoes can benefit from heat stored during the day. If you grow them there, watch for splashback from gutters so dirt and spores aren’t washed onto the leaves.
Common mistakes-and why they’re especially risky
Many issues crop up year after year, yet they’re avoidable if you pay attention. The biggest dangers are:
- planting too close together, which encourages fungal disease
- constant “dampening” instead of deep watering
- overfed, lush plants that set few fruits
- no rotation-using the same bed position every year
- putting tender young plants straight into sun without hardening off
Keeping these points in mind creates a robust foundation, where the 19 small adjustments around variety choice, sowing, planting technique, watering, feeding, pruning and plant protection then work together almost automatically. The result isn’t just a handful of tomatoes for a salad, but a crop that lasts all summer-and tastes noticeably better than anything from a supermarket shelf.
Comments
No comments yet. Be the first to comment!
Leave a Comment