
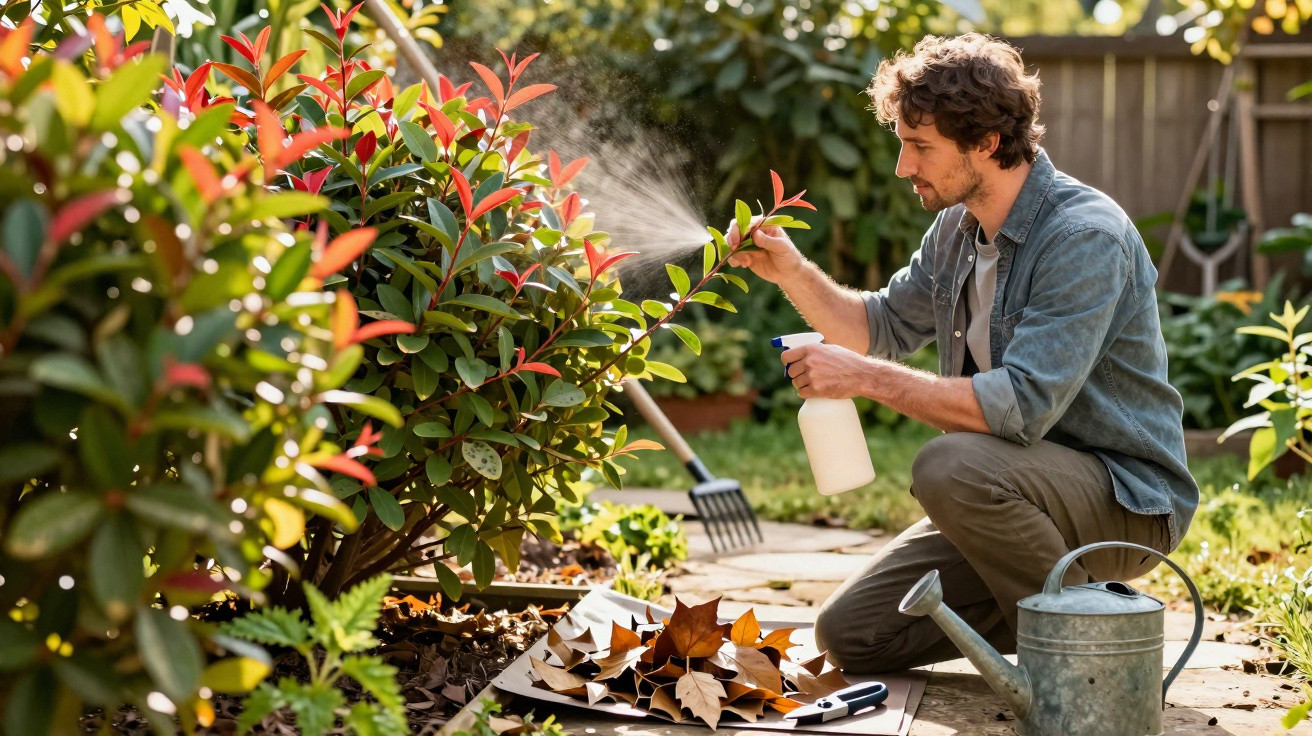
Many hobby gardeners are surprised in late winter: the evergreen photinia looked healthy in autumn, but now it appears spotted, sheds leaves near the base, and the hedge suddenly looks full of gaps. Often, these symptoms are not down to poor care at all, but to a fungus that thrives in wet springs - and one you can slow dramatically with a surprisingly simple, completely natural step, provided you act in time.
What’s really behind black spots on photinia
Most red-tip photinia shrubs in British gardens are the cultivar Photinia × fraseri ‘Red Robin’. It’s a favourite because it grows quickly, makes an effective privacy screen, and stands out in spring with bright red new growth. Ironically, that dense foliage is also what leaves the plant vulnerable to a particular fungal disease.
In around four out of five cases, the familiar black spotting is caused by Entomosporiosis. The trigger is a fungus called Entomosporium maculatum. It favours damp springs and spreads especially fast after very wet winters.
"Entomosporiosis appears as round, sharply defined spots that spread from the leaf tip downwards and eventually lead to heavy leaf drop."
The pattern is fairly characteristic: first, small brown-to-black dots show up low down on the hedge, often edged with a slight reddish margin. The spots then expand; before long, the centre turns grey, the leaf yellows, and it drops. If you find proper piles of speckled leaves gathering beneath the hedge, it’s a clear warning sign.
When black spots on photinia become genuinely serious
Not every discolouration is a drama. In winter, photinia can shed leaves as part of a normal cycle, so a few yellowing leaves on their own are not automatically a problem.
It becomes concerning when several factors occur together:
- clearly round, sharply outlined dark spots on many leaves
- discolouration starting predominantly in the lower part of the hedge
- heavy leaf fall, making the privacy screen see-through at the base
- a thick carpet of spotted, dried leaves lying under the hedge
If the plant shows only uniformly yellow leaves, without distinct, sharply bordered spots, the cause is usually a normal leaf turnover or a mild nutrient deficiency. Thick, almost crust-like black patches are more suggestive of other issues such as scab or sooty mould.
The overlooked cause: the forgotten carpet of leaves
The real turning point with entomosporiosis is not in the roots - it’s on the ground. Most spores overwinter in fallen, infected leaves. That brown layer beneath the hedge effectively becomes an incubator.
"Up to 90 percent of the infectious spores are in the fallen, spotted leaves - not in the green shoots."
As soon as the first heavy spring showers arrive, raindrops hit that layer of leaf litter. Spores are then flicked upwards by splashing water. They land first on the fresh leaves near the bottom of the hedge. From there, the fungus gradually works its way upwards.
Specialists refer to this as a “splash infection”: the fungus does not travel through the soil - it is mechanically thrown upwards. The effect is particularly pronounced in dense hedges with little air movement and in heavy soils that stay damp for a long time.
The simple, natural step to take before spring
The good news is that, if you intervene early enough, you can reduce infection pressure dramatically - without any toxins, simply using a rake and a garden sack. Timing is the key.
The best time of year
Gardeners should block out a window from late February to early March. Conditions are often a little drier then, buds have not yet pushed strongly, and the spores are still largely sitting in the fallen leaves.
Important: choose a dry day so wet leaves do not cling on and so you do not create fresh splashes.
Step by step: putting your hedge on a “fungus diet”
Use the following approach to take lasting pressure off your photinia hedge:
- Put on gardening gloves to protect your hands from thorns and damp.
- Work carefully from the inside out using a rake or a small hand cultivator.
- Pull out all spotted, dried leaves from under and within the hedge - including those caught between the lower branches.
- Pack everything straight into sturdy sacks.
- Take the sacks to your local collection point or dispose of them in general waste - never put them on the compost heap.
"If you remove the leaf carpet before the first spring downpours, you take away the fungus’s main launch pad - without any chemicals."
What you must not do with infected leaves
The biggest mistake comes after raking: many gardeners automatically tip the material onto the compost heap. That’s exactly where the fungus can carry on thriving.
- Do not put diseased leaves on the compost heap.
- Do not spread them as mulch under other shrubs.
- Do not use fine overhead watering on the hedge in spring - it increases the splash effect.
If you water from above with a sprinkler in spring, you can spread spores even more widely. A better method is slow watering at ground level, ideally in the morning, so leaves dry quickly.
Natural “backup”: copper, plant brews and airflow
Once you’ve cleared up thoroughly, it’s worth considering a few supporting measures. The core tactic remains mechanical - removing leaves - but a couple of additions can give young growth extra protection.
Bordeaux mixture as a protective barrier
A traditional option for home gardens is a copper-based spray made from copper sulphate (often sold as “Bordeaux mixture”). Used at the correct strength, it works preventatively against many leaf fungi, including entomosporiosis.
Typical guidance:
- Dosage: 10 to 20 grams of powder per litre of water
- Use: straight after clearing fallen leaves, before bud break
- Weather: dry and preferably calm, with no rain expected for the next few hours
Do not overuse copper products, as copper can build up in the soil. One to two applications per year are usually sufficient.
Plant-based helpers: horsetail and nettle
Many gardeners also rely on plant brews. They do not replace removing the leaves, but they can help support the plant’s natural resilience.
Common choices include:
- Horsetail tea: helps toughen the leaf surface thanks to its high silica content.
- Nettle feed: acts like a gentle liquid fertiliser and encourages the growth of healthy new shoots.
Apply both on rain-free days. With nettle brew, watering around the roots is often enough; horsetail tea can be lightly sprayed onto the foliage.
Light, air and pruning: making photinia tougher
If you are already working beneath the hedge, you can also take advantage of a second benefit: a little thinning. Dense, impenetrable photinia hedges stay wet for a long time after rain - ideal conditions for fungal spores.
"A few targeted cuts in the lower section improve airflow so leaves dry more quickly."
It’s usually enough to remove a few inward-growing shoots at the base. The aim is to be able to reach your hand between the branches without difficulty. That lets more light reach the stems, helps the soil dry quicker, and creates less favourable conditions for the fungus.
If you are planting from scratch, avoid spacing photinia too tightly. A gap of 80 to 100 centimetres between shrubs is sensible. In established hedges, a regular maintenance trim after flowering helps guide growth and prevents overcrowding.
The risks of doing nothing - and why 30 minutes of effort pays off
If entomosporiosis is completely ignored, the hedge can thin out severely over several years. The plants often do put out new growth, but they shed leaves early each time. That repeated stress weakens them and can make them more vulnerable to frost, drought stress, and additional pathogens.
In the worst case, you’re left with bare, aged stems carrying only a few leaves at the tips. At that point, a drastic renovation prune - or even full replanting - is often the only way forward. Compared with that, an hour of raking in late winter suddenly seems very worthwhile.
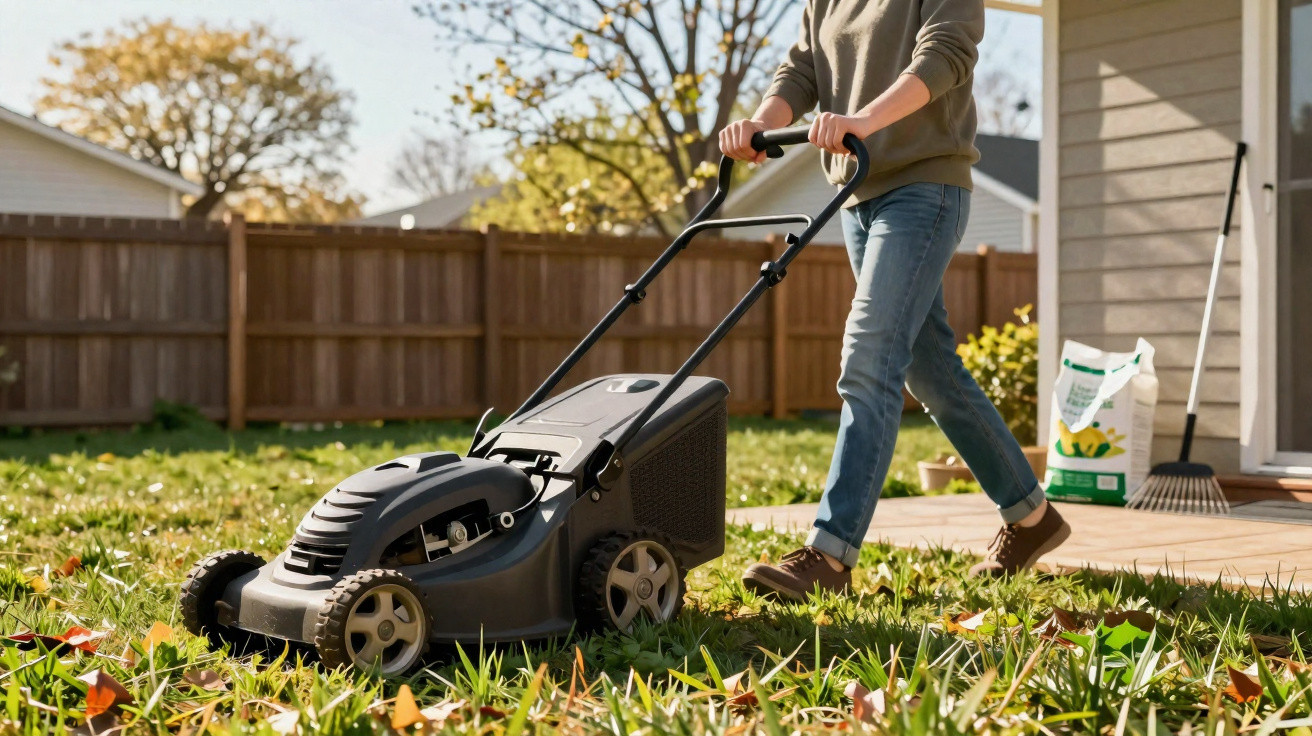
Anyone who has seen how steady and full a hedge remains when the leaf carpet is removed regularly tends to make it an automatic annual task. Many gardeners tie it in with the first lawn cut or cutting back perennials - a fixed date in the garden calendar.
Practical habits for healthy hedges day to day
A few additional routines help keep photinia in good shape over the long term:
- During extended dry spells, water less often but thoroughly at soil level.
- In spring, spread a thin layer of well-rotted compost around the shrubs - but only compost from healthy plants.
- Briefly disinfect tools such as shears after pruning several infected shrubs.
- Keep new container plants under observation for a few weeks before adding them to an existing hedge.
The term entomosporiosis may sound technical, but it simply refers to a very specific fungal leaf disease. It behaves much like familiar leaf-spot problems on roses or fruit trees: spores overwinter in fallen leaves, are spread by rain, and benefit from damp, poorly ventilated spots. Once you understand that principle, you can apply it to many other plants - and a simple rake becomes one of the most useful “medicines” in the garden.
Comments
No comments yet. Be the first to comment!
Leave a Comment