
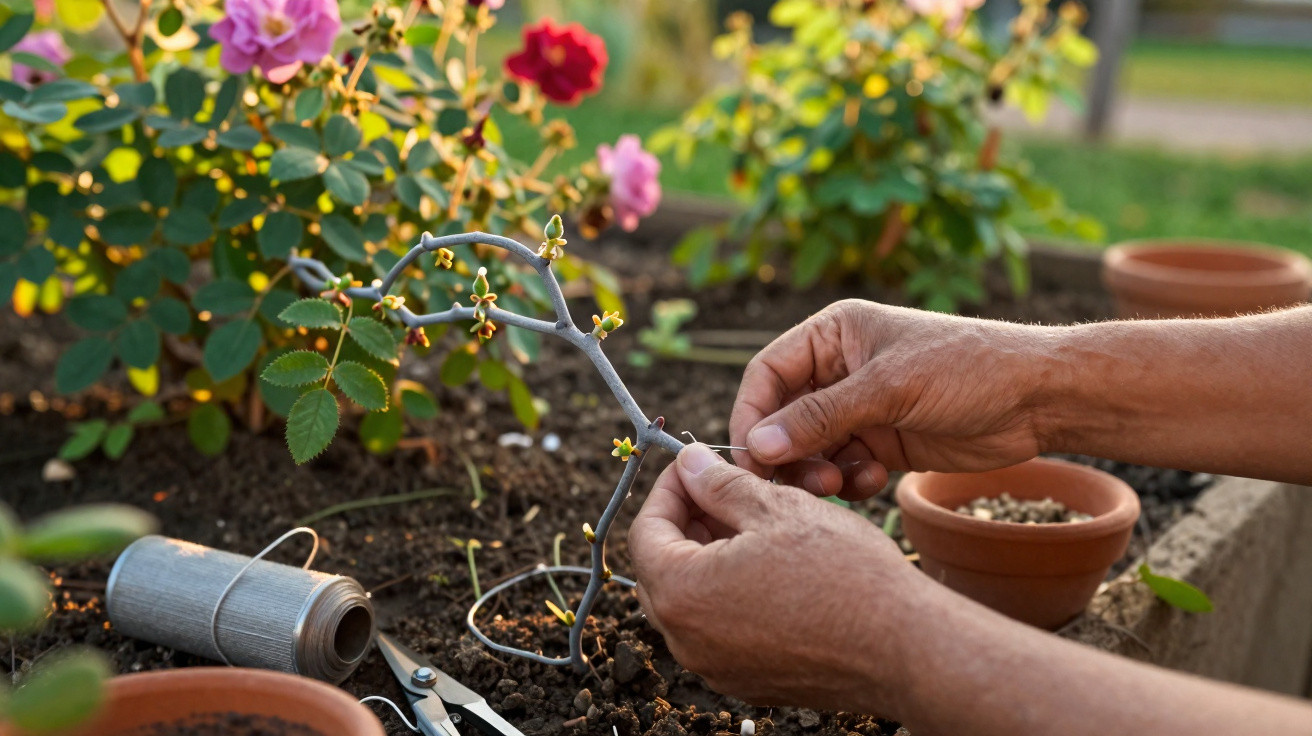
An old rose bush may look grey and almost dead, yet an unobtrusive piece of wire can turn it into a young, free-flowering plant.
When ageing roses produce nothing but bare, grey shoots, many amateur gardeners reach for the secateurs too quickly. However, these apparently exhausted branches often still contain a surprising amount of life. With a precise technique and a length of wire, one tired rose can produce a new, vigorous bush – without a professional workshop or high-tech equipment.
Why grey rose branches are far from beyond saving
A rose branch may appear old and unattractive on the outside, but as long as its wood has not dried out completely, sap is still moving within it. This is where the wire method comes in: the plant continues sending water upwards, while growth hormones accumulate at one particular point. A new root base then develops there, allowing one branch to become an entirely new rose plant.
Many supposedly “dead” rose branches can be turned into independent, flowering young plants with a carefully applied wire technique.
This approach offers two major benefits. It can save a cherished old rose bush that is rotting at the base or dying back after frost. It is also suitable for propagating a much-loved variety without expensive purchases or complicated grafting.
What happens inside the rose: a brief look at plant physiology
Two important transport systems operate within every rose shoot. The xylem carries water and minerals upwards from the roots. Just beneath the bark sits the phloem, which transports sugars and growth substances downwards. These hormones include auxins, which encourage root formation.
When soft wire is wrapped tightly around the shoot, the following takes place:
- The phloem is compressed.
- The xylem continues to function, supplying the shoot with water.
- Growth substances build up above the wire.
- After several weeks, a substantial root callus forms at that point.
This swelling of fresh tissue provides the basis for an independent rose bush. The most suitable times are early spring, when sap is rising strongly, and late summer, when the rose is still active but no longer flowering at full pace.
Choosing the right shoot and tightening the wire correctly
This method does not require a flawless show shoot; a healthy, semi-woody branch from the previous year is enough. A thickness roughly equivalent to a pencil is ideal: it should not be so thin that it snaps when bent, nor so thick that the wire cannot do its job.
Position the wire loop around 15 centimetres from the branch base. It should leave a clear mark in the bark without cutting through the shoot. If it is too loose, it will achieve nothing; if it is too tight, it weakens the entire branch. Aim for a barely visible indentation, not a brutal “strangling”.
Success depends on careful adjustment: the wire needs to compress the phloem without completely stopping the water supply.
Equipment from the shed: what gardeners actually need
Everything required will fit into a small garden supplies box:
- Soft wire (1–2 mm), preferably copper wire
- Flat-nose pliers and sharp, clean rose secateurs
- A pot or planting container with a saucer
- A growing medium made from 50% loose compost and 50% coarse sand
- A transparent cover: a glass cloche or a cut-down plastic bottle
- A dated label to keep track of progress
Copper wire brings an additional advantage: the metal has a mildly fungicidal effect and can reduce the risk of rot around the small wound at the wire point, particularly in areas with frequent rainfall.
Step by step: using the wire method on a rose bush
Applying the wire and allowing the root callus to develop
First, select a strong shoot produced in the previous year. The key stage then begins:
- Apply the wire roughly 15 centimetres from the base.
- Using pliers, twist it carefully until the bark is lightly indented.
- Leave the plant in its existing position and care for it as usual.
- Wait 3 to 6 weeks for a visible swelling to form above the wire.
Over time, this swelling becomes firmer to the touch and is a reliable sign that root formation has begun. During this period, the rose must not experience drought stress, or the process will stop.
Option A: rooting the new plant directly in the ground
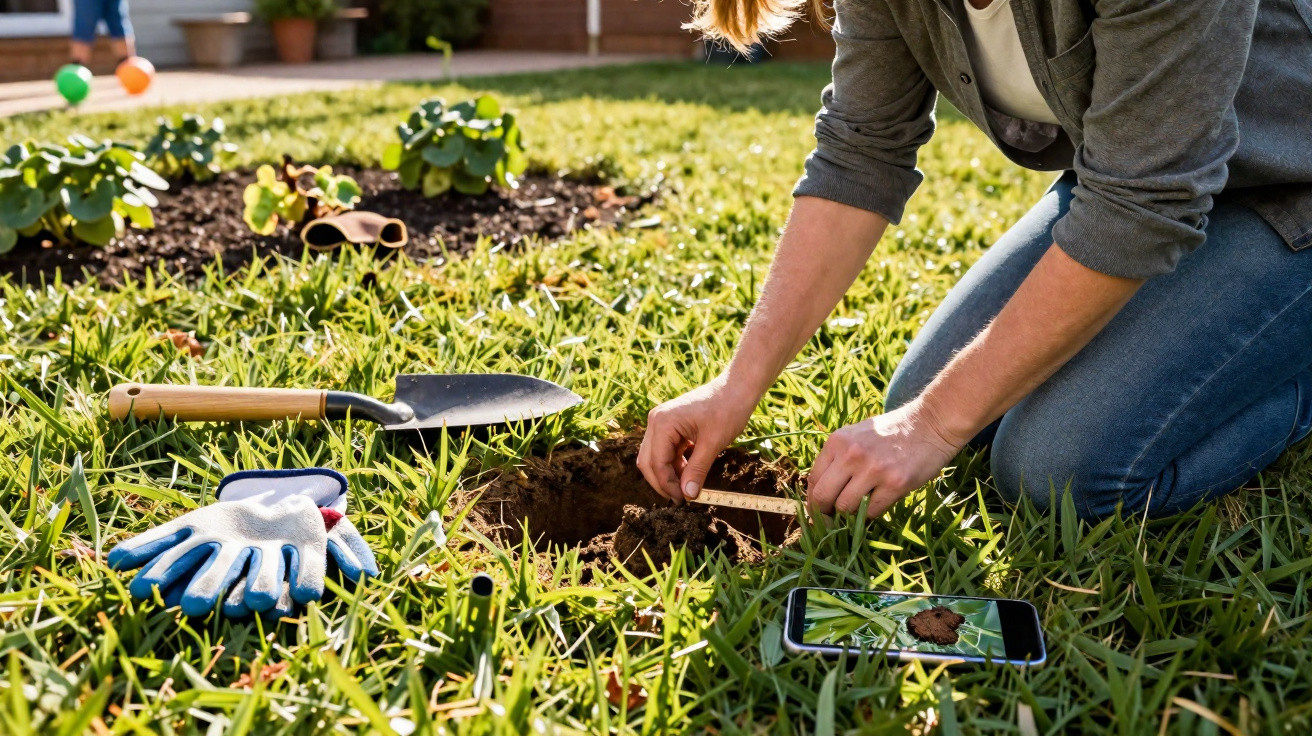
With the ground method, bury the marked section once the callus has formed. Any garden soil that can be loosened and does not remain constantly wet will work.
Proceed as follows:
- Make a small trench around 10 centimetres deep.
- Add a blend of sand and loose soil at the bottom.
- Carefully bend the wired section into the trench without breaking the shoot.
- Secure it to the ground with a bent piece of wire.
- Cover it with soil and water lightly.
The remaining shoot stays attached to the parent plant at first. Only in the following spring should you check with your fingers whether a fine, dense network of roots has formed. If the newly created root mass is substantial enough, sever the connection to the original plant and move the young bush to its final position.
Option B: rooting in a pot on the patio
Anyone without a suitable patch of soil, or who wants greater control, can use a pot. Once the callus has developed, cut the shoot off below the wire point, prepare it as a rose cutting around 15 to 20 centimetres long, and insert it into the sand-and-compost mix. Approximately two thirds of its length should be beneath the growing medium.
A transparent cover keeps humidity high without leaving the cutting sitting in water. Place the pot in light shade, such as beneath an open-canopied shrub, beside a north-facing wall or on a balcony away from direct midday sun.
The first delicate new shoots, or clear resistance when the rose cutting is gently tugged, show that the new plant has formed roots of its own.
When the new rose bush can be moved
Patience is worthwhile with a cutting rooted in the ground. A full annual cycle creates a stable root ball. Once the roots are firmly established and fill the hollow well, it is time to separate it: make the cut between the old plant and the new rooting zone.
For a potted cutting, the plant indicates the right moment itself. When it produces new leaves and retains them steadily, gradually remove the cover. Afterwards, keep the growing medium only lightly moist. Excess water quickly causes rot, especially in the dense root callus.
Moving it into a flower bed is best done in a frost-free spring or early autumn. This gives the young rose enough weeks to establish itself before facing heat or frost. A simple support cane helps prevent wind damage during the first few months.
Common mistakes and how gardeners can avoid them
Not every attempt will succeed, but a few straightforward precautions prevent many problems. Common pitfalls include:
- Wire too tight: The shoot withers above the loop – use slightly less pressure.
- Wrong timing: The depths of winter and the height of summer rarely produce good results.
- Constant wetness: The callus rots before roots can form – loosen the growing medium and ensure drainage.
- Cutting before a callus develops: Removing the branch too early leaves only an ordinary, weak rose cutting.
It makes sense to treat several shoots on each rose at the same time. This raises the likelihood of producing at least one robust young bush and allows different positions or growing media to be tested.
Why old rose treasures are worth the effort
Many historic varieties that have stood in a garden for decades are scarcely available commercially. The wire technique makes it possible to preserve these personal treasures and transfer them to new locations. Anyone redesigning a garden or moving home can take favourite roses along without having to dig up the entire old rootstock.
There is also a practical benefit: roses produced from a rooted shoot like this grow on their own roots. In many cases, they are longer-lived than conventional grafted roses, where a delicate rose variety is grafted onto a rootstock. If the grafted variety dies back, only the rootstock remains – often producing plain, rather unremarkable flowers.
The combination of a semi-woody branch, precisely measured pressure from the wire and the right timing makes deliberate use of the rose’s own biology. Anyone who has tried it successfully will see grey, weary branches differently in future – not as waste, but as the starting point for the next flowering rose bush.



Comments
No comments yet. Be the first to comment!
Leave a Comment