
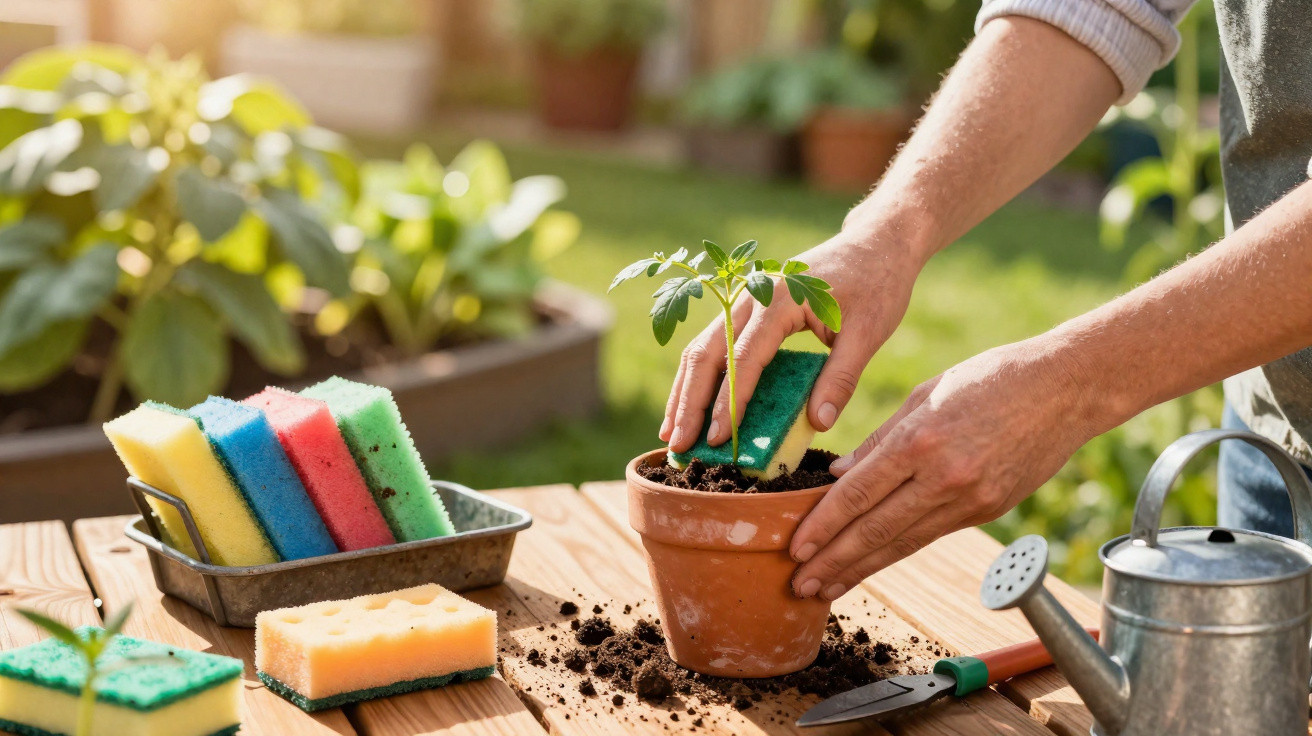
Whether it’s eggshells, coffee grounds or vegetable peelings, more and more home gardeners are finding practical ways to reuse kitchen waste. One everyday item is often overlooked, though: the old washing-up sponge. Once cleaned properly, it can take on several roles outdoors - from a mini water reservoir and a seed-starting aid to a buffer against cold snaps and even a natural, scent-based pest deterrent.
Why an old sponge suddenly becomes useful in the garden
A household sponge is typically made up of a soft, absorbent side and, in many cases, a rough scouring layer. Those exact qualities can be surprisingly handy outside. A sponge holds water, provides a little insulation against temperature swings, and can release small amounts of liquid - for instance, water mixed with fragrances - gradually over time.
"Anyone who doesn’t throw kitchen sponges away straight away, but reuses them in the bed, saves money and waste - and helps their plants at the same time."
Before you place a sponge among lettuces, geraniums or tomatoes, it needs a thorough clean. In kitchens and bathrooms, sponge surfaces collect huge numbers of germs. Left untreated, those have no place in the garden.
How to make old sponges suitable for garden use
The first step is always disinfection. Only a genuinely clean sponge should go near plants, and you can do this with simple household options.
Step-by-step cleaning for garden use
- Put it in boiling water: Place the sponge in vigorously boiling water for a few minutes.
- Optional: use the microwave: Heat the wet sponge briefly (about 1 minute) on a high setting, keeping a close eye on it.
- Alternative using household vinegar: Soak it in a mixture of water and clear table vinegar until it is thoroughly saturated.
- Let it dry fully: Squeeze it out after treatment, then allow it to cool completely and dry out.
Important: if the sponge smells strongly, is discoloured, or is already breaking down, it belongs in the bin. For garden use, only choose pieces that are still firm and reasonably intact.
Mini water tank: sponges as moisture reservoirs in pots
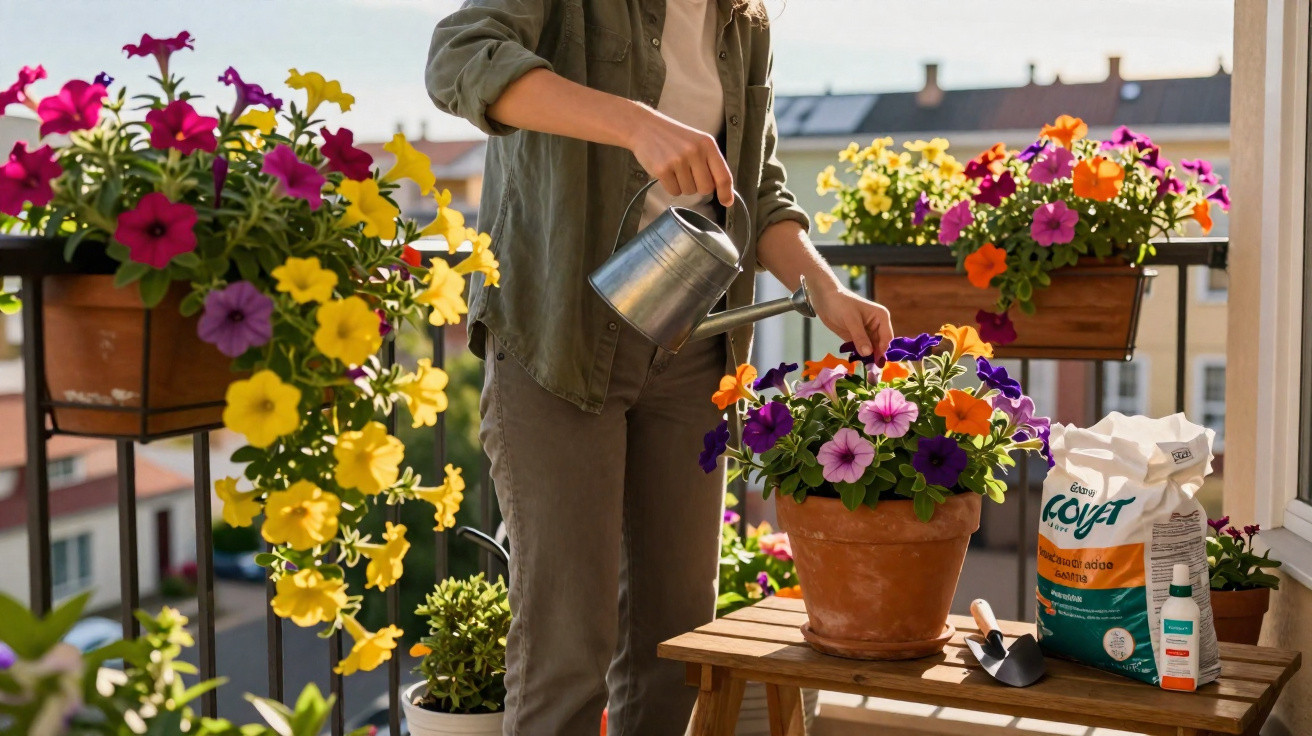
The most obvious strength of a sponge is how it absorbs water and then releases it again. That’s exactly what makes it useful for pots and balcony containers.
How to set up a water reservoir in a pot
One straightforward approach is to position a clean, damp sponge close to the roots:
- Moisten the sponge, but don’t leave it dripping wet.
- Place it directly on the soil at the base of the plant, with the soft side facing down.
- Cover it lightly with soil or weigh it down with a small stone.
The sponge now works like a small tank. As the compost dries, it gradually feeds moisture back into the root zone. This is particularly helpful:
- on sunny balconies where summer heat is intense,
- for plants that dislike waterlogging but prefer even moisture,
- if you’re often unable to water for a weekend.
Some gardeners even swap the usual terracotta shards or expanded clay balls in the bottom of the pot for a trimmed sponge. Placed at the base, it soaks up excess watering and maintains a mildly moist environment without leaving roots sitting in water.
"Especially in window boxes, a sponge in the base can help stop the compost from becoming bone-dry again after just a few hours."
Even so, sponges are not an irrigation system. If you’re away for several days in hot weather, you’ll need additional measures such as watering systems or light shade.
Sponges as a launchpad for seeds
A less well-known use is as a surface for germination. The principle is simple: young seeds need consistent moisture and oxygen. A clean sponge can provide both.
How to start seedlings directly in a sponge
Rectangular pieces or sponge cubes work well for sowing. The process is straightforward:
- Cut the sponge into small blocks.
- Moisten the pieces well so they’re damp, but not soaking.
- Use a knife or toothpick to make small indentations.
- Press one seed into each indentation.
- Put the sponge pieces on a plate or in a shallow tray.
The seeds can germinate steadily because the sponge holds moisture reliably while still allowing air through. Once the seedlings reach a few centimetres in height, you can move them - sponge and all - into compost. The roots will simply grow through it.
| Plant type | Suitable for sponge pre-cultivation? |
|---|---|
| Cress, radishes | Very suitable, germinate quickly |
| Herbs (basil, parsley) | Good, need consistent moisture |
| Tomatoes, peppers | Possible, transplant carefully later |
| Large beans, peas | Better sown directly into compost; sponge only partly useful |
Garden research institutions have pointed out for years how crucial a germination environment is that’s moist yet airy. With a bit of improvisation, sponges can mimic similar professional propagation substrates used in nurseries.
Insulating layer against cold and temperature swings
Many plants are sensitive to sudden drops in temperature overnight. Here, a sponge can act as a small buffer placed directly above the root area.
How a sponge works as cold protection
It’s quick to apply:
- Lightly moisten the sponge or leave it dry, depending on how damp the soil already is.
- Place it on the soil with the soft side down.
- Secure it with a handful of soil, some leaves, or a stone.
The sponge slightly shields the top layer of soil. That means the ground doesn’t cool as abruptly and stays a little more thermally stable through the night. The effect won’t match a broad layer of mulch, but for sensitive young plants in spring it can make a subtle difference.
"As a kind of mini-mulch, the sponge protects both against night-time cold and against rapid drying on hot days."
Sponges as carriers for natural scent barriers
Some insects can be discouraged by smell alone, without resorting to toxic substances. This is where the sponge comes in again - this time as a fragrance carrier.
Turning a cleaning sponge into a pest disruptor
Small pieces work best for this, placed around vulnerable plants. One possible method:
- Cut the sponge into small squares.
- Moisten them with water.
- Add a few drops of essential oils known for repelling effects, such as peppermint or lemongrass.
- Place the pieces near roses, herbs or in beds.
The scent disperses slowly, which can disrupt certain insects. This may reduce feeding damage without using chemical products. Environmental authorities have advised for years to use gentle approaches in the garden wherever possible - sponges with natural aromas fit well with that idea.
What to watch out for when using sponges
As practical as it sounds, there are a few points worth keeping in mind so the idea doesn’t backfire.
- Check regularly: If the sponge goes mouldy or starts to smell unpleasant, remove it immediately.
- Avoid residues from harsh cleaners: Sponges that have been used with strong degreasers or chemicals are off-limits.
- Not a permanent solution: Replace sponges after a few weeks so germs and fungi don’t build up.
- Use as part of a wider approach: Sponges can complement mulching, watering and soil care, but they don’t fully replace them.
If sustainability matters to you, it’s also worth considering the material. Some sponges are made from natural fibres that will break down in the soil over time. Classic plastic sponges, by contrast, should be removed eventually so no microplastics remain in the garden.
Everyday life constantly produces small leftovers and worn-out items that rarely get a second chance. The humble kitchen sponge shows how much potential can be hidden in such things. Anyone who looks a little more closely at pots, boxes and beds will quickly spot other ways to turn apparent rubbish into useful garden helpers - from fabric scraps used as shade to old newspapers laid under bark mulch.
Especially in urban gardens with limited space and a tight budget, these kinds of tricks can become genuine problem-solvers. They save resources, cut waste, and support plant care with simple means. A glance into the sink before taking out the rubbish bag can become the starting point for your next creative garden idea.
Comments
No comments yet. Be the first to comment!
Leave a Comment