
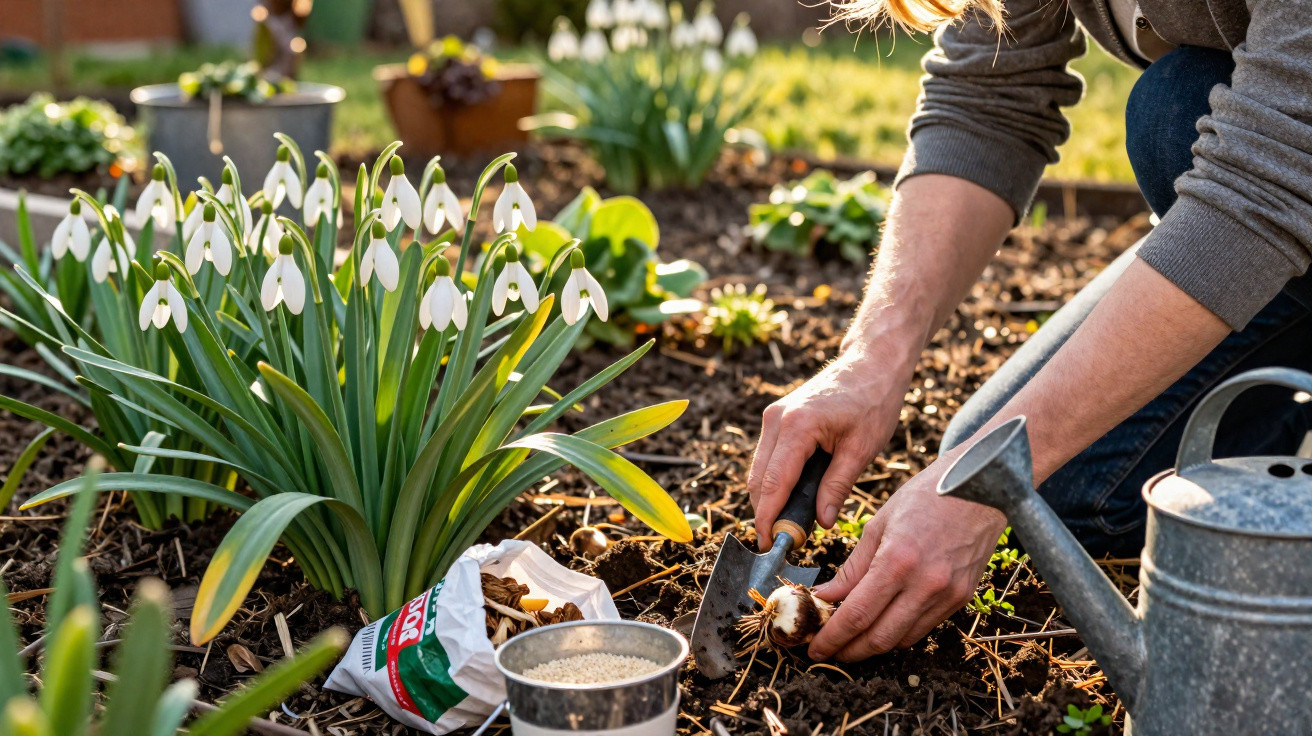
In late winter, snowdrops are often the first flowers to bring life back into the garden. Once those delicate blooms have faded, the area can quickly look dull. This is also the point at which it’s decided how strongly the bulbs will grow next year. If you look after them properly now, you’ll end up with thick carpets of flowers rather than the odd scattered plant.
Leave the foliage in place – even if it looks untidy
After flowering, many people want to cut back the fading greenery straight away. For snowdrops, that can do real harm. The leaves continue working for several weeks, much like tiny solar panels.
"The foliage needs to stay on the plant for six to eight weeks after flowering so the bulb can store enough energy."
Through their green leaves, snowdrops carry out photosynthesis and move nutrients down into the bulb. Only when the foliage turns yellow on its own is the process complete. If you reach for the shears too early, you weaken the plants and the following year’s display will be noticeably poorer.
A neat-bed trick: hide it rather than cutting it
Because the yellowing leaves aren’t exactly attractive, a simple design trick is worth using: pair snowdrops with perennials that emerge later.
- Hostas – sprout late and cover the fading foliage
- Ferns – enjoy similar conditions in dappled shade
- Cranesbill (Geranium) – forms loose groundcover and fills gaps neatly
That way, the bed still looks good while the snowdrops are allowed to die back naturally.
Watering correctly: moist, not waterlogged
In the weeks after flowering, the bulbs benefit from even moisture. In a dry spring, it’s well worth watering regularly.
- Keep the soil lightly moist and don’t let it dry out completely
- Avoid waterlogging at all costs – it encourages rot and fungal problems
- Water less often but thoroughly, rather than giving a daily “dribble”
If you garden on heavy soil, it’s best to loosen it deeply before planting and mix in sand or fine gravel. This improves drainage so the bulbs are far less likely to rot.
Feeding after flowering – the quiet success formula
The best time to feed is immediately after the flowers have finished, while the foliage is still a healthy green. At this stage, snowdrops can make the most of nutrients.
"Fertilisers low in nitrogen but high in potassium are ideal – they strengthen the bulbs and boost flowering power next year."
How to feed snowdrops
- Apply fertiliser as soon as all flowers have faded
- Choose a low-nitrogen, potassium-rich feed designed for bulb plants
- Water well afterwards so nutrients reach the root zone
- Optionally, give a light second feed two weeks later if the plants look weak
- Stop feeding once the foliage is clearly turning yellow
If you prefer organic options, bone meal or well-rotted compost works well. A thin layer around the clumps is plenty.
Organic material doesn’t just support nutrient supply; it also improves soil structure. The ground stays looser, holds moisture more effectively and encourages soil life – a real advantage for all spring-flowering plants in the border.
Dividing snowdrops: how to create lush carpets of flowers
Over time, snowdrop clumps become more crowded. When that happens, flower numbers often drop. That’s the cue to divide and replant. The best moment is straight after flowering, while the plants are still “in the green” (with foliage present).
"Snowdrops transplant far better when moved with leaves and roots attached – not as completely dry bulbs in summer."
Step-by-step guide to dividing
| Step | Action | What to watch for |
|---|---|---|
| 1 | Lift the clump with a garden fork | Start from the outside; don’t spear the bulbs |
| 2 | Gently pull the bulbs apart | Keep as many roots intact as possible |
| 3 | Replant immediately | Maintain the same planting depth as before |
| 4 | Water in well | Use water to settle soil around the roots |
Space individual bulbs around 8–10 cm apart. This gives them room to multiply and, within a few years, they can form continuous carpets again.
Preparing beds: what to do once the foliage has disappeared
As soon as the greenery has fully died back, you can carefully remove the dead leaves and add them to the compost. The patches often look empty again at that point – and that’s where a common trap lies.
"Mark the spot! Without a marker, bulbs are easily forgotten and can be accidentally damaged during summer planting."
Small plant markers, discreet wooden sticks or even a few stones make it easy to remember where the snowdrops are. When you later plant perennials or summer bedding, the bulbs are less likely to meet the spade.
Mulching – a protective layer with a side effect
A thin mulch layer in summer helps to protect the soil:
- keeps moisture in the ground for longer
- reduces germination of many weeds
- steadies soil temperature during hot weather
Suitable materials include bark humus, leaf mould or fine woodchip. Keep the layer to around 2–3 cm. If it’s too thick, it can make spring growth harder, because snowdrop shoots struggle to push through a dense covering.
The right companion plants for year-round impact
Snowdrops thrive in semi-shade beneath shrubs or trees, in humus-rich soil that stays evenly moist. Many typical woodland perennials suit these conditions perfectly and extend the interest in the border.
Good partners include, for example:
- Corydalis and winter aconites for early flowers straight after the snowdrops
- Lungwort and primroses for colourful transitions into spring
- Astilbes and ferns for structure through to summer
If you plant in layers – bulbs at the bottom, low perennials above, and taller woody plants behind – you create a lively picture from late winter right through to autumn.
Common mistakes and how to avoid them
Most issues with weak or missing flowers can be traced back to a few typical causes:
- Cutting the foliage too early – robs the bulb of energy for next year
- Waterlogging – causes bulbs to rot, especially in heavy soils
- Lack of nutrients – particularly important in poor, sandy ground
- Bulbs drying out – when dividing, don’t leave them lying around; replant immediately
Keep these points in mind and be patient with the unglamorous post-flowering phase, and you’ll be rewarded with stronger and stronger clumps.
Why after-flowering care makes such a difference
From a botanical point of view, bulb plants are compact storage units. In just a few weeks, they have to build up enough reserves to last an entire year. That short window after flowering determines how much energy the snowdrops can “top up”. Any disruption – cut leaves, dry soil, missing nutrients – directly reduces flowering strength.
If you act deliberately at this stage, you’re effectively building a self-sustaining planting. Well-supported snowdrops divide underground, spread out, and eventually form dense colonies that need very little attention, pushing up year after year as the garden’s first messengers of spring.






Comments
No comments yet. Be the first to comment!
Leave a Comment