
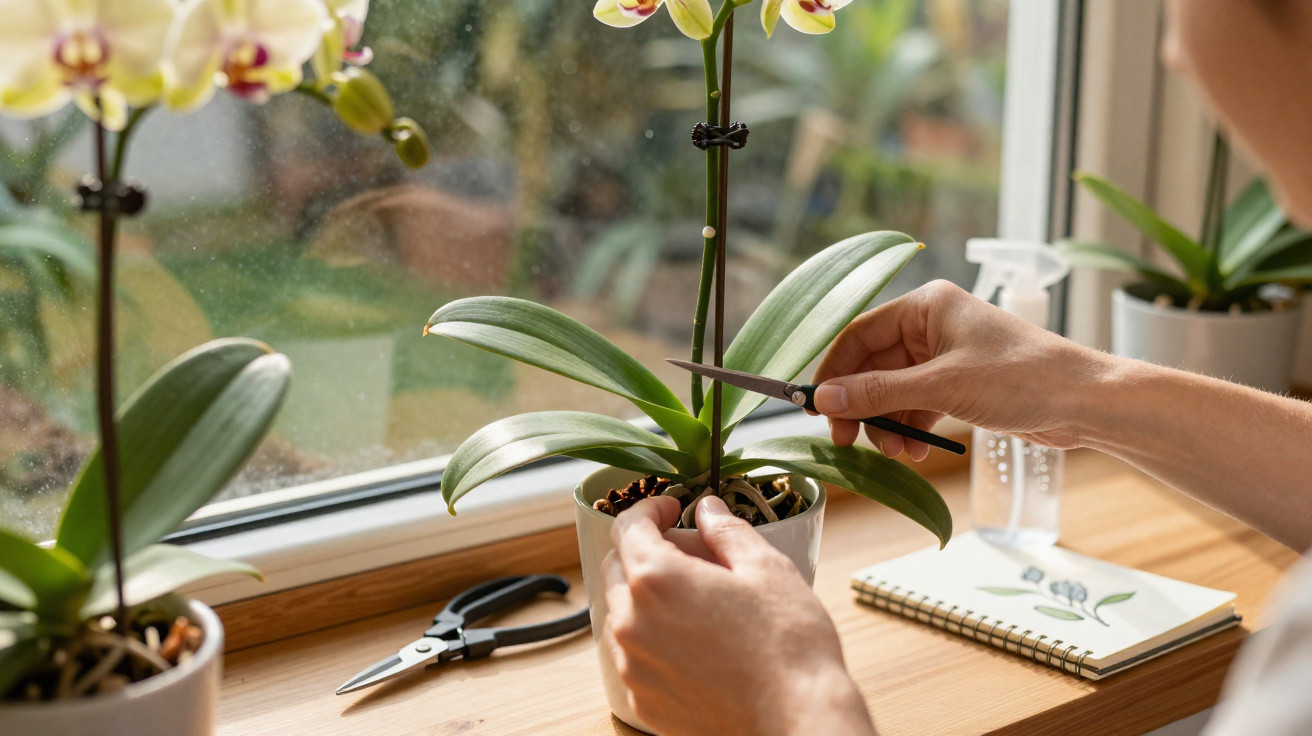
Many owners of a Phalaenopsis – the familiar moth orchid from the garden centre – feel at a loss once its final flowers have fallen. The plant appears drained, its bare stem sticks up into the air, and it is often quickly thrown away. Yet this is precisely the opportunity: cutting in the right place and adjusting the aftercare can often produce a second, and sometimes even spectacular, flowering from the same plant.
Why your orchid is not “dead” after flowering
The plant’s life cycle is far from over when its last bloom drops. Phalaenopsis orchids in particular can produce fresh growth from existing flower stems. The key lies in the dormant buds within the green stem, which are simply waiting for a signal to begin.
These buds sit inside the small swellings along the stem, known as nodes or “eyes”. They look like little bumps from the outside, but botanically each contains a complete miniature growth centre. By cutting, you direct the plant’s energy towards one of these eyes, encouraging it to form a new side shoot with fresh buds.
“A faded Phalaenopsis does not belong in the bin; it is a candidate for a second spring – provided the cut is right.”
The crucial step: cut above the third node
This most important rule applies only to flower stems that are still green and firm. Proceed as follows:
- Inspect the stem carefully: if it remains green and flexible, a targeted cut is worthwhile.
- Locate the swellings on the stem – these are the nodes.
- Start counting at the base, where the stem emerges from the plant between the leaves.
- Find the first node, then the second and finally the third.
- Cut about one centimetre above the third node.
Make the cut at a slight angle, so that water cannot collect on the wound. A new side shoot often emerges at this exact point – not above the cut, but from the eye immediately below it.
When the stem is already brown and dry
If the entire stem is brown, hard and dry, the third-node method will no longer work. Use a different approach instead:
- Cut the dry brown stem off at its base, as close to the leaves as possible.
- The plant will later produce an entirely new flower stem from its centre.
- Assess every stem separately: if one is green and another is dry, treat them differently.
Occasionally, a stem develops a small plantlet known as a “keiki”. It resembles a miniature orchid with leaves of its own. In that case, wait until the plantlet has formed its own roots. Only then should you cut below the plantlet, which can be potted up later.
What lies behind the “miracle cut”: apical dominance
The result of cutting can be explained by a botanical principle: while the shoot tip remains active, it suppresses the side buds. This dominant tip effect makes the plant grow upwards rather than producing new shoots everywhere.
Cutting interrupts this system. Once you remove the tip just above the third node, the upward pull comes to an end. The plant then directs more of its sap towards the area directly beneath the cut. That is where the eye you want to “wake up” is located. The node gradually swells, opens and sends out a lateral flowering stem.
Timing also matters. Late winter, around February or early March, is especially favourable. Days are getting longer, light levels increase and indoor temperatures tend to stay relatively stable. At this stage, the orchid is ready to make a fresh start if the cut gives it the right prompt.
How to prune a Phalaenopsis orchid in practice
Before reaching for the scissors, take a moment to check both your equipment and the process. Rushed cuts or unclean tools can injure the plant and give diseases an easy way in.
- Prepare the tool: Very sharp scissors or fine pruning secateurs are best. Disinfect the blade with alcohol, or briefly pass it through a flame and allow it to cool completely beforehand.
- Stabilise the plant: Carefully remove supports and clips, then place the pot on a firm surface so that nothing shifts.
- Count the nodes: Follow the swellings from where the stem meets the leaves: one, two, three.
- Make the cut: Snip diagonally around one centimetre above the third node, using one clean, continuous motion.
- Protect the wound: Lightly dust the cut surface with a little ground cinnamon. The spice has a mild disinfecting effect and helps dry the wound.
If you are treating several orchids in succession, disinfect the tool again between plants. Otherwise, pathogens and fungal infections can spread quickly from pot to pot.
Care after cutting: light, water and patience
After pruning, the plant does not need miraculous specialist fertiliser; it benefits more from a calm, stable position. A bright spot without direct midday sun is ideal, such as an east- or west-facing window. Temperatures can sit between 18 and 22 °C, while draughts are harmful.
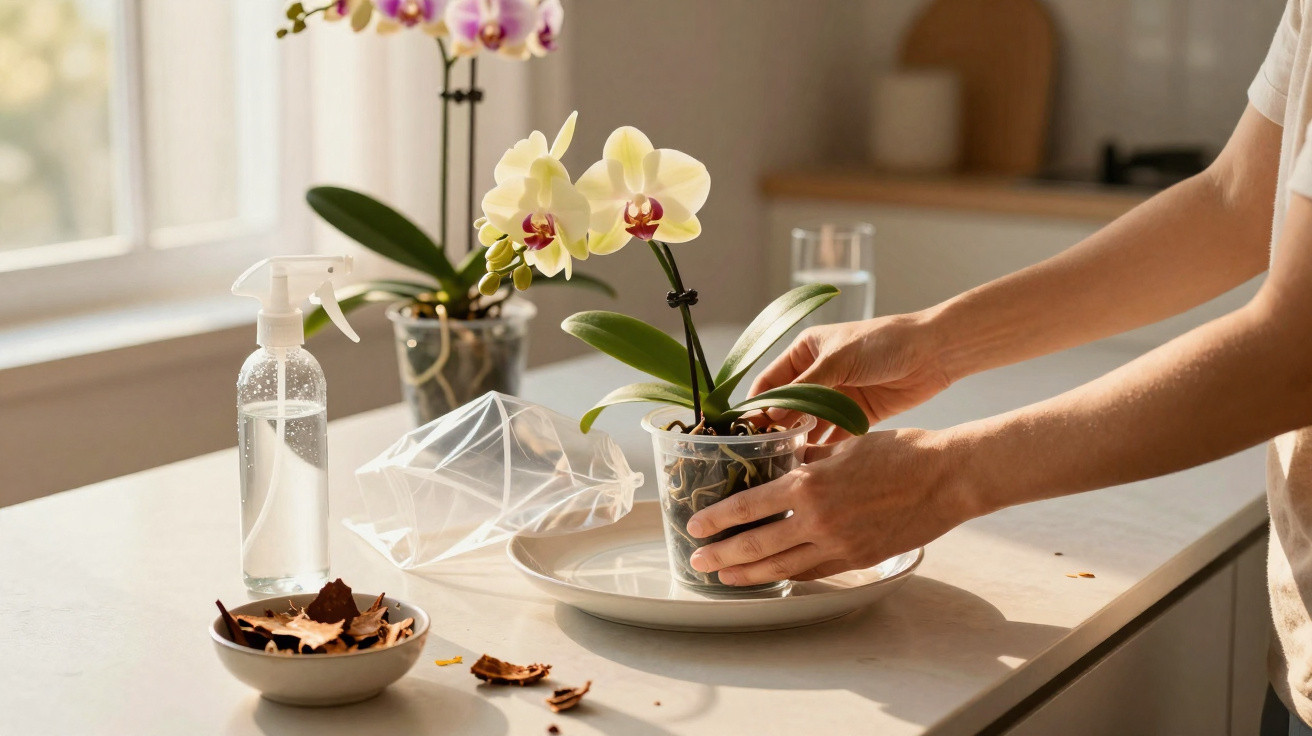
Watering determines whether the new shoot has any real chance of developing. Waterlogging is the greatest enemy of orchid roots. Soaking the pot every one to two weeks is a better method:
- Place the pot briefly in lukewarm water until the growing medium has absorbed it fully.
- Allow it to drain thoroughly, and never leave water standing in the outer pot.
- Water again only when the growing medium has largely dried out.
A new side shoot will not appear overnight. Depending on the plant’s condition and the available light, it may take anything from a few weeks to several months before a fresh flower spike becomes visible.
“With orchids, patience is almost more important than the perfect cut – those who do not fiddle with the stem every week are more likely to be rewarded with flowers.”
Common mistakes that prevent a second flowering
Many Phalaenopsis orchids can flower again without difficulty, but minor care errors can derail the process. Common pitfalls include:
- Cutting too close to the node: If the eye itself is damaged, the stem remains inactive.
- Leaving partly dry stems in place: Brown, partially dead sections can rot and allow the problem to spread.
- Removing green stems too severely: Anyone who cuts everything back at the base must wait for a completely new stem, which takes longer.
- Humid air without air movement: High humidity without ventilation encourages fungal growth on the fresh cut.
- Over-fertilising: Too much fertiliser burns the roots and slows bud formation.
When a complete fresh start makes sense
There are circumstances in which trying to save the plant via the third node is of little use. If it looks generally weak, has many yellow leaves, or its roots are soft and grey, creating a stable fresh start is more important than chasing another flowering.
In these cases, cut all dry stems away at the base, repot the orchid in fresh, airy bark growing medium if needed, and focus solely on healthy growth for several months. Only once strong silvery-green roots and several new leaves are visible again is it worth using targeted cuts to encourage flowers.
Understanding nodes, keikis and flowering cycles
Those who can better identify the terms associated with orchids usually make more confident pruning decisions. Nodes are essentially reserve stations along the stem. In theory, every one of these points can form a side branch or a plantlet. Not every node becomes active, but the area around the third has proved especially reliable for many amateur gardeners.
Keikis, the small plantlets on a stem, indicate that the plant has enough energy to produce offspring. Rather than removing them immediately, it is worth letting them form roots undisturbed. With patience, you can gain a second windowsill plant without buying another one – with the same flower colours as the parent.
Overall, understanding these processes means a Phalaenopsis is no longer seen as disposable decoration. With the correct cut above the third node, clean tools, adjusted watering and a little peace in late winter, many plants can be kept for years, producing repeated rounds of flowers that are often more impressive than the first display after purchase.

Comments
No comments yet. Be the first to comment!
Leave a Comment