
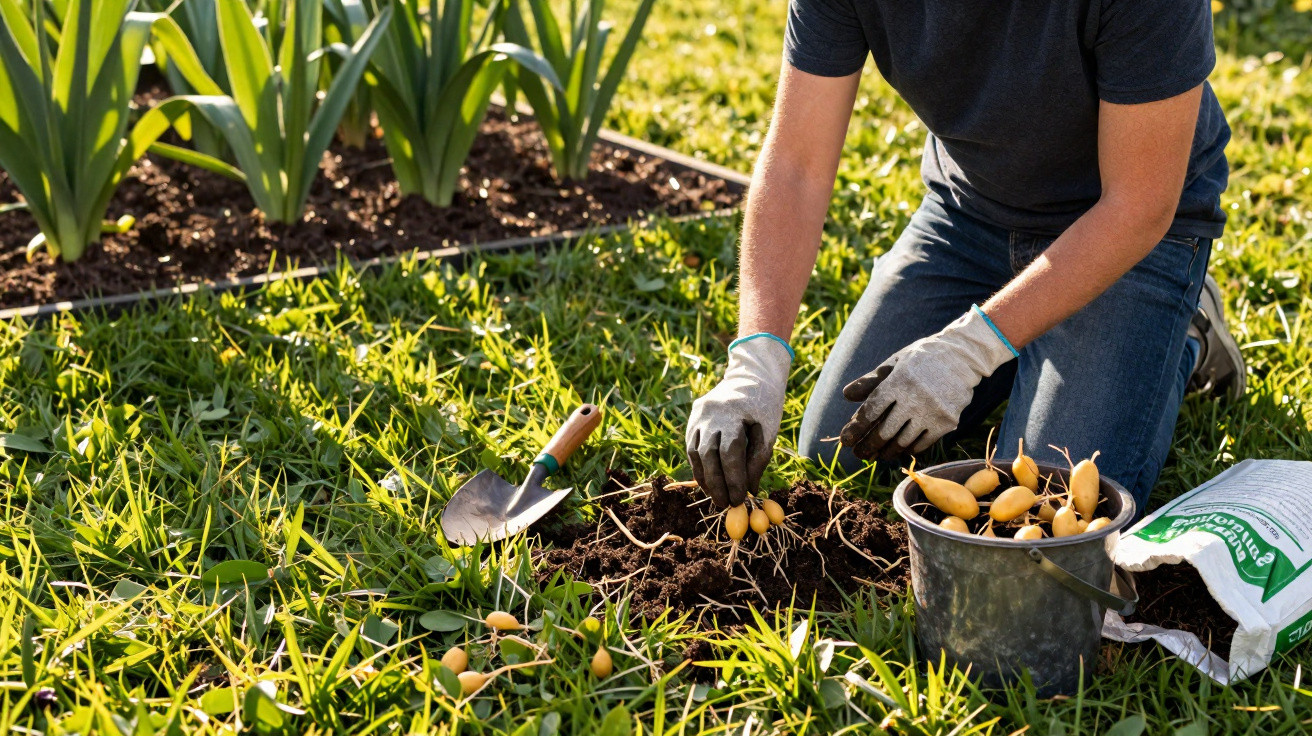
It shoots up rapidly after mowing, spreads through borders and comes back again and again even after you weed: nutsedge. This stubborn plant sits hidden deep in the soil and exploits every weak spot in a lawn or vegetable patch. With the right approach, you can significantly reduce an infestation - but it takes a clear plan and persistence.
What makes nutsedge so troublesome
Behind the harmless-sounding name is one of the most resilient problem plants in the garden. Nutsedge (Cyperus rotundus) is not a true grass, but a sedge with a highly effective survival strategy.
"Nutsedge survives through a dense network of rhizomes and tubers deep in the soil - every tiny fragment can form new plants."
Rather than spreading mainly by seed, nutsedge multiplies primarily via:
- underground rhizomes that creep sideways
- tubers (“nutlets”) at a depth of 15 to 35 centimetres
- each tuber carrying several “dormant” buds that can sprout again
On top of that, the plant copes with very different conditions. Whether it’s waterlogged ground around a sprinkler, compacted clay soil or a dry corner by the fence - nutsedge can find a foothold almost anywhere.
How to identify nutsedge with confidence
Many gardeners don’t realise what they’re dealing with at first, because nutsedge can look like ordinary grass at a glance. Paying close attention makes all the difference.
Typical above-ground signs
- Stems are triangular rather than round - you can feel the edges when you roll one between your fingers
- Leaves usually emerge from the base in clusters of three
- In summer, yellowish-brown flower heads form at the tips of the stems
- After mowing, it regrows much faster than the rest of the lawn and stands out clearly within a few days
If you’re still unsure, carefully dig up a small clump. If you find small dark-brown or cream-coloured tubers attached to the roots in a chain, it’s very likely to be nutsedge.
When nutsedge is most active
Nutsedge typically appears from late spring once the soil stays consistently warm. In high summer it really accelerates: this is when it produces the greatest number of tubers - its underground “backup batteries”. During this period, the plant also responds particularly well to control measures.
Mechanical methods: systematic removal instead of guesswork
If you want (or need) to avoid chemicals, nutsedge can be tackled mechanically - but only with a consistent method. Simply pulling at the surface achieves little; in fact, snapping off stems often encourages fresh growth.
Removing it properly by hand
Manual removal works best on small areas or newly formed patches. A structured approach looks like this:
- Plenty of water: Thoroughly soak the affected area the day before so the soil softens.
- Loosen the soil: Use a garden fork or a weeding tool to lift the soil carefully around the clump.
- Grip at the base: Hold the plant as low down as possible and pull slowly and steadily - don’t yank.
- Follow the rhizomes: Expose nearby tubers and rhizomes in all directions and remove them completely.
- Disposal: Put plant material in a sealed bag and dispose of it in household waste - not on the compost.
- Checking: Inspect the spot weekly and remove any new shoots immediately.
If you miss tubers, new stems can emerge within a few weeks. That’s why it helps to use a small spade or hand hoe so you can work deeper than with routine weeding.
Rotavating - an opportunity and a risk
A powered cultivator or rotavator sounds appealing because it covers ground quickly. With nutsedge, however, it can make matters worse: every chopped-up tuber can effectively turn into a new plant.
If you do rotavate, do it with a plan:
- carry out several passes around two weeks apart
- work during the growing period so the tubers are forced to use up their reserves
- ideally limit it to areas that are due to be completely replanted or re-laid anyway
Soil solarisation: using heat to target the tubers
For beds that won’t be planted until later, a more radical but chemical-free option is solarisation, which harnesses summer heat.
Method:
- Water the soil heavily so heat can penetrate more deeply
- Rake the area level and remove coarse growth
- Stretch clear plastic sheeting tightly over the surface, weighting the edges carefully with soil or stones
- Leave in place for four to six weeks during the hottest part of summer
"Under the sheeting, the soil heats up so strongly that many tubers die - particularly effective in very hot regions."
Chemical options: when spraying can make sense
On heavily infested lawns or where the problem is widespread, many gardeners find it difficult to avoid herbicides entirely. What matters most is choosing the right product and applying it at the correct time.
Overview of key active ingredients
| Herbicide type | Active ingredient | Best time to apply | Typical interval before repeating |
|---|---|---|---|
| selective in lawns | Halosulfuron-methyl | during active growth | 6–8 weeks |
| non-selective, systemic | Glyphosate | during strong growth before dormancy | usually one-off with thorough area treatment |
| preventative in soil | Sulfentrazon | spring before growth starts | generally annually |
Selective products for lawns
Products containing halosulfuron-methyl target nutsedge while leaving many turf grasses unharmed. The active ingredient moves from the leaves down into the tubers, weakening the underground network.
Application tips:
- spray only when plants are actively growing, ideally with three to five fully developed leaves per stem
- don’t apply immediately after mowing - wait a few days
- if new shoots appear, treat again after six to eight weeks
Glyphosate only as a last resort
Where infestation is severe and the area is going to be completely redone anyway, some people choose non-selective options such as glyphosate. These kill all green growth, including the existing lawn.
A sensible sequence:
- Let nutsedge grow tall so there is enough leaf area.
- Treat the area in dry, calm conditions.
- Wait several days to weeks until all plants have fully died back.
- Remove dead material and loosen the soil.
- Leave at least two weeks, then reseed or replant.
Preventative treatments in spring
Sulfentrazon acts in the top layer of soil and helps stop new seedlings from breaking through. It does little against established tubers, so it isn’t a stand-alone fix and works best as a complement to other measures.
Prevention: deny nutsedge the conditions it likes
With targeted garden care, you can make it much harder for nutsedge to spread. This involves several practical levers.
A dense lawn instead of bare patches
A vigorous, tight sward leaves little room for invaders. Helpful measures include:
- choosing grass seed suited to your site and intended use
- mowing regularly but not too short (remove no more than one third of the blade length)
- overseeding thin areas in spring or late summer
A higher mowing height also shades the soil and slows the germination of many troublesome weeds.
Keep watering under control
Nutsedge thrives in persistently damp, poorly drained spots. Improving conditions here removes one of its key advantages.
- water less often but more deeply, rather than a quick sprinkle every day
- reduce waterlogging with soil aeration, sand top-dressing or drainage solutions
- adjust irrigation to genuinely dry areas and avoid creating permanently wet zones
Manage soil fertility
Balanced soil nutrition strengthens your lawn and weakens nutsedge indirectly.
- carry out a soil test every two to three years
- adjust pH and nutrients deliberately instead of fertilising “blindly”
- apply nitrogen in moderation, so grass grows well without encouraging rampant weeds
Mulch and coverings in beds
In perennial borders and around shrubs, a continuous mulch layer noticeably slows nutsedge growth. A 3 to 4 centimetre layer of bark mulch, woodchip or compost forms a light-blocking barrier.
In vegetable gardens, weed-control fabric or horticultural fleece beneath the mulch can help further, particularly for crops planted early in the year. Any shoots that still force their way through should be removed quickly so they cannot produce new tubers.
Practical tips and common mistakes when dealing with nutsedge
Many gardeners make the same mistakes early on - often through lack of information or impatience. Typical pitfalls include:
- pulling only the visible stems without tackling the roots and tubers
- putting nutsedge on the compost, where tubers can survive
- spraying once and expecting the issue to be solved permanently
- frequent light watering that creates ideal conditions
It can help to keep a notebook or simple checklist of what you did and when. That makes patterns easier to spot: which corners are most vulnerable, and at what times new shoots tend to appear.
If you’re not sure whether it’s actually nutsedge or another sedge species, take a sample to a local garden centre or advisory service. A correct identification can save considerable time and money later, because your strategy can be much more targeted.





Comments
No comments yet. Be the first to comment!
Leave a Comment