
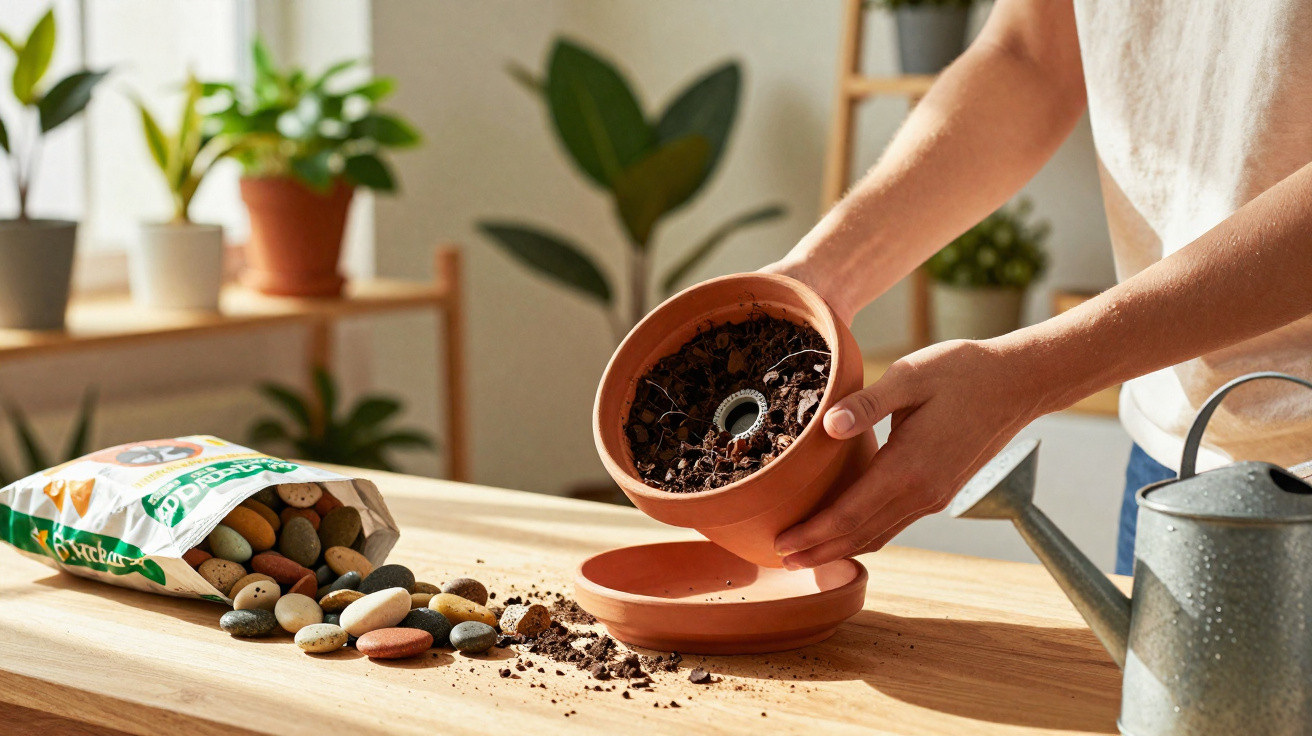
On a calm Sunday, you at last have a moment to repot the forlorn little pothos on your windowsill. You drag over the weighty bag of compost, wash a terracotta pot and-just as you always have-tip a reassuring layer of pebbles into its base. Your grandmother did it. Your favourite YouTuber does it. It simply seems… right. Plants require drainage, stones provide drainage. End of story.
Then, a few weeks on, the lower leaves begin turning yellow. Despite your careful watering, the compost remains oddly wet. The pot feels far weightier than expected. When you ease out the root ball, a sour odour meets you. Under the dark, saturated compost is that carefully arranged pebble layer, achieving very little beyond holding water higher in the pot.
That supposedly “classic” gardening tip may actually be undermining your plants-quite literally from the bottom upwards.
Why stones at the bottom don’t drain as you expect
The reasoning sounds so convincing that it is easy not to challenge it: stones are not soil, so surely water will race through them and away from the roots. In practice, though, a pot behaves like a small physics demonstration. Water travels down through compost until it reaches a material with a sharply different texture, such as a neat layer of gravel. At that point, the behaviour changes.
Rather than passing directly into the stones, moisture lingers in the compost immediately above them. Gardeners refer to this as a “perched water table”. The finer the compost and the greater the contrast between it and the stones, the more water builds up and simply… stays put. That is precisely where the roots need to breathe.
Picture your plant wearing wet socks all week. Initially, it manages. Eventually, however, roots begin to suffocate, fungi take hold and the plant gradually weakens. You assume you have overwatered. Actually, the stones added “for drainage” have lifted the water level nearer the roots. The well-meant measure quietly works against you, concealed beneath the surface.
Last spring, a balcony gardener in Paris posted photographs that might have been taken in any city worldwide. Her basil appeared thriving above the compost, but the inside of the pot told another story. A deep layer of clay balls filled the base, with compacted potting mix above it. For days after every watering, the compost remained muddy, while the clay balls stayed nearly dry.
Above ground, the basil stems darkened at their bases and leaves fell in twos. She believed the problem was fungus from the nursery. When she eventually emptied the pot on to a tarp, she found roots massed along the boundary between compost and balls, desperately attempting to get away from the soggy layer suspended above. The “drainage layer” had not drained anything.
Commercial growers seldom place stones in the bottom of pots for exactly this reason. Instead, they use an even, well-aerated substrate throughout the container and choose the proper pot size. A 2019 horticulture study even found increased water retention above gravel layers. It may look counterintuitive on Instagram, but plants are unconcerned with appearance. They need oxygen, sound structure and even moisture-not an ornamental rock layer concealed at the base.
When you grasp how water acts inside a pot, the myth about stones begins to fall apart. Water does not somehow “flow” more quickly merely because there is empty room or large pieces underneath it. It responds to gravity and to the way soil particles hold it. As water travels downward, it stops once gravity’s pull is balanced by the soil’s capacity to retain that moisture. Introduce an extreme change in texture, such as pebbles or pot shards, and you make a ledge where water clings more readily.
That perched water table leaves roots occupying a smaller, wetter area than you might realise. Looking through the drainage hole, the base may seem dry and prompt you to water again, even as the vital root zone is drowning. Plants don’t die because there’s water at the very bottom; they die because there’s too much water where the roots breathe.
In reality, no one does this without fail every day-picking up plants, inspecting compost structure and assessing moisture profiles. We water when we recall, somewhere between work emails and making dinner. That is precisely why we need pots that support us rather than work against us. A straightforward misconception about stones can make an easy-going plant seem high-maintenance, and the most frustrating part is feeling that it is your fault when the system is the real issue.
What to do instead: drainage that genuinely works
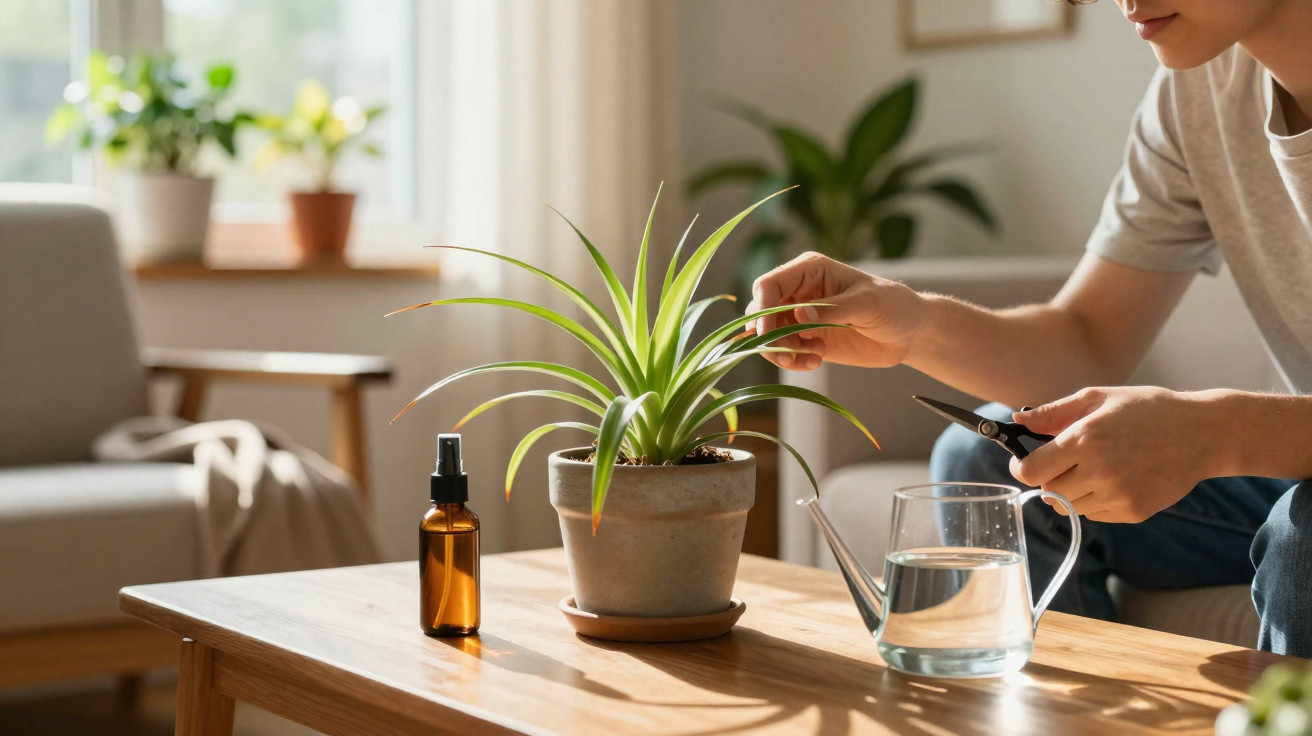
Effective drainage begins far above the pot’s base. First, select a suitably sized pot with a proper drainage hole. Larger is not necessarily preferable. Put a small plant into an oversized pot and it will be surrounded by compost that stays wet far too long, even without stones. Choose a pot only one or two sizes larger than the existing root ball, rather than an enormous decorative container.
Next comes the potting mix. Pick a light, open growing medium and tailor it to the plant’s requirements. Add perlite, pumice or coarse bark-these are the genuine drainage champions. They form air spaces within the compost itself, enabling moisture to travel evenly instead of gathering in a single layer. Think of creating a breathable sponge rather than a cake resting on marbles.
You can still safeguard the drainage hole without obstructing it. One broken terracotta shard or a piece of mesh placed over the opening will prevent compost escaping while allowing water out. There is no reason to add an entire layer of rocks. The pot will remain lighter, roots can use the whole space and you will not find a bog lurking directly over a stone floor.
If stones have been part of your gardening routine for years, this may sound almost accusatory. It is not. We have all repeated advice we never properly examined because everybody around us insisted it was correct. You are not a poor plant parent; you are simply refreshing your toolkit.
A modest change is to regard stones as decorative rather than structural. Place them on the compost surface to reduce evaporation slightly and keep it looking tidy. Do not overdo it, though: a thick, compacted top layer can also limit airflow and retain moisture. Pay attention to your plant’s response. Yellow lower leaves, a musty odour and fungus gnats hovering nearby are all small warning signs that the pot is staying wet too long.
For watering, follow a straightforward routine. Water thoroughly until liquid emerges from the drainage hole, then allow the top few centimetres to dry before watering again for most houseplants. Rather than relying on a rigid schedule, check beneath the surface with a finger-or a wooden skewer. It is low-tech, but plants do not run on Wi-Fi; they run on roots and water.
A horticulturist once told me, “Plants don’t need clever tricks, they need consistency.” That sentence rattles around in my head every time I see someone proudly lining the bottom of a pot with polished stones. The good news is you don’t need to throw away your favorite pebbles-just change where you put them.
- Put stones on top rather than at the bottom
Scatter a thin, loose layer over the compost surface for looks, not as a concealed “drainage layer”. - Focus on a free-draining substrate
Pair good-quality potting mix with perlite, pumice or bark, so roots receive air rather than mud. - Cover, do not block, the drainage hole
Set one square of mesh or a pot shard over the opening, allowing water to run out while keeping compost in. - The right plant needs the right pot size
Do not put a tiny root ball into a huge pot that will remain wet for days. - Watch the plant, not the trend
Wilting, yellowing and gnats frequently indicate waterlogged roots, not a shortage of stones.
Rethinking plant care from the bottom up
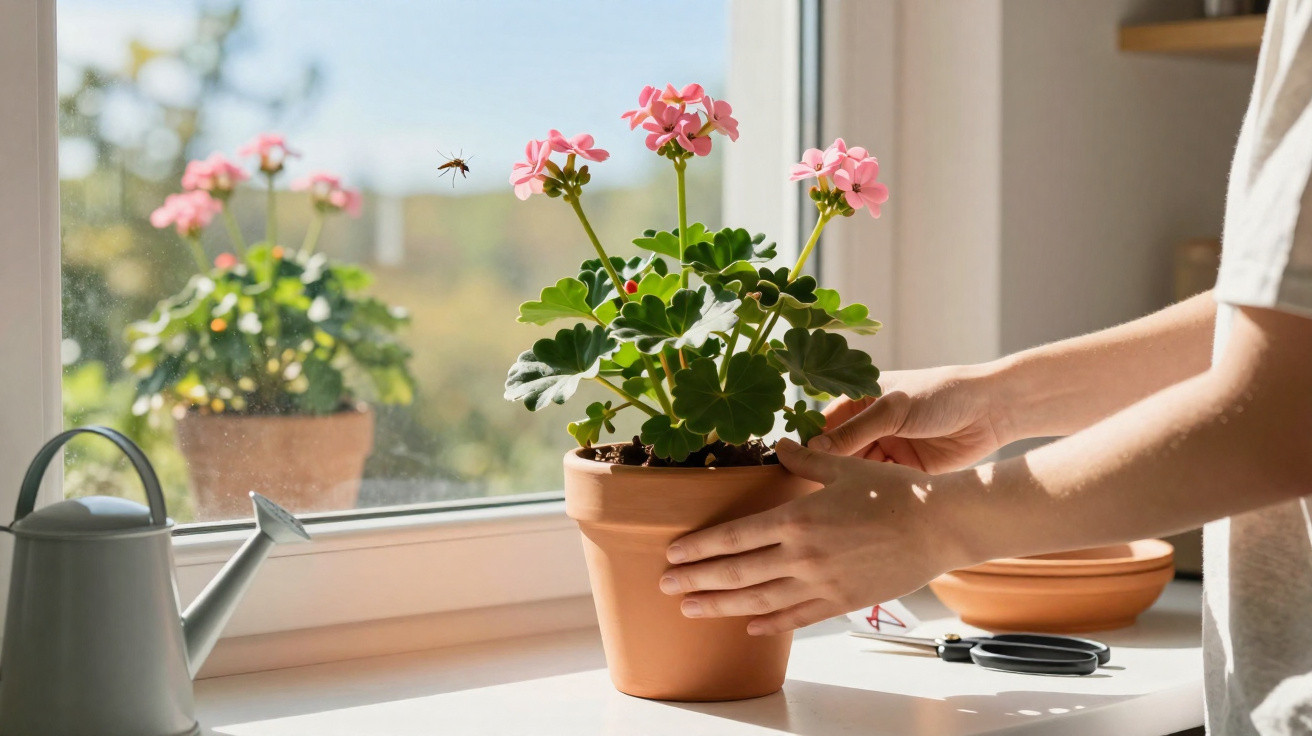
Abandoning the stones myth can feel unexpectedly personal. It is bound up with childhood recollections of watching a parent pot geraniums on a balcony, or with those pleasing TikTok clips of layered glass planters. But the more we understand the real behaviour of roots and water, the more those ingrained habits begin to fracture. Behind every plant that declines “mysteriously”, there is often an overlooked design problem.
After repotting a few favourites in an even, airy mix without a stone layer, the change can be remarkable. Fresh roots emerge sooner, compost dries at a healthier pace and watering involves less guesswork. Rather than blaming yourself, you begin adjusting the setup. That small move-from following tricks to gaining understanding-reshapes the entire relationship. You are no longer merely imitating what you have watched; you are interpreting what the plant communicates through its leaves, stems and the pot’s weight in your hands.
The next time you reach for a bag of pebbles, stop briefly. Consider which issue you are actually addressing: appearance, routine or the plant’s genuine needs. The answer may steer you towards another choice-a better compost mix, a smaller pot or a gentler watering can. Perhaps that quiet choice, unseen by everyone else, is where your plants finally begin to flourish properly.
| Key point | Detail | Value for the reader |
|---|---|---|
| Stones create a perched water table | Water gathers above the stone layer rather than draining through it | Helps readers understand why roots rot despite “good drainage” tricks |
| Soil structure matters more than rock layers | An airy mix containing perlite, pumice or bark delivers real drainage | Provides a clear, practical way to avoid overwatering problems |
| Use pots and pebbles differently | Correct pot size, an unobstructed drainage hole and stones only on top if wanted | Enables readers to repot safely without abandoning their aesthetic preferences |
FAQ:
- Should I ever put stones at the bottom of a pot?
Only when you are using a cachepot without a drainage hole and need to raise a nursery pot above standing water. In planted pots with drainage holes, stones at the base generally retain moisture rather than helping.- Can I use LECA or clay balls as a drainage layer?
When they make a separate layer beneath the compost, they act like other stones or gravel and create a perched water table. When evenly mixed through the substrate, they can improve aeration and drainage.- How do I know if my plant is suffering from poor drainage?
Typical signs are yellowing lower leaves, a sour smell from the compost, fungus gnats and a pot that remains heavy for many days after watering. Roots can appear brown and mushy rather than white and firm.- What should I put over the drainage hole instead of stones?
Use one piece of mesh, a coffee filter or a broken pot shard only large enough to cover the hole. This stops compost spilling out while letting water flow freely.- Do outdoor containers also need stone-free bottoms?
Yes. Outdoors too, an even, free-draining mix performs better than a rock layer. In large containers, lightweight filler such as upturned empty pots can occupy the bottom, but the root zone should always remain in continuous, breathable compost.
Comments
No comments yet. Be the first to comment!
Leave a Comment