
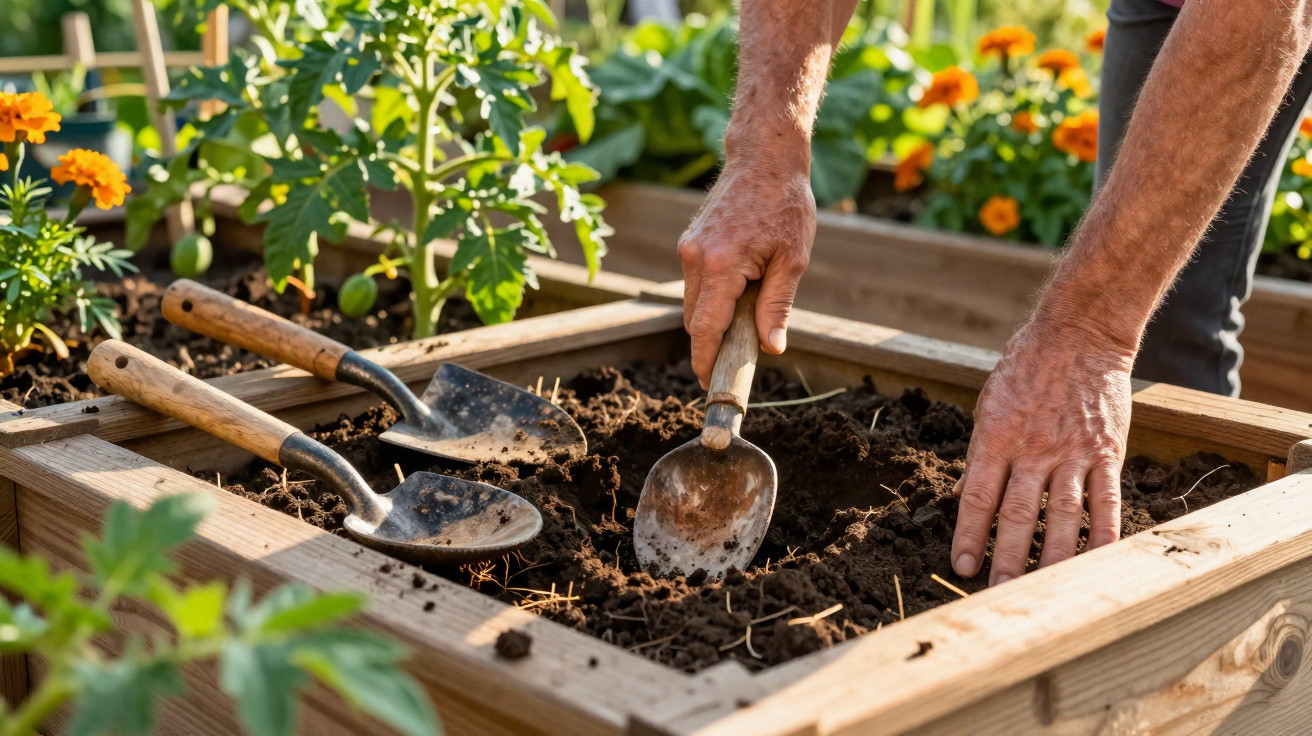
A wooden cooking spoon sticking out of the middle of a vegetable bed is showing up more and more often - and it is not a decorative gimmick, but a surprisingly useful trick.
Anyone who spends time on gardening forums or social media will have noticed the odd sight: among tomatoes, lettuces or courgettes, a plain wooden spoon has been pushed into the soil. There is no mystical garden “magic” behind it. Instead, it is a straightforward way to get a quick read on how healthy the soil really is - and whether it is suffering more from drought stress or waterlogging.
Wooden spoon in the bed: what it’s all about
The basic concept comes from soil science: wood is organic matter, and soil organisms love it. Bacteria, fungi and earthworms get to work on it as soon as it is buried. Resourceful home gardeners make practical use of that response.
"A buried wooden spoon shows whether the soil is alive - and whether it is too dry or too wet."
If you bury an untreated wooden spoon about 15–20 cm deep and leave it there for several weeks, its condition can reveal a lot about the life in your soil:
- Cracked, nibbled, soft: plenty of microorganisms are active; the soil is considered “living”.
- Almost like new: very little soil life, often due to compacted ground or heavily worked soil.
The second use is as a moisture check. If the spoon is inserted only around 5 cm deep in the plants’ root zone, it acts a bit like a basic moisture sensor:
- Wood stays pale and dry: the soil is getting too little water, or it drains extremely quickly.
- Wood is dark, clammy, perhaps mouldy: too much water, with a high risk of root rot.
How gardeners use the wooden spoon test correctly
It is not enough to grab any spoon from the kitchen drawer. If you want results you can rely on, you need to pay attention to a few points when choosing the spoon and placing it.
Choosing the right wooden spoon
Garden experts recommend keeping it as natural as possible:
- a plain wooden spoon, not varnished and not painted
- no bamboo composite and no coated kitchen utensil
- preferably a softer wood that breaks down more readily
- a new or thoroughly cleaned spoon that can stay in the garden long-term
Pick a location that represents the bed properly. In other words, place it in the middle of the vegetable bed among heavy feeders such as tomatoes, peppers or brassicas, rather than right at the edge where the soil is often atypically dry or wet.
Step-by-step instructions
If you want to try it yourself, use this simple sequence:
- Choose a wooden spoon and set it aside for garden use only.
- For the soil-life test, dig a hole 15–20 cm deep.
- For the moisture test, push the spoon in only about 5 cm.
- Close the hole and mark the spot, for example with a plant label.
- For moisture, wait about 7 days; for soil life, wait 30 to 60 days.
- Carefully lift the spoon out and inspect it closely.
| Test type | Depth | Duration | What to look for |
|---|---|---|---|
| Soil life | 15–20 cm | 30–60 days | chew marks, cracks, softened wood |
| Moisture | about 5 cm | 7 days | dry versus wet areas; dark or mouldy patches |
What the condition of the wooden spoon reveals about your soil
The real value lies in how you read the result. Only by assessing the spoon’s condition does a simple kitchen utensil become a diagnostic tool.
Wood heavily broken down: soil full of life
If, after a month, the spoon barely looks like a spoon any more - fibres sticking out and the wood squashing easily - then the soil life is working at full speed.
"Heavily attacked wood signals: the soil is actively turning organic leftovers into nutrients for vegetables and fruit."
In a bed like this, the priority is steady care rather than heavy-handed intervention:
- apply mature compost regularly
- mulch with leaves, grass clippings or straw
- avoid deep digging; loosen instead with a garden fork
- keep the soil covered as much as possible, rather than leaving it bare
That helps the soil ecosystem remain stable, improves water retention and supports demanding crops such as tomatoes or pumpkins over the long term.
Wood intact and dry: overworked, thirsty soil
If the spoon remains hard, pale and dry even though it has been in the ground for weeks, the soil lacks both moisture and living organisms. This is typical of ground that is heavily cultivated, frequently dug over and rarely improved with compost.
In this situation, it makes sense to adjust several things at once:
- review your watering routine; water less often but more deeply
- work in organic material such as well-rotted manure or fully matured compost
- add a close, consistent mulch layer so the soil does not dry out
- sow green manures in autumn or spring, for example clover, phacelia or lupins
Wood intact but damp or mouldy: too wet, too little air
A different problem shows up when the spoon comes out damp or even slightly mouldy, yet with hardly any chew marks. That points to a boggy bed: lots of water, too little oxygen, and very limited soil activity.
Typical measures include:
- loosen the soil gently, avoiding major spade work
- create wider paths to reduce compaction from walking on the beds
- if needed, improve drainage by mixing sand or coarse compost into the top layer
- use mulch more carefully so the surface does not stay permanently clammy
What is easily overlooked with the wooden spoon test
Although the trick is simple, several factors can skew the result: weather patterns, soil type, temperature and the time of year. Heavy clay behaves differently from sandy soil, and a spoon buried in a cool spring will break down more slowly than one placed during a warm midsummer.
That is why experienced gardeners do not rely on this test alone, but combine it with classic observations:
- soil colour (dark usually means humus-rich; pale often means poorer)
- crumb structure: does it fall apart easily or does it stick together?
- plant growth: are crops lagging behind, are leaves yellowing, are seedlings collapsing?
If you want a truly precise picture, you can also arrange a laboratory analysis. That provides figures for pH, nutrient levels and potential contaminants. The wooden spoon then remains the handy early-warning check you can do directly in the bed.
Practical examples for everyday use
In a family garden, this test works well with children. After a few weeks they can clearly see how “invisible helpers” in the soil do their work. In an allotment community, comparing different plots can be particularly interesting: where people dig a lot, where they mulch constantly, where compost is used - and what the spoons look like afterwards.
If you are moving into a new garden, or taking on a bed that has been left unused for a long time, a spoon in the soil can give you a quick first impression. Does it make sense to plant heavy-feeding vegetables straight away? Or is it better to begin with easy-care crops and build soil life step by step?
Risks, limitations and sensible combinations
The method is not entirely risk-free. Varnished wooden spoons may release substances into the soil that do not belong there. Metal parts on the handle should also stay out of the bed. If you are unsure, choose a simple, inexpensive spoon made from untreated wood and label it clearly as a garden tool.
A wooden spoon does not replace a gardener’s experience or observation skills - it supports them. Combined with long-term mulching, the use of green manures and minimal digging, the soil structure becomes noticeably more resilient over time. Many hobby gardeners report that after one to two years of these measures they need to water far less and face fewer problems with diseases around the root zone.
If you bury several spoons in different beds - for example in the herb bed, under tomato cover and in the ornamental garden - you end up with a kind of mini soil map of your own plot. Plants always give plenty away, but looking at a piece of wood that has visibly changed makes the hidden processes in the soil much easier to grasp.

Comments
No comments yet. Be the first to comment!
Leave a Comment