
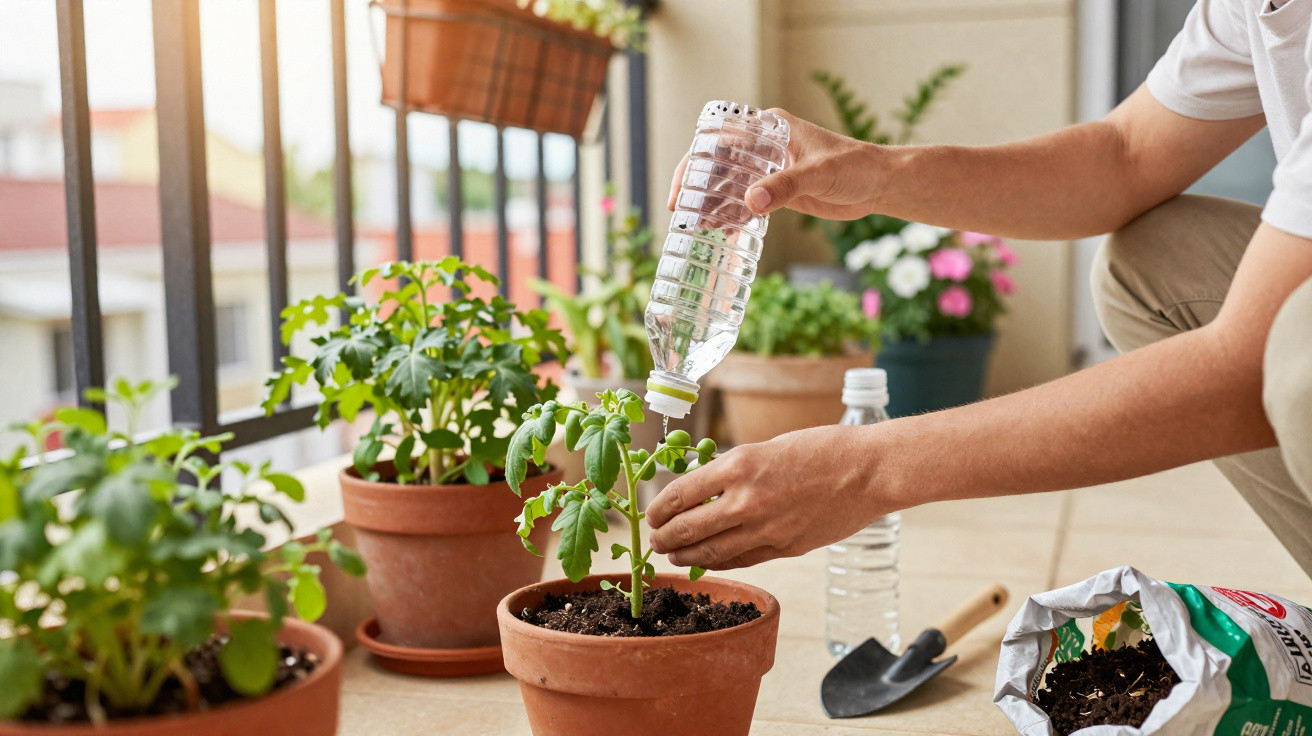
A simple bottle trick can save them.
Anyone with houseplants, balcony pots or veg growing knows the issue: go away for a few days - or simply forget to water in the rush of everyday life - and suddenly the leaves are drooping and limp. What many people don’t realise is that you can build a surprisingly dependable watering system using nothing more than a plastic bottle - as long as you avoid one common, often overlooked mistake.
How the bottle trick works
The principle is straightforward: you fill a plastic bottle with water, turn it upside down and push it into the soil so it releases moisture gradually. That way, the roots receive water steadily without you having to stand there with a watering can every day.
You only need:
- a clean plastic bottle (0.5–2 litres)
- a thin nail, a wooden skewer, or pointed scissors
- a plant pot or a garden bed with enough space in the soil
Do it like this:
- Unscrew the cap and pierce 3–6 small holes in it.
- Fill the bottle with water and screw the cap back on tightly.
- Use a stick to make a hole in the soil so the bottle slides in more easily.
- Insert the bottle opening-down a few centimetres into the soil.
“The bottle works like a slow rain shower right at the root - steady, but controlled.”
As soon as the soil around the opening becomes drier, it draws more water through capillary action. If the compost is moist enough, almost no water flows at all. In other words, the flow roughly self-regulates to match what the plant needs.
Why this method is so practical
The bottle trick won’t replace a perfectly calculated irrigation set-up, but it can remove a lot of day-to-day pressure. Three benefits stand out in particular:
- Less evaporation: the water goes straight into the root zone rather than sitting on the surface.
- More even supply: instead of a “flood” when you water, plants get consistent moisture.
- No daily watering obligation: ideal if you’re short on time or often away for brief trips.
Especially on hot days, the soil stays damp for longer without turning waterlogged - a big difference compared with uncontrolled watering from a can.
How to set the system up properly
Choosing the right bottle size
Which bottle you use depends on the pot and the plant:
| Pot size / area | Recommended bottle |
|---|---|
| Small houseplant (up to 15 cm diameter) | 0.5 litres |
| Medium pots (16–25 cm diameter) | 1 litre |
| Large tubs / balcony planters | 1.5–2 litres |
| Vegetables in a raised bed / bed | 1.5–2 litres per planting spot |
For large tubs, it can be worth cutting off the bottom of the bottle. That way you can top up from above later on, without having to pull the bottle out of the soil.
The holes in the cap: the decisive factor
This is where the most frequent mistake happens: too many holes, or holes that are too large, and the bottle empties within a few hours. Too few holes, or holes that are too tight, and hardly any water gets through - and the plant still dries out.
Useful starting points for standard potting compost:
- small bottle (0.5 L): 2–3 tiny holes
- 1-litre bottle: 3–4 small holes
- 2-litre bottle: 4–6 small holes
“Always test at least one or two days before a longer holiday to check the bottle is emptying at the right pace.”
As a rule of thumb, the bottle shouldn’t drain all at once, but in warm weather it should noticeably empty within two to three days.
Which plants the bottle trick is ideal for
This approach works best for thirsty plants that prefer consistently moist soil. Common examples include:
- Vegetables: tomatoes, peppers, aubergines, cucumbers, courgettes
- Houseplants: Monstera, Ficus, devil’s ivy (pothos), Philodendron, Calathea
- Balcony plants: geraniums, petunias, begonias, fuchsias
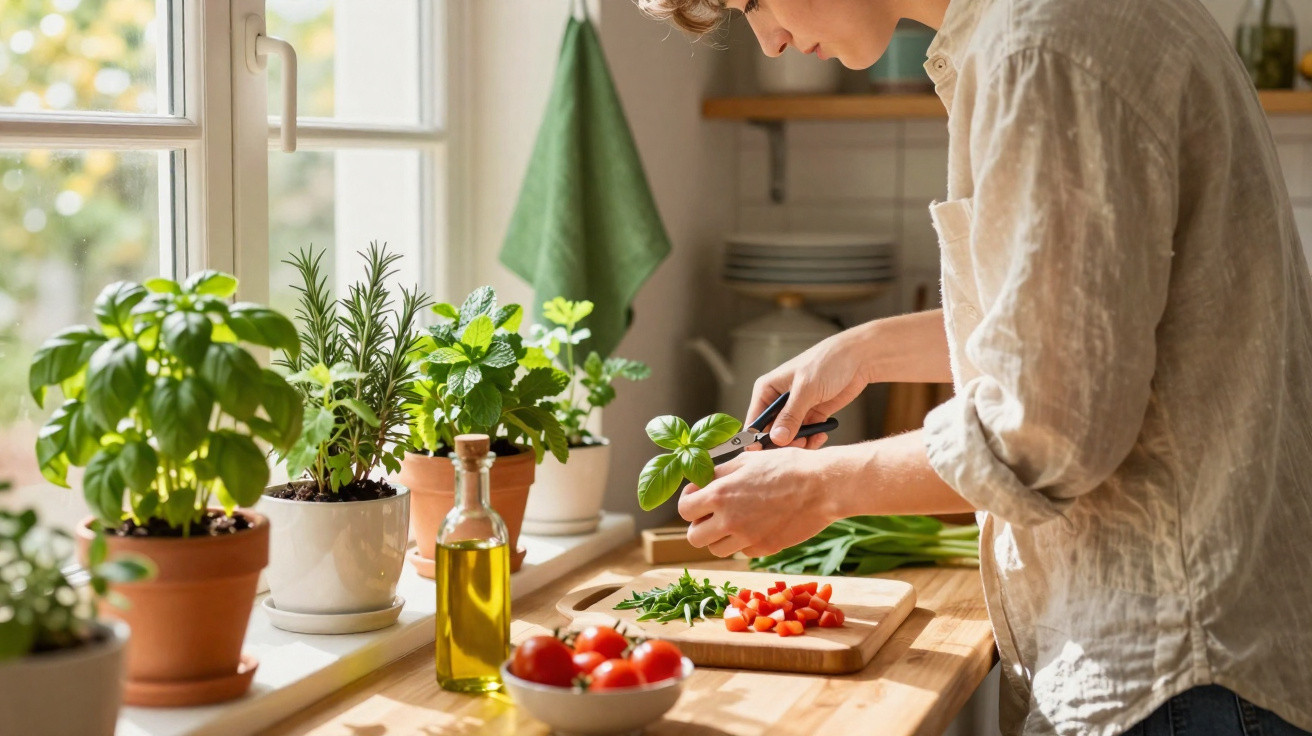
- Potted culinary herbs: basil, parsley, chives, mint
Window-box plants benefit in particular because sun and wind can dry the compost extremely quickly. Tomatoes in containers also tend to respond well to a steady water supply with less blossom drop and plumper fruit.
When you should avoid it
Some plants really don’t suit the bottle trick. Typical “dryness lovers” include:
- cacti and other succulents
- Mediterranean herbs such as rosemary, thyme, sage and lavender
- plants in very small pots
- young plants that have just been pricked out or recently potted on
These types can rot quickly if the soil stays wet for too long. With very small pots there’s also the added risk of damaging fine roots when you push the bottle into place.
Saving water and cutting waste in one go
If sustainability matters to you, this method tackles two things at once. Because the water is delivered directly to the roots, you waste far less than with traditional top-watering.
At the same time, you’re reusing old plastic bottles instead of throwing them away immediately. If you regularly buy mineral water or juice in bottles, this is a practical way to give them a second life. Combined with other measures, it can become a surprisingly efficient mini irrigation system.
Boost the trick: mulch and water storage in the soil
To help the soil around the bottle stay moist for longer, you can cover it:
- Mulch layer: bark mulch, grass clippings, straw or coconut fibre reduce evaporation.
- Water storage in the compost: special granules or hydrogels absorb water and release it slowly.
This combination is particularly worthwhile in high summer. It can significantly extend the time between watering sessions without the plants suffering.
The most underestimated mistake - and how to avoid it
The bottle trick rarely fails because the idea is wrong; it nearly always fails because the settings aren’t tuned properly. Make sure you test three things:
- Wrong hole size: if the bottle is empty after a few hours, the openings are too big or too numerous.
- Unsuitable bottle choice: a 0.5-litre bottle in a huge tub achieves very little; a 2-litre bottle in a tiny pot can drown roots quickly.
- Testing for too short a time: many people set it up, go away for two weeks, and only realise afterwards that the flow rate wasn’t right.
“Set the system up several days before you leave, mark the water level, and check how quickly the bottle empties.”
Only then can you tell whether you need to fine-tune: add one more hole, enlarge a hole slightly using a hot needle, or switch to a bigger bottle.
Practical tips for everyday life and holidays
A few extra tweaks make it even more usable:
- Before you go away, move pots into a shadier spot so they use less water.
- Choose light-coloured bottles, as they won’t heat up as much in direct sun.
- If the soil is very loose, push the bottle in a little deeper so it stays stable.
- If you have children or pets, position the bottle as close to the stem as possible so it’s less likely to be knocked over.
If you have lots of plants, a quick glance at the bottle bases sticking up will show you which containers will need topping up soon. That saves time and helps prevent individual pots from being accidentally missed.
What beginners should also watch out for
The bottle trick doesn’t replace paying attention to your plants, but it’s a huge help while you learn: keep an eye on the leaves and the soil. If leaves still look limp despite the bottle, too little water is reaching the roots. If you notice yellow, soggy leaves, the system is delivering too much.
Over time you can combine the method with other ideas: water saucers under large containers, automatic balcony watering, or collecting rainwater in a butt. The bottle remains the simplest entry point - it costs nothing, takes minutes to set up, and can, in a pinch, get entire plant collections through a heatwave or a trip away.
Comments
No comments yet. Be the first to comment!
Leave a Comment