
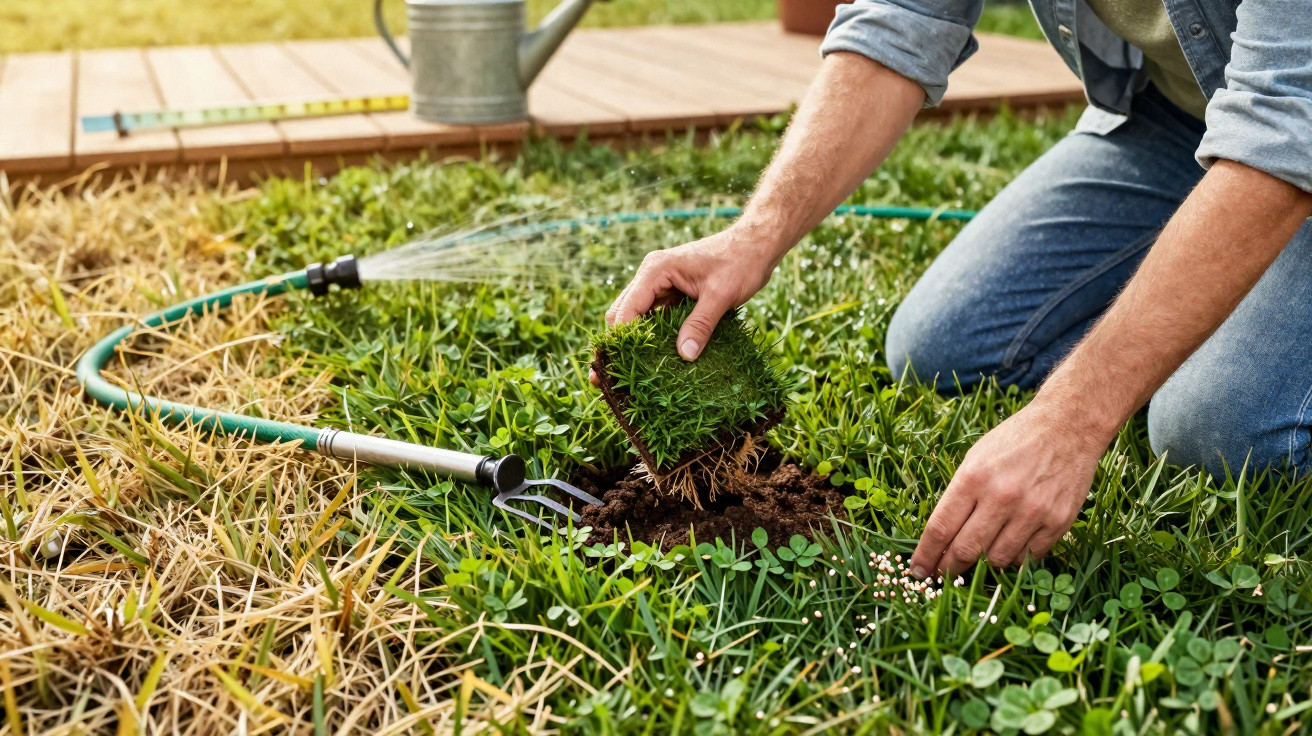
Spring has arrived, but your lawn looks tired, dull and slightly yellow?
With a few straightforward, well-targeted measures, you can bring back a dense, rich green carpet.
When yellow patches appear, many gardeners instinctively reach for fertiliser, the hose and strong chemicals from the DIY shop. The bright packaging promises instant miracles, yet often leaves you with a lighter wallet and an even more stressed lawn. If you want a lawn that stays attractive long-term, take a different approach: gentle, logical, and focused on the soil rather than the label. Four levers are enough: open up the ground, water properly, mow higher, and overseed with clover.
Why the lawn suddenly turns yellow
A yellow, patchy lawn is usually not a “fertiliser problem” at all-it is a soil problem. The plants are missing what they actually need: air, water at the right depth, and nutrients that cycle naturally.
"A yellow lawn is usually the symptom of disrupted soil respiration, not an alleged nutrient deficiency."
Common causes include:
- Compacted soil where water either pools on the surface or runs straight off
- A thick layer of thatch made up of old grass stems and moss
- Watering too often and too shallowly
- An aggressively low cutting height
- Nutrient-poor, exhausted soil
Step 1: Open the soil gently instead of tearing it up
Lawn thatch – the invisible brake on air and water
Over the years, a dense mat builds up around the base of the grass: dead plant material, moss and leaves. This lawn thatch acts like a tight insulating layer:
- Rainwater beads off or sits on the surface
- Hardly any air reaches the roots
- Fertiliser gets trapped in the top layer
In the truest sense, the roots “suffocate”. The outcome is predictable: yellow blades, weak growth, and more moss than grass.
Gentle scarifying instead of brutal soil treatment
The fix is simple: scarify lightly-truly lightly. Many hobby gardeners set the machine far too deep, rip roots out, and then wonder why brown areas appear. A careful approach works better:
- Adjust the machine so the blades only scratch the surface
- Work along the length of the lawn, then (if needed) make a light pass across it
- Rake up the loosened material thoroughly and remove it
This opens the surface without wrecking the root system. Air, water and micro-organisms start circulating again-creating the foundation for fresh, vigorous growth.
Step 2: Water like a professional – less often, but thoroughly
Daily sprinkling makes the lawn lazy
A widespread misconception is: the yellower the lawn, the more water it needs-ideally every day. In reality, that routine weakens it:
- Surface moisture spoils the roots
- They stay in the top few centimetres instead of growing deeper
- Even short dry spells then hit the lawn hard
- Waterlogging encourages fungal diseases
Infrequent, heavy watering drives roots down
A resilient, drought-tolerant lawn depends on deep roots. For that, water must penetrate down into the soil. A useful rule of thumb:
| Watering frequency | Amount | Effect |
|---|---|---|
| 1–2 times per week | 20–25 litres per m² | Water soaks in deeply, roots follow |
| Daily “a little bit” | 5–10 litres per m² | Only the surface gets wet, roots stay shallow |
Ideally, water early in the morning or later in the evening. Evaporation is lower then, and the water has time to soak in. After a few weeks, many lawns respond visibly: the yellow tinge fades, and the green becomes thicker and more robust.
Step 3: Mowing – in summer, higher is almost always better
A radical close cut bakes the soil
Cutting extremely short to “mow less often” is highly damaging. The upper part of the grass acts like a natural sunshade; remove it and several things happen:
- The sun heats the soil directly
- Moisture evaporates at record speed
- The soil cracks and nutrients are lost
- Weeds seize the extra light and spread
A higher cut cools the ground
Garden professionals swear by the so-called “high cut”. Set your mower height to around 7–8 cm. It can look unusual at first, but the benefits are significant:
"A higher-cut lawn keeps moisture in the soil, shades the surface and gives weeds hardly a chance."
Your lawn stays:
- noticeably greener during hot spells
- pleasantly soft underfoot
- far more resistant to scorching
Important: never remove more than one third of the blade height in a single cut. If you have left it too long between mowing, plan two gentle cuts a few days apart rather than one harsh scalp.
Step 4: Clover as natural fertiliser – riding the nitrogen bonus
Dwarf clover – the quiet hero in a green carpet
Instead of buying expensive lawn feed every year, you can strengthen the area with a natural nutrient supplier: low-growing, white-flowering clover. It captures nitrogen from the air and makes it available in the soil. Grass roots benefit directly.
Benefits of fine clover in a lawn:
- Continuously supplies the soil with nitrogen
- Stays surprisingly green even in dry weather
- Fills gaps where moss and weeds would otherwise take hold
- Feels soft and springy under bare feet
How to overseed with clover in four simple steps
The best choice is so-called “dwarf” or “micro” clover. It grows low, is barely noticeable visually, and blends neatly with the grass. To overseed, do the following:
- Lightly rake over yellow or bare patches and remove thatch
- Scratch the surface gently with a rake
- Spread around 5 grams of clover seed per square metre evenly
- Press it in with a roller or a board, and keep it lightly moist until it germinates
In warm conditions, the first delicate clover usually appears after 10–12 days. A few weeks later, previously dull areas look visibly denser, more even and greener-without resorting to harsh chemicals.
How the lawn stabilises itself over time
Living soil instead of a sterile surface
By combining gentle scarifying, restrained watering, a higher cut and clover, you support not only the grass but the entire soil ecosystem. Earthworms, bacteria and fungi create a looser, crumbly structure. Organic material breaks down more evenly, and nutrients remain available over the long term.
The more active this underground microcosm becomes, the less stress you will see in the blades above. Yellowing after heat, brown patches after a short dry period, or fungal issues all reduce noticeably.
Practical additions for even better lawn health
If you want to go one step further, you can add a few extra measures:
- Soil test: a simple test will show whether lime is needed or if there is a pH issue.
- Compost–sand mix: applied thinly as a topdressing, it improves structure and water movement.
- Reduce pressure on heavy-use areas: less car traffic or moving play equipment around prevents repeated compaction in the same spot.
In new-build areas especially, lawns often sit on compacted construction ground. In those cases, it helps to follow the above approach consistently over several years. Many lawns that look hopeless at first can develop into impressively robust, deep-green surfaces.
One more point that is often underestimated: patience. A lawn cared for in an ecological way does not transform overnight-but it does remain stable in the long run. If you internalise the four steps, you will need fewer products from the shelf, use less water, and have far less work-while enjoying much more green outside your front door.

Comments
No comments yet. Be the first to comment!
Leave a Comment