
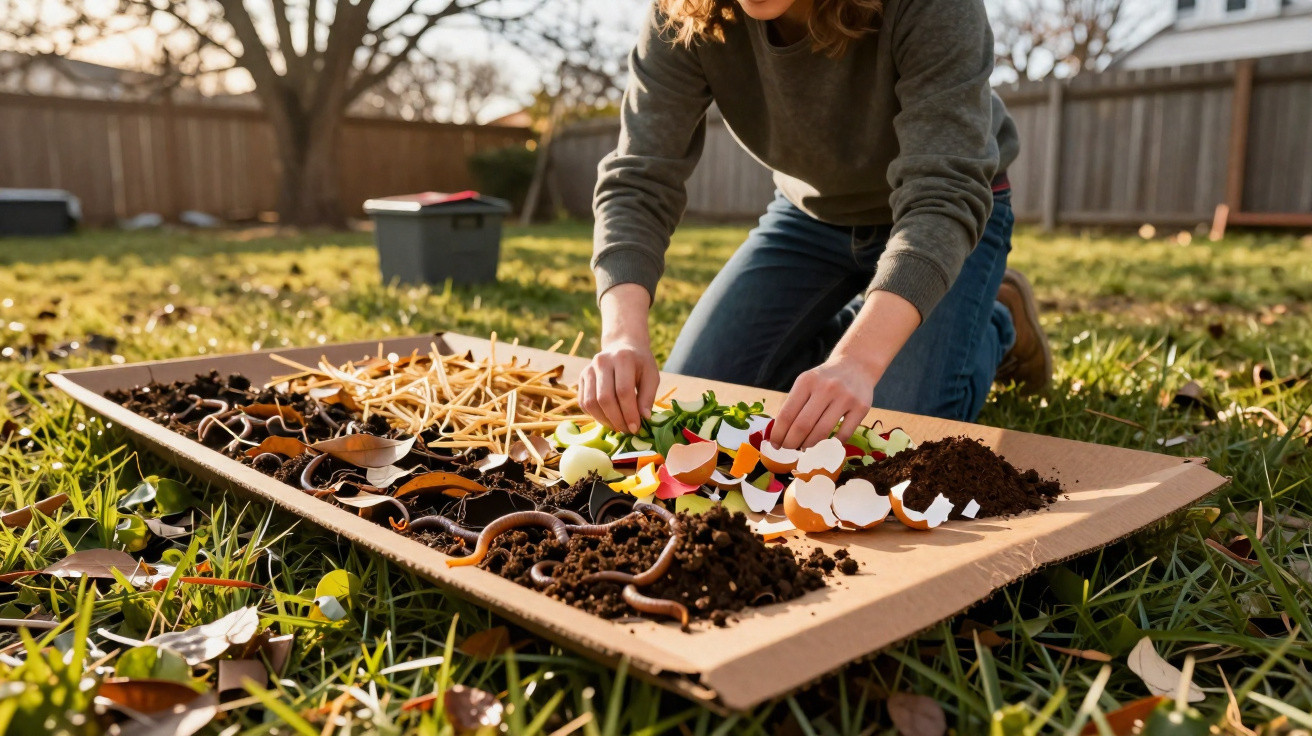
While many amateur gardeners prefer to stay warm indoors during winter, an ideal opportunity often passes unnoticed: the chance to create loose, nutrient-rich soil with very little effort. A little-known permaculture technique requires no digging at all, makes use of kitchen and garden waste, and can turn even hard-to-manage ground into productive beds by spring.
What “lasagne gardening” is really about
The name may sound like a recipe, but it describes the principle remarkably well: just as in the baked dish, the garden bed is built from several layers, except organic materials take the place of pasta sheets. Set directly on the existing ground, these layers form a shallow composting system that gradually becomes living, humus-rich soil.
Lasagne gardening means feeding the soil before the plants – and the plants benefit twice over later.
The method follows nature’s example. In a woodland, nobody loosens the soil or clears away fallen leaves. Leaves, branches, dead herbaceous growth and animal manure accumulate, rot slowly and create a deep humus layer. Lasagne beds bring that same process into your vegetable garden, only in an accelerated form and exactly where you intend to harvest later.
Starting in January or February gives rain, frost, thawing conditions and soil organisms several months to break down the materials. By spring, you will have a loose, richly dark bed ready for planting directly into – with no spade and no rotavator.
The foundation of every lasagne bed: cardboard stops weeds
The first step may seem unusual, but it is crucial: rather than digging first, cover the ground with a layer of plain brown, uncoated cardboard. This can be laid over lawn, a patch of rampant weeds or even bare, crusted soil.
The cardboard serves two purposes:
- Blocking light: It completely shades the soil beneath, causing existing grass and weeds to die back and decompose where they are.
- Feeding soil life: Cardboard contains plenty of carbon, softens when wet and provides food for earthworms and bacteria.
Be sure to remove every plastic component, including tape, labels and plastic windows. Lay the cardboard pieces so they overlap closely – by at least 10 to 15 centimetres – to ensure there are no gaps.
Water thoroughly after laying it: only soaked cardboard moulds itself to the ground and begins breaking down quickly.
This marks out the precise bed area and creates a clearly defined space on which to build the layers one after another.
Carbon and nitrogen: layering materials in the right order
The real “lasagne” construction begins above the cardboard. At the heart of the technique is the balance between two types of material: so-called “browns” and “greens”. This reflects the chemical balance between carbon (C) and nitrogen (N).
Brown layers: structure and water retention
“Brown” refers to dry, relatively tough materials that are high in carbon. Common winter examples include:
- straw or hay
- collected dry autumn leaves
- woodchip or shredded branches
- a small amount of sawdust or wood wool
- non-glossy newspaper torn into strips
These layers can be fairly thick. They create air pockets within the structure and act like sponges, storing water and releasing it evenly to plant roots later on.
Green layers: the engine of decomposition
“Green” covers materials rich in nitrogen, which are usually moist and soft. During winter, suitable options include:
- vegetable and fruit scraps from the kitchen
- coffee grounds and tea bags without plastic components
- leftover grass clippings, if available
- fresh or partly rotted farmyard manure
- wilted culinary herbs, potted herbs and faded plant material from indoors
These ingredients activate the micro-organisms that decompose everything. Too much can quickly cause unpleasant smells and rotting, while too little slows the process down.
A simple basic recipe: layer roughly two parts brown material to one part green material.
Start with a coarse, airy layer of twigs or straw over the wet cardboard. Add a thinner “green” layer, such as kitchen waste or manure. Cover this with another noticeably thicker “brown” layer, for example leaves. Repeat this sequence until you have created a mound 30 to 50 centimetres high.
It may look enormous at first, but it will settle considerably over the following months – usually to around half its original height.
Winter turns into your own small recycling centre
Beginning lasagne beds in January also solves a waste issue almost incidentally. Instead of putting biodegradable waste in the general rubbish bin or making regular trips to the local recycling centre, it goes straight to the place where it will later do its job: the bed.
Typical winter waste that is especially suitable includes:
- peelings from root vegetables, squash and beetroot
- citrus peel in small quantities, roughly chopped
- stems from cabbage, broccoli and cauliflower
- remaining perennial material from autumn cutting back
- old, exhausted compost from pots or window boxes
Old potting compost or flower compost in particular gets a second life this way. It still contains minerals and micro-organisms that can colonise the new layers. Jobs such as “cleaning the kitchen” or “clearing the beds” gradually become a construction project for future harvests.
Invisible helpers: earthworms as free soil workers
Once the lasagne has been assembled and watered well, the most important work begins beneath the surface. Cold and wet conditions do not stop soil life completely; on the contrary, the organic mass attracts earthworms, woodlice, springtails and countless bacteria.
Earthworms dig vertical tunnels, blend cardboard, soil and compost, and leave castings that plants can use immediately.
Earthworms in particular constantly travel between the original soil and the layers above it. They pull fine particles downwards, loosen the earth, form air channels and improve drainage. They quietly and continuously carry out the work that once required laborious digging with a garden fork.
Slow decomposition also generates warmth. On frosty nights, temperatures within the lasagne remain slightly higher than in untreated ground. This keeps biological activity going for longer and allows the bed to warm more quickly in spring.
Spring planting in lasagne beds without digging
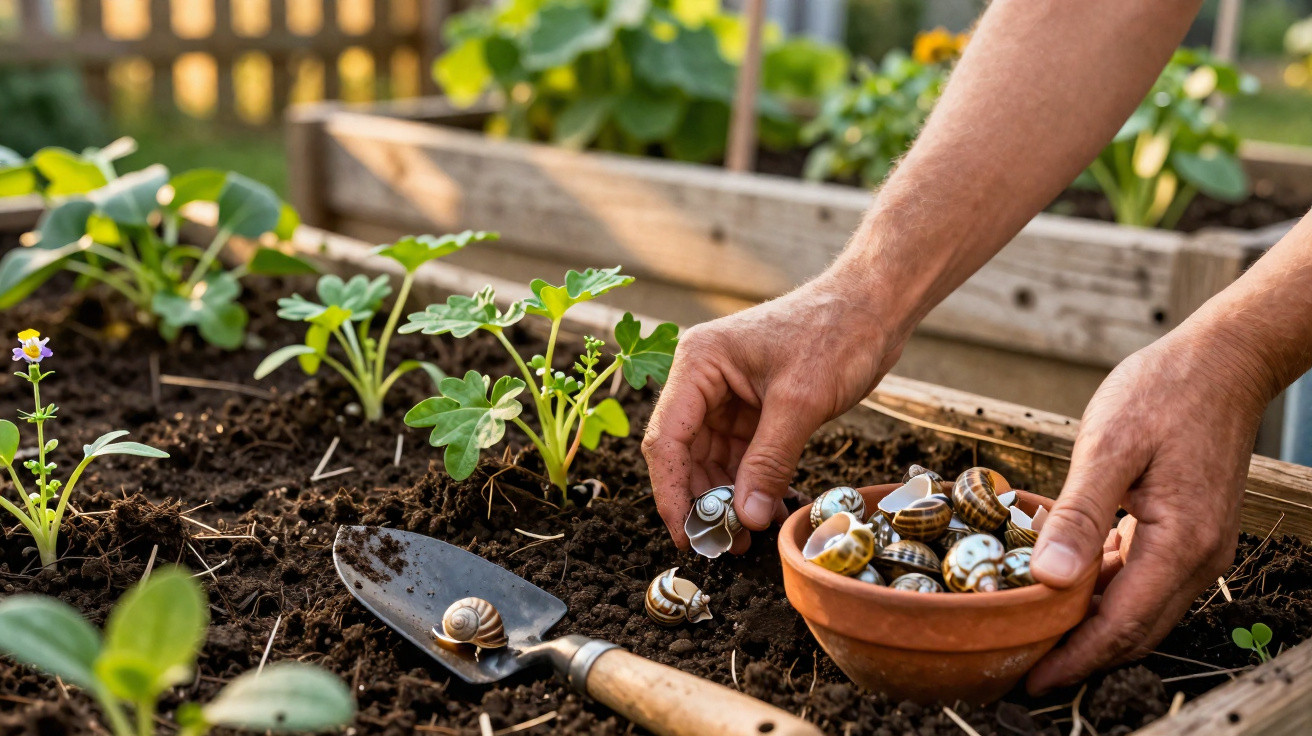
In April or May, the effect of the winter months becomes clear. The tall mound has settled and the individual layers are barely recognisable. In their place is a dark-brown, crumbly material that resembles woodland soil and has a pleasantly earthy smell.
You no longer need heavy garden work before planting. Usually, making a planting hole with your hand or a small trowel is enough. For young plants, add a little fine planting or seed compost to the hole, place the root balls inside, then cover them again with the lasagne mixture.
Even if traces of material remain visible in the top few centimetres, plants are hardly affected by them. On the contrary, continued decomposition acts both as a slow-release fertiliser and as a mulch layer that prevents drying out.
There is another advantage: far fewer weeds germinate beneath the cardboard and numerous layers. The usual surface crusting after heavy rain does not occur; the soil stays loose, water can soak in and roots can easily find their way through it.
Fewer weeds, less watering, less carrying – the real hard work happens months earlier, while everyone else is still taking a winter break.
What to watch for – and where it pays off most
A few basic rules will help ensure lasagne beds remain enjoyable over the long term:
- Avoid coated cardboard, glossy leaflets and coloured card.
- Do not incorporate meat, cheese or cooked leftovers, as these attract unwanted animals.
- Roughly chop large pieces, such as cabbage stems, so that they rot more quickly.
- Water the lasagne occasionally after dry spells, particularly on light soils.
- At first, plant sensitive vegetables as young plants rather than sowing them directly into the lasagne.
This approach is particularly worthwhile on difficult sites: heavy clay soils that otherwise form clods, or compacted lawn areas. The thick organic layer brings life upwards, loosens and improves the ground underneath, without requiring you to break it open first.
How to use the system year after year
A lasagne bed is not a one-off project. After the first season, add fresh layers in autumn and winter – thinner this time, more like a combination of mulch and a light compost dressing. Kitchen waste, leaves and a little straw on top keep the soil covered throughout the year.
Over the years, this creates an increasingly deep, humus-rich horizon. Water requirements fall, plant roots reach further down and yields become more reliable. If you wish, combine the technique with companion planting or permaculture features, such as supports for beans or small fruit shrubs around the edge.
Many amateur gardeners who begin with one lasagne bed gradually create further areas: a strip for squash and courgettes, a sunny plot for tomatoes, or a small snack garden for children. Initial scepticism often soon gives way to the realisation that “no-dig” is not laziness at all, but a smart use of natural processes.
Comments
No comments yet. Be the first to comment!
Leave a Comment