
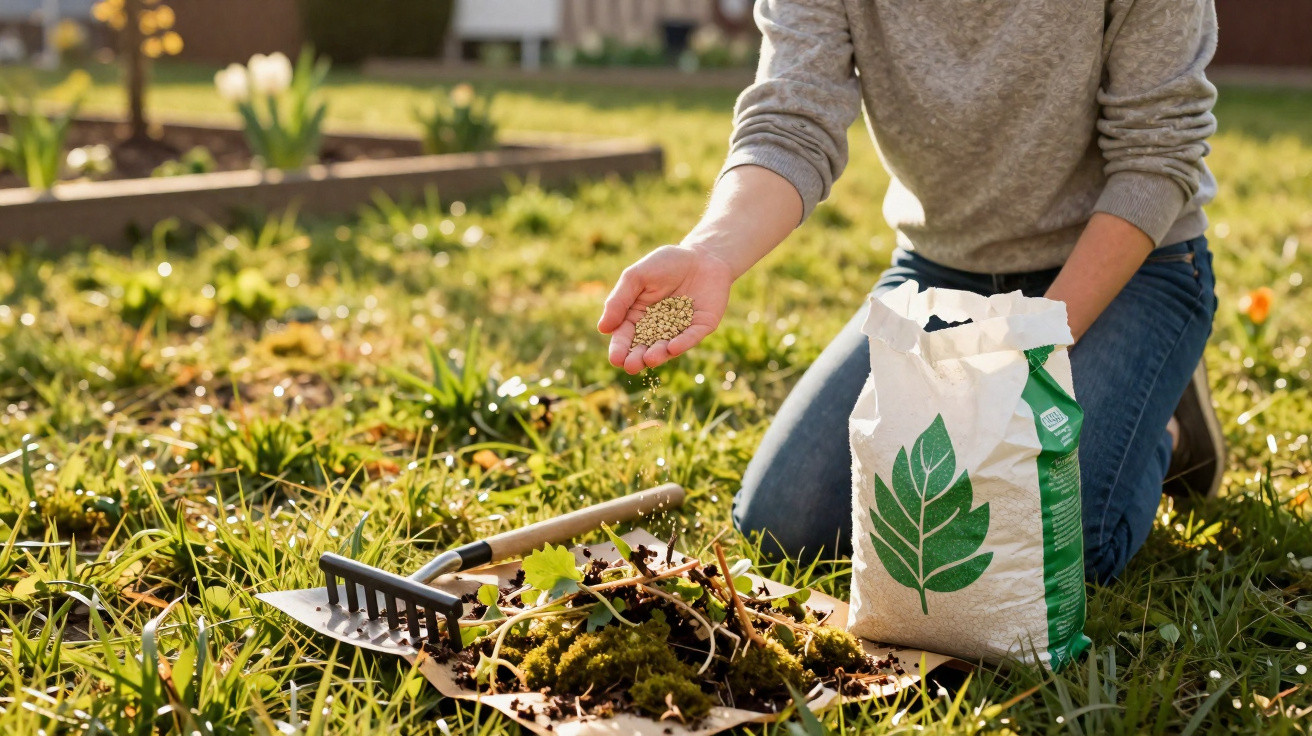
After winter, it’s only natural to want your lawn looking richly green again as quickly as possible. But this is also the point when the soil is at its most delicate. If you fertilise too early and too heavily, you can weaken the turf for the long term - even if it first turns an impressive shade of green. A gentler four-step approach protects your green space far more effectively.
Why too much fertiliser in spring weakens your lawn
After a wet, cold winter, soil is often still chilly, heavy and slow to drain. The sward can look tired, may be sitting in water in places, and the roots are still operating in “economy mode”. If you apply a strong, nitrogen-heavy lawn fertiliser at exactly this stage, an unhelpful chain reaction can follow: the grass is pushed into rapid leaf growth before the roots are ready to support it.
"The lawn may turn a vivid green very quickly, but it stays soft, shallow-rooted and extremely vulnerable to drought, foot traffic and disease."
There is also a second issue. Many fertilisers contain a relatively high level of salts, which draw moisture away from roots. This can cause so-called fertiliser scorch - yellow or brown patches that can take a long time to knit back together. In wet soil, surplus nutrients can also wash down into deeper layers where roots can no longer access them. That wastes money, puts pressure on groundwater quality, and does nothing for the lawn.
If you overseed at this time, an over-nutrient-rich soil can even hinder germination of the young grasses. Older grass then surges upwards, shades the seedlings and pushes them aside. The result is weak gaps that soon get taken over again by moss or weeds.
The right order: clear up first, then feed
Gardeners who want a lawn that stays robust over the long haul tackle spring in four stages - maintenance first, nutrients second:
- Remove weeds and coarse plant debris
- Lift moss and thatch out of the sward
- Neaten edges and repair bare patches
- Feed the lawn carefully with a slow-release fertiliser
Step 1: Remove weeds and winter debris
As soon as the ground is no longer sticking to your shoes, you can begin the spring tidy-up. This is the moment to inspect the lawn closely: dandelions, ribwort plantain and other rosette-forming weeds are easy to lift out now. The key is to remove as much root as possible, otherwise they will promptly regrow.
Fill the resulting holes with a blend of lawn topsoil or well-rotted compost; on heavily compacted areas, add a little coarse sand as well. This creates an airy structure that makes it easier for roots to grow and for water to drain through.
If you can tolerate a few dandelion rosettes, you also help bumblebees and wild bees, because those yellow flowers are among the first food sources of the year. In that case, simply cut the plants off before they set seed.
After that, rake thoroughly with a metal rake. This pulls out leaf litter, dead blades and fine twigs that have built up over winter and can effectively smother the surface.
Step 2: Stop moss and lawn thatch before they take over
Moss often gains ground over winter, especially in damp, shaded spots. On top of that, a layer of partly decomposed clippings, roots and stems can develop - known as lawn thatch. A thin layer up to a maximum of 2 centimetres is absolutely fine: it makes the lawn pleasantly springy and reduces the risk of the soil drying out.
"If the thatch gets too thick, it behaves like a water-repellent mat - nutrients, air and water can barely reach the roots at all."
A light scarifying session helps reduce this layer. You can do it with a sharp spring-tine rake or a scarifier that scratches the surface and pulls out thatch and moss. The crucial point is to start gently in spring. If the thatch layer is extremely thick, it is better to scarify more intensively after the first or second mow, once the grass has clearly regained strength.
Remove the raked-out material from the lawn without exception. A small amount can go on the compost heap; heavily mossy waste is best put into your garden-waste collection so spores are less likely to spread everywhere.
Step 3: Repair edges, borders and bare patches
A lawn immediately looks more cared for when the edges are crisp. Early spring is a practical window for redefining borders using a sharp edging tool or spade. On slopes and in very wet soils, do this on dry days so the turf does not tear.
Bare patches often come from dog urine, heavy footfall or fungal problems. Lightly loosen these areas, clear out dead material and scatter a mix of grass seed and lawn topsoil. Gently firm it down with your foot or a tamping board so the seed has good contact with the ground. Keep the area evenly moist until the seed emerges, but do not waterlog it.
| Problem area | Cause | Spring action |
|---|---|---|
| Yellow patches | Fertiliser scorch, dog urine | Remove dead grass, loosen soil, overseed |
| Thick moss pads | Shade, waterlogging, nutrient deficiency | Scarify, aerate the soil, improve drainage, fertilise moderately |
| Weed clusters | Open gaps, weak turf | Dig out, close gaps, strengthen the lawn overall |
Step 4: Feed the lawn correctly in small portions
Only once the lawn is clearly moving again - meaning it is growing and needs its first cut - is it time to fertilise. At that point the plant is active and can genuinely absorb and use nutrients, rather than leaving the soil overloaded.
"The best choice is a balanced lawn fertiliser with slow nutrient release - it gives the grass stamina instead of a short, sharp shock."
These products, whether organic or mineral, supply the lawn steadily over several weeks. In many gardens, two light applications per year are entirely sufficient: one in spring and one in autumn. What matters is even coverage. A lawn spreader helps prevent striping and accidental over-application.
Cutting height is just as important. Mowing too low puts the grass under stress and encourages weeds. In spring, around 5 to 7 centimetres is a sensible compromise: the blades can photosynthesise well, shade the soil, and act like a thin mulch layer.
How climate and location determine the right time to fertilise
Relying purely on the date in the calendar only gets you so far. What counts is what is actually happening where you live: in milder western areas or near the River Rhine, lawns often start much earlier than they do at higher elevations or in shaded gardens. If you pay attention to the soil rather than the day of the month, you are usually closer to the mark.
A useful rule of thumb: the soil should feel roughly as warm as the air on a mild spring day, and walking over it should not leave muddy footprints. Only then does it make sense to mow, scarify, reseed and - as the final step - fertilise.
How to avoid lawn-fertiliser mistakes in the long term
A lot of damage comes from well-meant but excessive care. Anyone who automatically tips out the biggest bag of fertiliser at the same time every year is likely to miss what the lawn actually needs. A healthy lawn is quite clear about its condition: sturdy but not overly long blades, little moss, a closed sward, and moderate growth.
If you are unsure, start with a smaller quantity and watch the response. If, after two to three weeks, the lawn is growing calmly and evenly, the dose is right. If it rockets upwards, needs constant mowing and quickly develops pale tips, you applied too much.
Risk factors that give moss and weeds the advantage
Fertiliser is not the only factor that determines lawn quality. Certain site conditions strongly encourage moss and weeds: persistent shade under trees, standing water caused by compacted soil, or repeated walking on the lawn when it is wet are classic triggers.
If you recognise these issues, address the cause in parallel: improve drainage, use a lawn aerator occasionally to increase air in the soil, and create paths to take pressure off the same trampled lines. Often, simply changing your watering pattern is enough to noticeably reduce moss pressure.
Why less is often more - for the environment and your wallet
A lawn that is fed in moderation loses far fewer nutrients into groundwater and needs mowing less often. That reduces effort, saves money on fertiliser, and cuts petrol or electricity use for the mower. At the same time, the turf thickens up, leaving weeds with fewer places to take hold.
If you also leave some clippings on the lawn (mulching, or using a mower with a mulch function), you return part of the nutrients back into the cycle. That makes the lawn more resilient without constantly having to spread new products.






Comments
No comments yet. Be the first to comment!
Leave a Comment