
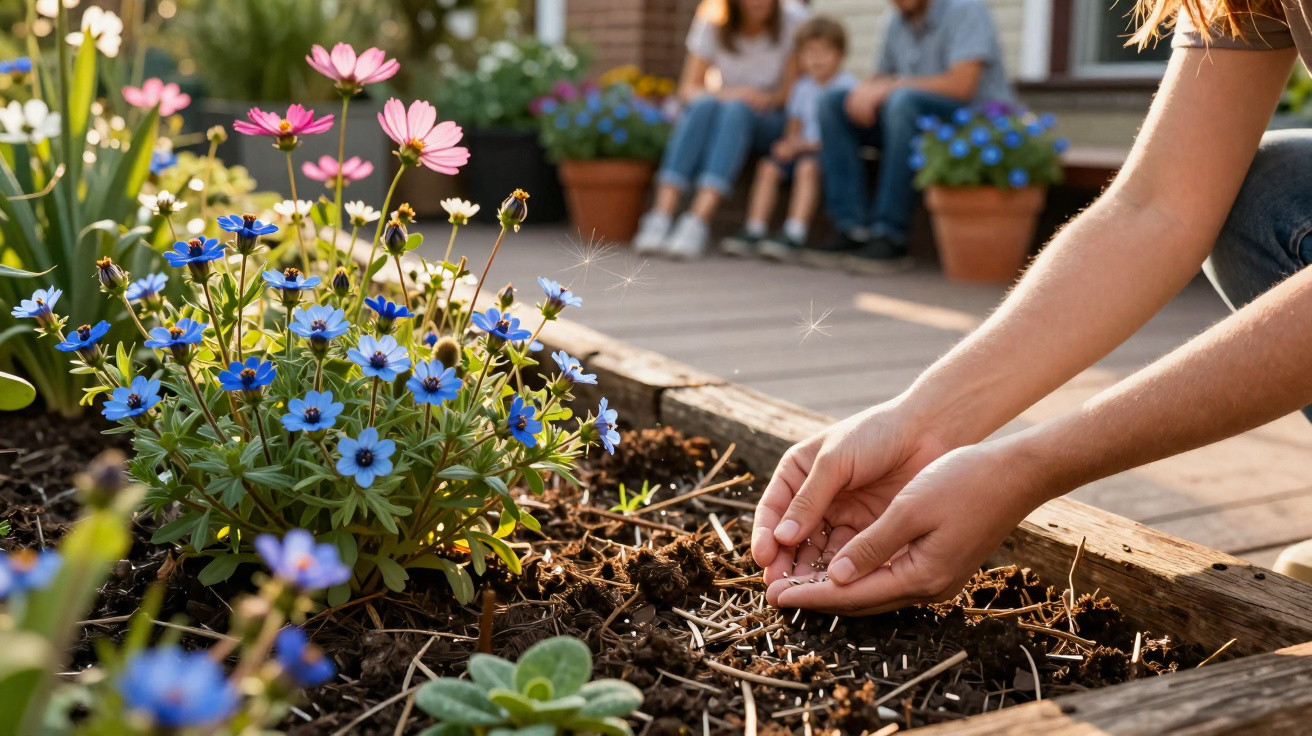
Many people across German-speaking countries work long hours, have children, and live with limited space - yet still want a genuinely beautiful, flower-filled home. The good news is that a colourful summer balcony or a vibrant border doesn’t require ten different varieties; often, one smart plant is enough. That’s exactly what this delicate cottage-garden flower offers - and in the UK it has been a quiet favourite for years.
The underrated summer hero: why Nigella belongs in every garden now
We’re talking about Nigella, also known as love-in-a-mist. This annual summer flower looks almost storybook-like: soft, feathery foliage; airy blooms in blue and violet shades; and later, striking seed pods. And it delivers all of that without constant watering, pricking out, or feeding.
Nigella is seen by garden professionals as one of the easiest summer flowers to grow - ideal for people with little time and little experience.
UK gardening experts often suggest Nigella damascena as one of the first sowings of the year. The reason is simple: it flowers from June right through to September, producing fresh buds again and again. If you keep cutting stems or remove spent flower heads, you can bring new bunches indoors for months - while keeping the display in the border going.
It’s also a great option for families: the delicate flowers attract bees, bumblebees and hoverflies. So if you’d like to help insects without turning your whole garden into a wildflower meadow, Nigella is a spot-on choice.
How long Nigella really flowers for
In the UK, the season typically begins in June (depending on the weather) and often runs into early autumn. Experience from similarly mild regions of Germany, Austria and Switzerland shows much the same pattern:
- Sowing in March/April: flowering roughly from June to August
- Sowing in April/May: flowering roughly from July to September
- With sensibly staggered sowing, the flowering periods overlap
As a cut flower, a bunch of Nigella lasts around a week on average - often up to ten days if you change the water regularly and re-cut the stems with a sharp knife. That makes it an appealing addition for anyone who wants to skip the weekly supermarket bouquet.
How to sow Nigella correctly
The biggest advantage of this flower is how forgiving it is. You don’t need perfect soil, specialist compost, or a heated greenhouse. If you’ve got a window box, a small border, or even just a large pot, you can get started.
Direct sowing in a border or container
If you have a garden bed or a raised bed, the simplest method is to sow Nigella straight where it’s meant to grow.
- Loosen the soil roughly and remove stones and larger roots.
- If the soil is very heavy, work in a little sand or fine grit so water drains more easily.
- Scatter the fine seeds thinly over the area - more of a light “sprinkle” than neat rows.
- Cover only lightly with soil or compost, no more than 1 cm.
- Water in gently, without washing the seed away.
If you’re growing in pots or balcony boxes, fill them with a loose, peat-free compost, add a little sand if needed, and follow the same steps. The key point is drainage: keep the holes clear so excess water can run out freely.
Starting in trays: ideal for small spaces
If you’re tight on space or want to plant out very precisely, you can start Nigella in shallow trays first:
- Fill a tray with seed compost and level the surface.
- Spread the seeds generously - it’s fine to sow more thickly, as you’ll thin them later.
- Dust lightly with soil or compost; don’t press down firmly.
- Water, then place somewhere bright - for example on a windowsill or balcony.
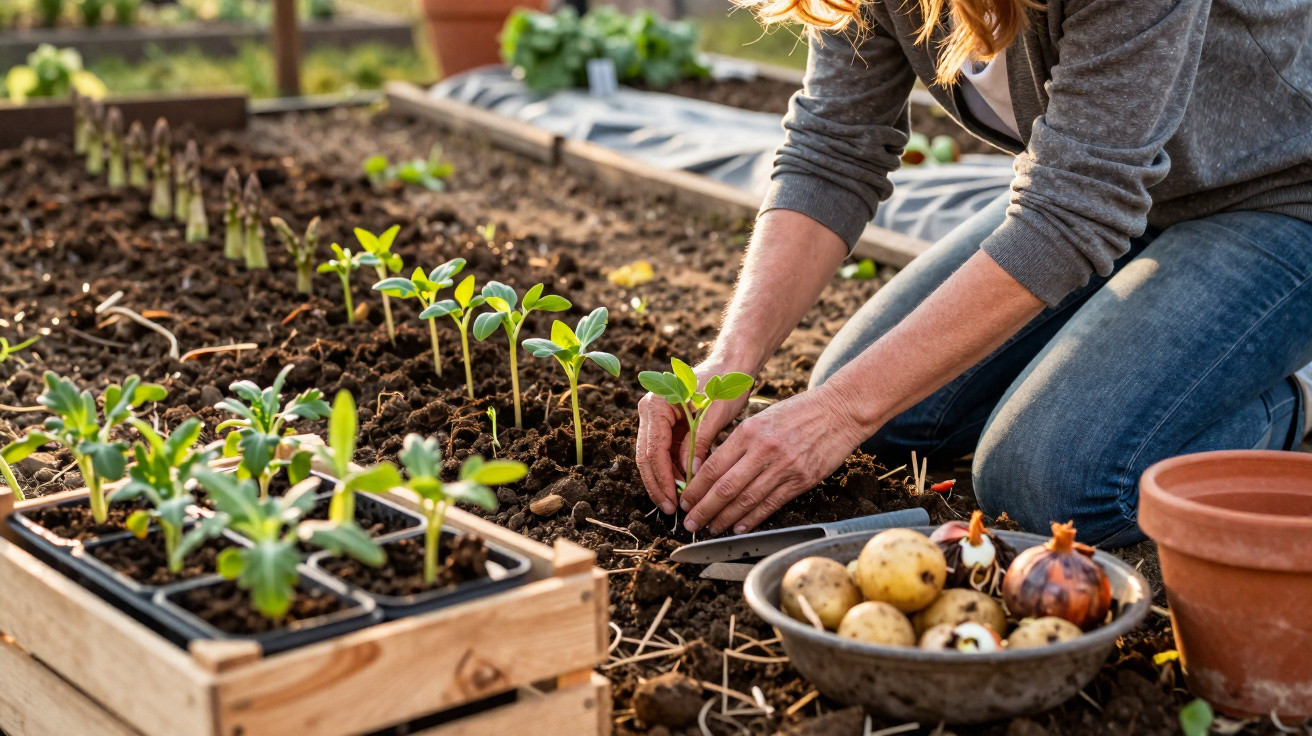
Once the young plants have a few true leaves and look sturdy, move them into their final spot: borders, large pots, gaps between perennials, or the veg patch.
The right position: where Nigella thrives
Nigella prefers bright conditions and doesn’t like sitting wet. Stick to the points below and you’re well set up for a long flowering period:
- Position: full sun to partial shade, with at least 4–5 hours of light per day
- Soil: loose, fairly lean to moderately fertile, and well drained
- Spacing: roughly 20–30 cm between plants so they can grow bushy
Plants that are packed too closely stay smaller and topple more easily. If you thin them decisively, you’ll be rewarded with strong, well-branched clumps.
In containers, you can reduce spacing slightly as long as the compost stays open and airy. A couple of handfuls of clay granules or gravel in the base helps excess water drain away, preventing the fine roots from rotting.
Everyday care: what actually matters
Once Nigella has settled in, it largely takes care of itself. For most gardens and balconies, these simple tasks are enough:
- Watering: in dry spells, water thoroughly; allow the surface to dry slightly in between; avoid constant wetness
- Feeding: usually unnecessary in borders; in pots, a light liquid feed every few weeks is sufficient
- Deadheading: pinch off faded heads regularly to encourage new buds
If you enjoy arranging flowers, you’ll do the “tidying” almost automatically: every stem you cut delays seed formation and extends the flowering season for the rest of the plants.
Self-seeding, seed heads and decoration ideas
After flowering, Nigella develops plump, often lightly ribbed seed pods that quickly become a favourite for decorating. Many people deliberately let a few blooms mature:
- The plant self-seeds in place.
- New seedlings appear the following year with very little effort.
- The dried seed pods are excellent for dried arrangements.
If you want to limit self-seeding, cut off most pods early and leave only a few to ripen. The dried heads pair beautifully with grasses, eucalyptus or coneflowers, and in a simple vase they look far more elegant than their humble origins suggest.
Why families and busy people benefit from Nigella
Nigella fits neatly into everyday life when appointments, children and work leave little time for gardening. It’s forgiving if watering happens late, copes without daily checking, and doesn’t demand complicated pruning. If you’re going away, you usually won’t need to “hand it over” to neighbours - as long as it isn’t baking in intense heat with no water reserve.
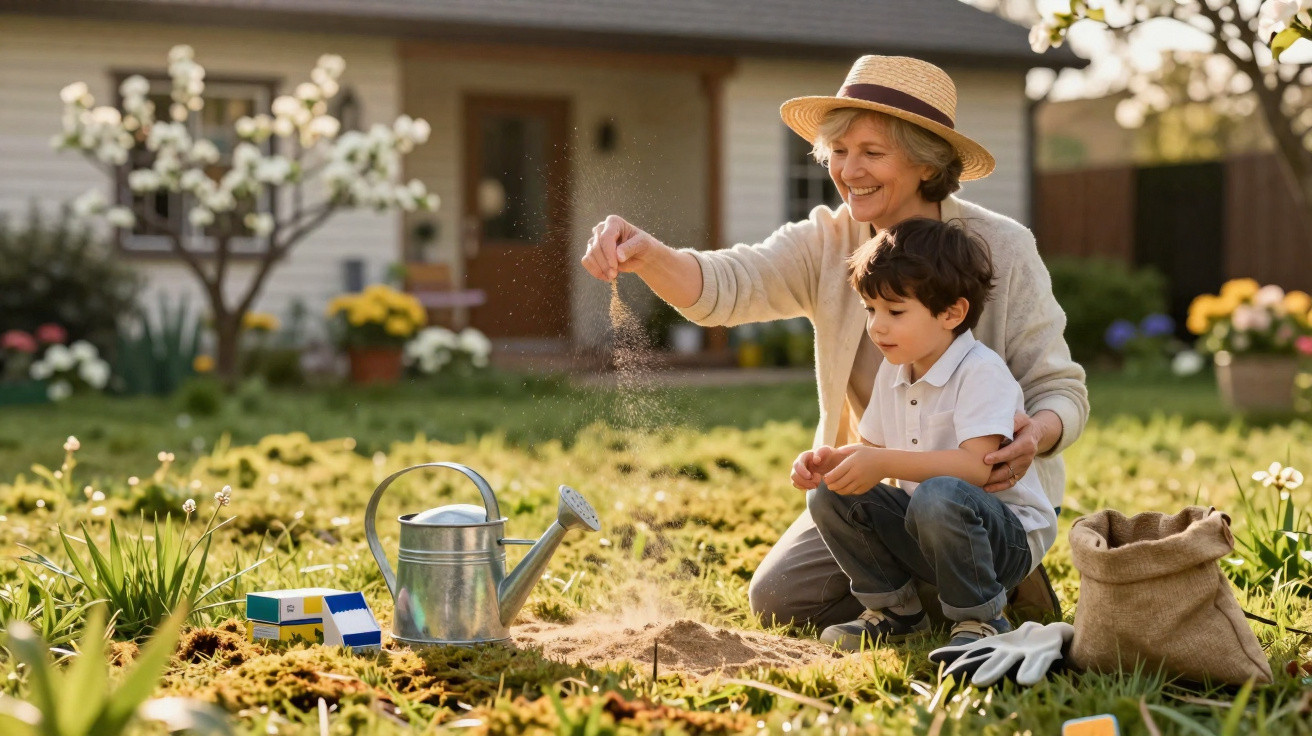
At the same time, it’s a brilliant learning plant for children: from seed to seedling, then flower - and finally to a seed head that produces new plants next year. That cycle is easy to watch with just a few steps in a pot or small bed.
Tips for attractive combinations in borders and on balconies
Nigella really shines in mixed planting. Its fine foliage lets stronger neighbours take centre stage, without disappearing itself. Popular partners include:
- Roses, whose slightly stiff stems are softened by Nigella’s light, airy haze
- Pot marigolds (Calendula), adding bold contrast with warm orange and yellow tones
- Cosmos and zinnias, to reinforce the cottage-garden look
- Herb beds, where Nigella threads lightness between thyme, sage and chives
It also looks right at home in the veg patch: planted between tomatoes, cabbages or courgettes, it draws in pollinators and helps ensure more flowers actually set fruit.
What beginners should know
Many amateur gardeners hesitate to buy seed because they worry they’ll do something wrong. With Nigella, the barrier is very low. Even if a first attempt fails, a fresh packet costs only a few pounds, and re-sowing a few weeks later often works much better.
If you’re unsure about soil types, a simple rule helps: if puddles sit on the surface for a long time after rain, the soil is too heavy. In that case, it’s worth “opening up” the seed bed with sand, fine grit or compost. In pots, water should run out of the bottom within seconds - and if it does, conditions are usually close to ideal.
Overall, Nigella delivers exactly what busy people need: low effort, manageable cost, and months of colour in view. If you sow a packet or two of this delicate summer flower in the coming weeks, you’ll be laying the groundwork for an impressively colourful, almost romantic summer - even on just a few square metres of balcony space.

Comments
No comments yet. Be the first to comment!
Leave a Comment