
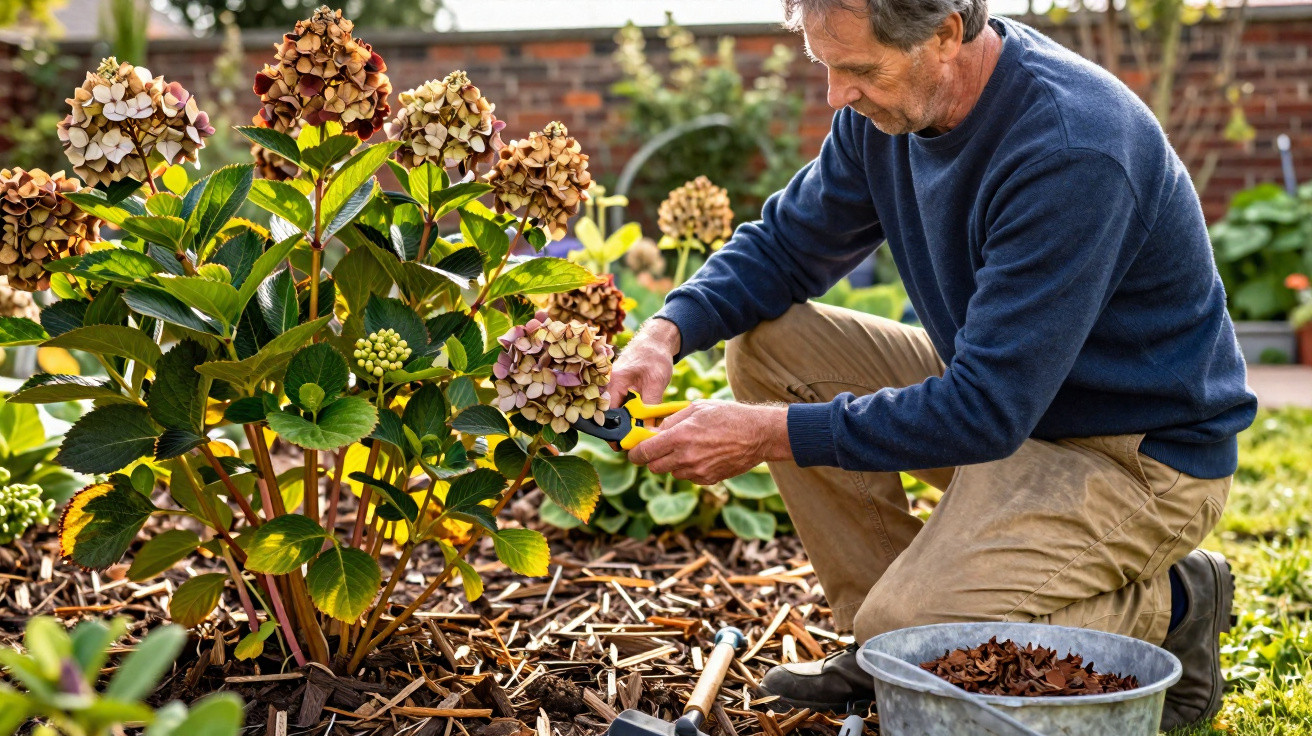
Anyone dreaming of huge, full flowerheads in summer needs to pay close attention to hydrangeas in late winter and early spring. Garden favourite Monty Don swears by an unassuming March routine that’s surprisingly often missed - and it can be the difference between a show-stopping display and real disappointment.
Why March is so critical for hydrangeas
In many front gardens you’ll find mophead and lacecap hydrangeas (Hydrangea macrophylla). They look like colourful clouds in catalogues, yet in real borders they sometimes produce only a few blooms among lots of leaves. The cause is rarely fertiliser - it’s usually down to when the secateurs come out.
These types set their flower buds in the previous summer. That means the buds sit on what gardeners call “old wood”. If you cut the shrub back hard in winter, you’re often removing the very stems that should flower the following summer.
March is when timing really matters: buds begin to swell, but night frosts can still strike. In that window, an over-enthusiastic cut can do surprising damage.
“A small cut at the right time brings more flowers than any specialist fertiliser.”
Monty Don sums up the key rule with an easy guide: if a plant flowers before June, leave it largely alone in late winter. Apply that principle to hydrangeas, and you avoid losing an entire flowering season through the wrong kind of pruning.
The March trick: gentle tidying instead of a hard prune
What matters most in Don’s approach is a clear distinction between “tidying” and “pruning”. Tidying means taking off spent blooms and obviously dead material - not reshaping the whole shrub.
How the mini-cut works, step by step
In his March routine, Monty Don takes a slightly different route when tidying hydrangeas:
- Wait until the worst frosts have passed: late March is ideal, as the plant starts to wake up.
- Identify the faded heads: the dry, papery flowerheads from last year are deliberately left on the plant until then.
- Find the cutting point: just below each old flowerhead there are usually one or two strong pairs of buds on the stem.
- Cut directly above the top healthy pair of buds: just a few centimetres beneath the old bloom, not further down.
- Remove only dead or badly frost-damaged tips: grey-brown, hollow or mushy sections can go; anything green beneath the bark stays.
This small intervention tidies the plant without sacrificing the already-formed flower buds. The plump buds beneath the cut push into strong new shoots - and those are the stems that later carry the big summer blooms.
Garden writers who’ve tried Don’s method in their own borders report much fuller flowerheads after just one season. For them, the deciding factor was doing it in late March, when the plant is coming out of dormancy and the sensitive buds are easy to see.
Why old flowerheads should stay on through winter
Many gardeners dislike the look of brown flowerheads in winter, so they cut everything off neatly in autumn. That tidy-up is exactly what often costs you flowers the following year.
Those dry heads act like a natural umbrella. They break the wind and soften light frosts, helping to shield the tender buds just below. If you remove that layer in autumn, the buds are left exposed and can be killed back in a hard freeze.
“The brown flower balls aren’t a sign of neglect - they’re free winter protection.”
If you prefer things looking neat, you can clear away dead leaves in autumn, but intentionally leave the flowerheads until spring. Then do the real work calmly in March.
Monty Don’s winter ritual: thick mulch instead of expensive specialist care
Alongside the March tidy, Monty Don follows a second, almost low-key habit that visibly strengthens his hydrangeas: applying a generous mulch layer in winter.
In January, when the border seems quiet, he spreads organic material around perennials and shrubs - ideally well-rotted compost, mushroom compost, bark chips or garden compost. Where hydrangeas meet lawn edges, he often uses pine bark, which gently acidifies the soil.
How to apply mulch properly
- Material: mature compost, mushroom compost or chunky bark
- Depth: at least 5 cm, ideally up to 10 cm
- Distance from the stems: don’t press mulch right up to the base; leave a few centimetres clear
- Frequency: it’s better to mulch properly every other year than to apply a very thin layer every year
This mulch blanket does several jobs at once: it buffers roots against temperature swings, holds moisture in the soil, and releases nutrients slowly. Hydrangeas, which use a lot of water and prefer a fresh, lightly humus-rich soil, benefit particularly strongly.
“Strong blooms come less from specialist feed than from a consistently living, protected soil.”
Which hydrangea types the trick helps - and which it doesn’t
The March method of gentle tidying is mainly suited to:
- mophead hydrangeas
- lacecap hydrangeas
- many double-flowered and “heritage” cultivars that bloom on old wood
By contrast, hydrangeas that flower on new wood can cope with a harder late-winter cut. These include, for example, panicle hydrangeas (Hydrangea paniculata) and some velvet hydrangea varieties. With these, flower buds form in spring on fresh growth.
| Hydrangea type | Flowers on | Late-winter pruning |
|---|---|---|
| Mophead & lacecap hydrangeas | old wood | Only gentle tidying; no heavy shortening |
| Panicle hydrangeas | new wood | A stronger, shaping prune is possible |
| Shrub hydrangeas (e.g. ‘Annabelle’) | new wood | Hard cutting encourages large flowerheads |
If you’re unsure which type you have, use a simple check: if, in autumn, you can already see thick buds just below the old flowerheads, keep March cutting very restrained.
Practical tips for more abundant blooms in everyday care
Beyond pruning and mulching, a few routine habits make a big difference to summer flowering. Hydrangeas don’t want constant waterlogging at the roots, but they do wilt quickly after prolonged dry spells.
- Aim for steady moisture rather than swinging between “swamp and desert”.
- Choose a lightly shaded position - avoid harsh midday sun.
- Don’t keep feeding repeatedly; instead, give one application of an organic, slow-release fertiliser in spring.
- Turn potted hydrangeas regularly so they receive light evenly on all sides.
The flower colour of mophead hydrangeas is also strongly influenced by the soil. More acidic ground (around pH 5) encourages blue tones, while more neutral soils push blooms towards pinks and reds. Specialist hydrangea compost and alum products can shift colour, but they won’t replace the basics of water, correct cutting, and mulching.
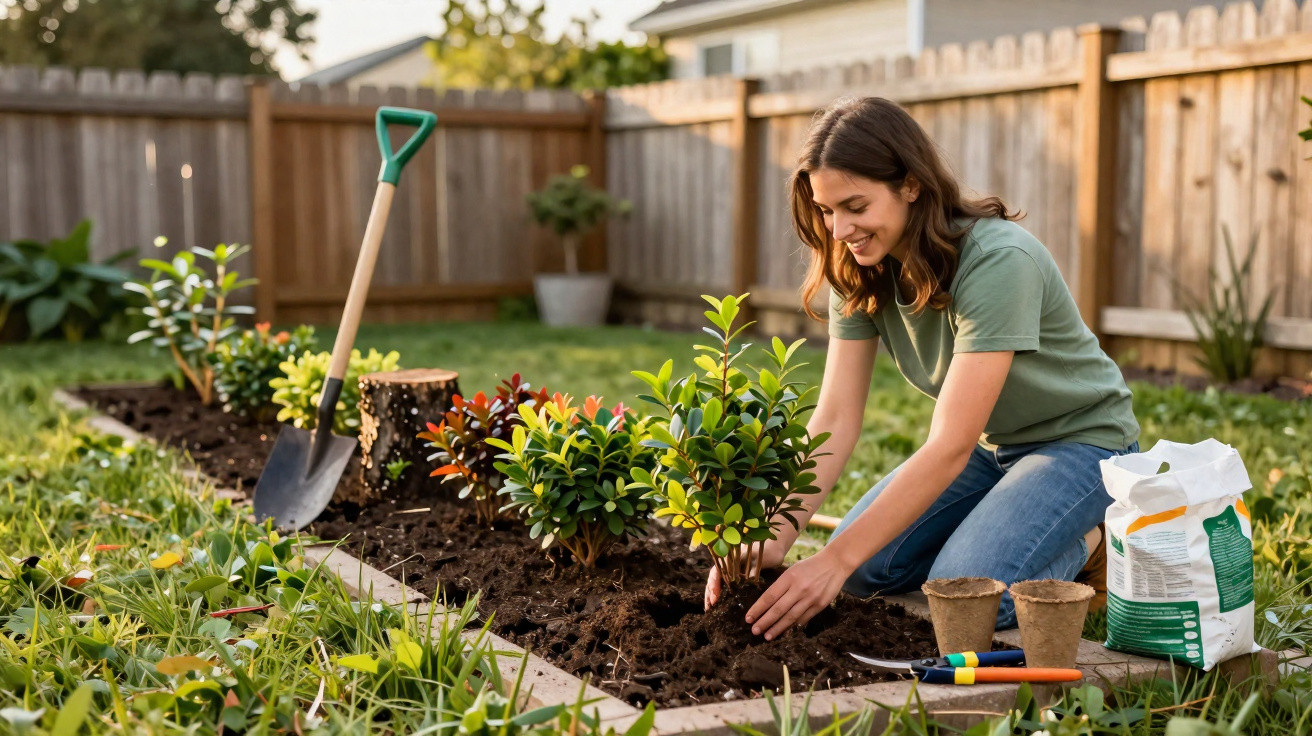
If you’re planting new shrubs, especially larger mophead hydrangeas, avoid setting them too deep and soak the root ball in water beforehand until no more bubbles rise. That helps them establish well in the first year - and the following spring, that small March routine is far more likely to be rewarded with noticeably fuller flowerheads.
Comments
No comments yet. Be the first to comment!
Leave a Comment