

While the borders may still look grey and a bit miserable, the decision is already being made about whether your garden will merely look pleasant in summer or really take off. If you cut back your perennials with purpose now, you give them a strong boost - if you hang on and wait, you unknowingly hold them back. And don’t worry: with a few simple rules, you can get this right even without professional experience.
Why now of all times? The crucial moment for perennials
By late February - and sometimes not until early March - a surprising amount is already happening in the soil. Days are lengthening, the first sunshine starts to warm the ground, and many perennials quietly begin new growth. Above ground they can still look like winter casualties, but down at the crown fresh shoots are already preparing to emerge.
"If you cut correctly now, you protect those delicate new shoots and lay the foundations for dense, healthy, flower-filled clumps of perennials."
If you leave the old, dried stems standing for too long, a few things tend to happen:
- New shoots have to force their way through a matted layer of old growth.
- Moisture gets trapped in the plant - perfect conditions for fungal problems.
- The bed looks untidy and confusing for longer.
Acting now means working in an "in-between period": the plants are not yet in full growth, but they are awake enough to respond to a fresh start.
The hard cut: why 10 centimetres really makes sense
Many hobby gardeners hesitate. "Cut it that short - surely it won’t survive!" That exact worry is often why perennials become more and more straggly over the years, produce fewer flowers, and end up bare at the base.
A simple rule of thumb is to cut dead perennial growth back to around 5 to 10 centimetres above the ground. It sounds severe, but the benefits are clear.
"A short cut-back brings the perennial out of its winter rest, rejuvenates it, and concentrates its energy into fresh, vigorous shoots."
What that looks like in practice:
- Compact growth instead of a skeleton: Cutting back encourages lots of new basal shoots. You get tight, closed clumps rather than leggy plants that are bare at ground level.
- A healthier bed: Leaves and stems affected by fungus or harbouring pests are removed. That significantly weakens the infection cycle for the new season.
- More flowering power: Energy is no longer wasted on old, dead material, and is redirected into new flower stems and strong leaf rosettes.
Which perennials to cut back now - and which should wait
One key point: not every perennial copes well with an early hard cut. Some still need their old stems for frost protection, and others deliberately keep their foliage.
Tough perennials that can be cut back straight away
The following classic garden perennials are robust and benefit from an early cut-back:
- Aster species
- Hardy geraniums (bloody cranesbill and related varieties)
- Nepeta (catmint)
- Sedum species (stonecrop)
- Rudbeckia (coneflower)
These types rarely become woody, reliably re-shoot from the base, and are usually not particularly bothered by late frosts.
Better to wait: tender perennials and evergreen foliage
Some perennials are best left until later - or only trimmed very lightly at first - because their top growth still provides protection or remains active.
- Agapanthus (African lily)
- Gaura (gaura)
- Penstemon (beardtongue)
- Semi-woody sage varieties
Their old growth acts like an insulating layer against late cold snaps. Leave it in place until the risk of hard ночные frosts has largely passed - usually from mid-April - and only then carry out a careful trim.
Tools and technique: how to cut back without hassle
The right tools are the difference between a clean cut and torn, ragged stems - and the latter invite rot and fungal issues.
| Situation | Recommended tool |
|---|---|
| Single, fairly sturdy stems | Bypass secateurs |
| Wide clumps, e.g. grasses, catmint | Manual hedge shears |
| Very thick, older stems | Loppers |
Before you begin, a quick check pays off:
- Are the blades sharp? Blunt tools crush rather than cut.
- Have you wiped the blades with alcohol? That reduces the chance of spreading germs from plant to plant.
A step-by-step method for a safe cut-back
- First, gently part the foliage at the base by hand and look for fresh green tips.
- If small shoots are already visible, cut just above them - never straight through.
- If you can’t see anything yet, cut back firmly to roughly 10 centimetres.
- Shape the clump with a slight dome: a little higher in the middle and a bit lower at the edges - it looks more natural and airy later on.
Worth its weight in gold: using prunings as free mulch
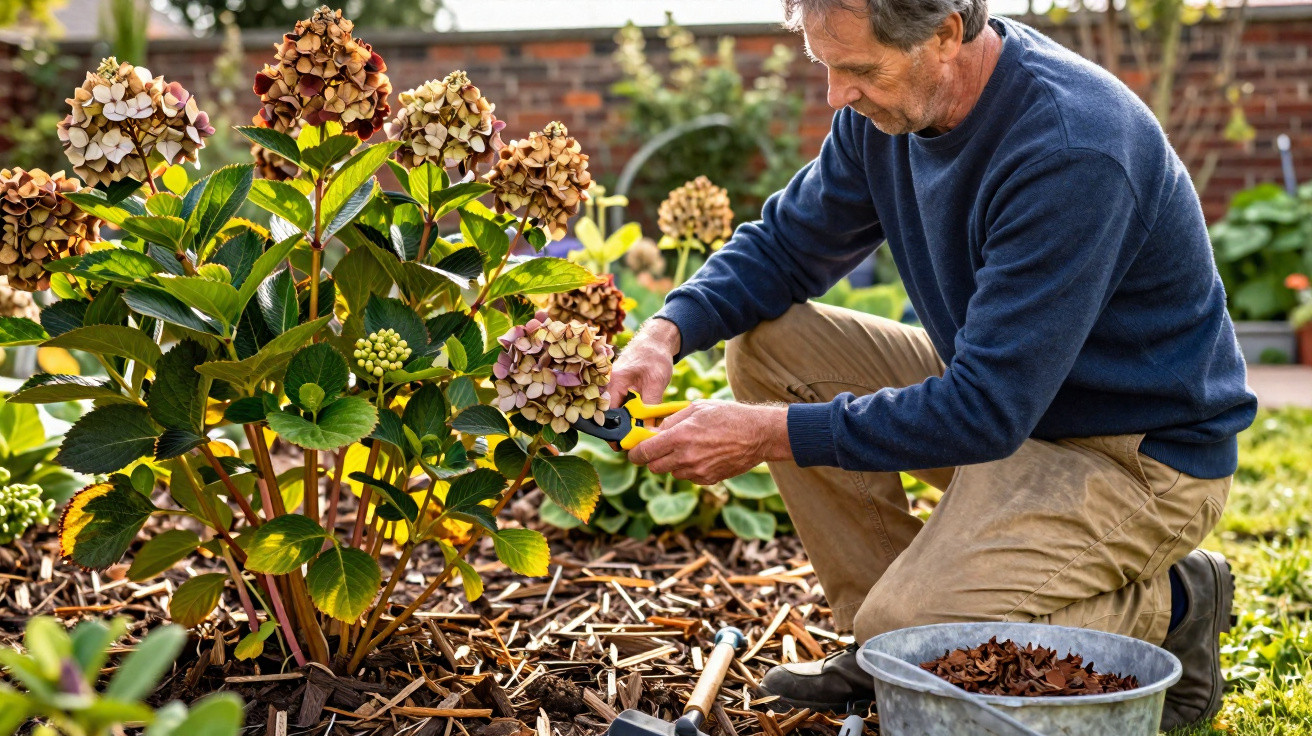
Many people throw old perennial stems into the garden waste bin or take them to the recycling centre. From a gardener’s point of view, that’s valuable material being wasted. Dry plant matter makes an excellent mulch layer.
"If you chop your prunings on the spot and spread them back around the plants, you save water, fertiliser and weeding - all in one go."
How to do it:
- Use only healthy material - no blackened, mouldy stems or heavily aphid-covered growth.
- Chop the prunings roughly, for example with hedge shears or by running over them once with a lawnmower.
- Scatter the pieces in a 2–3 centimetre layer around the perennials.
This thin cover keeps the soil moist for longer, reduces evaporation, makes it harder for weed seedlings to establish, and gradually turns into humus. Earthworms take care of the rest.
What if you’ve left it too late?
Sometimes daily life moves faster than good intentions, and the perennials are already showing fresh green growth before you reach for the secateurs. It’s not a disaster - you just need to adjust your approach:
- Instead of cutting everything down in one go, remove old stems one by one.
- Use your fingers to gently bend new shoots aside and cut the old stems as close to the ground as you can.
- It’s better to leave a bit more old growth than to damage the new shoots.
The response won’t be quite as dramatic, but the plants still benefit noticeably from improved air flow and light reaching the base.
Extra tip: divide perennials and reorganise beds
If you’re already working in the border with shears in hand, take a close look at the clumps. Many older perennials become hollow in the middle and push their energy outwards. When that happens, this is an ideal time to divide them.
Lift the clump with a spade, slice off a few healthy outer sections, and replant them. The old, tired centre can go onto the compost heap. You rejuvenate the planting and get free new plants to fill gaps in the bed.
Common mistakes when cutting back perennials - and how to avoid them
- Cutting too timidly: If you only take the tips, dead material remains in the centre and the plant stays straggly.
- Cutting tender types too early: With warmth-loving perennials, wait until night frosts have become rare.
- Choosing wet weather: Wet stems are harder to cut cleanly, wounds close more slowly, and fungi have an easier time.
- Leaving old foliage in place: A dense layer of unrotted leaves right on the crown encourages rot.
If you know these traps and do the job on a dry, bright day, you’ll get noticeably more enjoyment from the gardening year with very little effort.
Especially in small gardens and front gardens, the timing of the cut-back makes a big difference: beds look cared-for sooner, perennials knit together faster, and weeds have less room to establish.


Comments
No comments yet. Be the first to comment!
Leave a Comment