
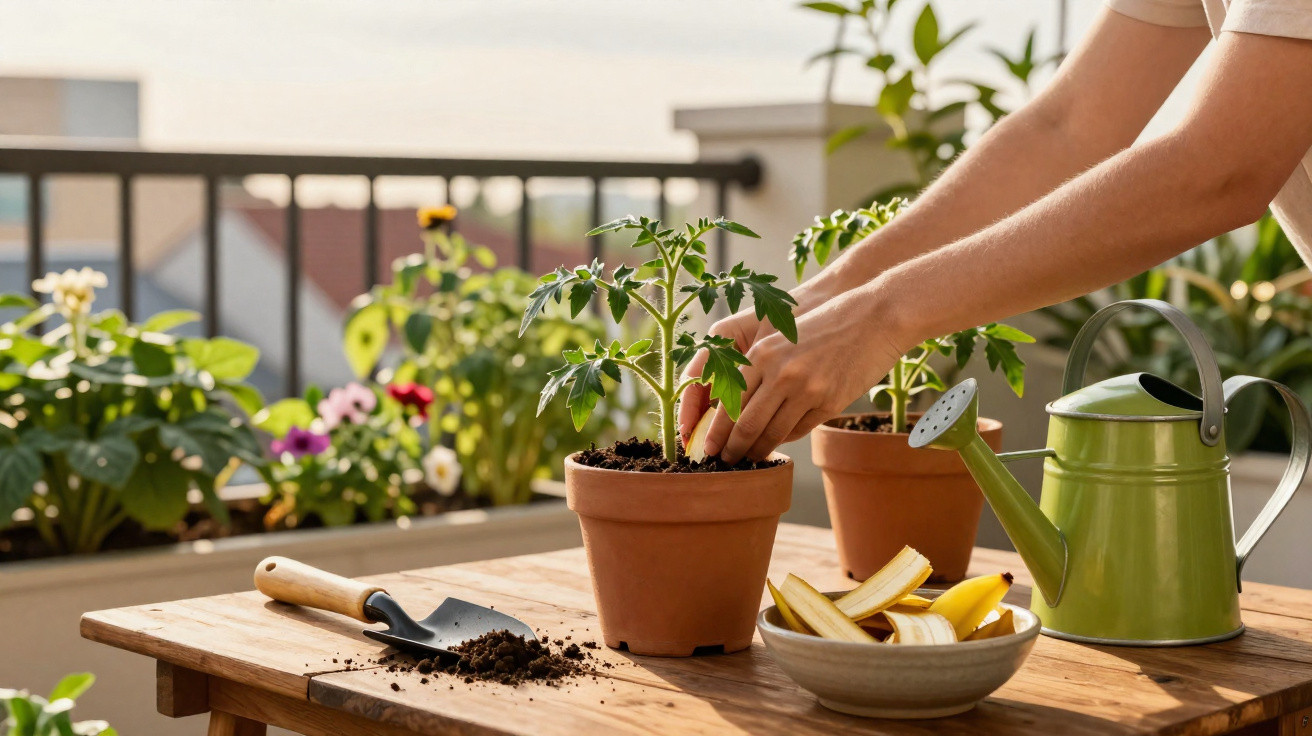
Growing plants at home becomes more vigorous when everyday natural resources are put to use, supplying essential nutrients to cultivated species. By placing finely chopped banana peel beneath the growing medium, the organic matter gradually enriches the soil with every home watering cycle.
Why should whole peels not be left on top of the soil?
Leaving whole plant scraps on the surface of containers attracts unwanted insects and creates unpleasant odours indoors. What is more, surface decomposition dries out the banana peel before it can release its beneficial chemical compounds, disrupting the biological balance of the domestic plant container.
By cutting the waste into smaller fragments and burying it, micro-organisms can work more quickly and efficiently. This straightforward approach prevents the spread of mosquitoes around the foliage and speeds up the roots’ uptake of nutrients.
How can you turn banana peel into powerful fertiliser?
The right method turns the peel into powerful fertiliser without attracting insects: simply follow an easy technique to… Read more
How does potassium benefit cultivated plants?
This mineral directly strengthens the cells in plant tissues, improving their resistance to temperature fluctuations and common pests. An adequate supply of potassium encourages strong roots, enabling the foliage to take up water more readily during regular watering.
As well as promoting root development, a consistent presence of this element boosts flowering and brings out the colours of ornamental leaves. Balanced organic fertilisation supports plant health without causing chemical excesses that could burn the more delicate underground structures.
Below is a video from the Spagnhol Plantas YouTube channel that explores the points discussed in this topic in greater depth:
What is the ideal way to bury the pieces?
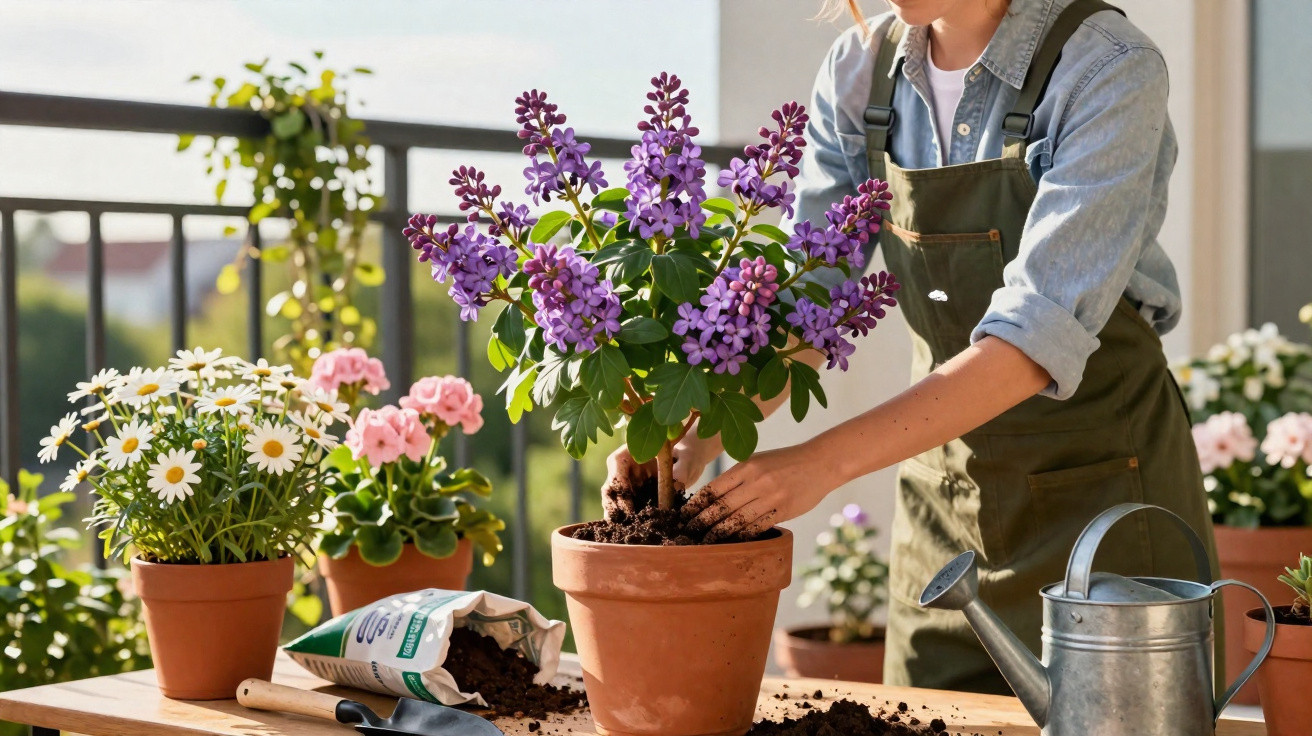
For the best results, cut fresh banana peel into small pieces using clean scissors or a knife. Next, make small holes around the sides of the growing medium, place the fragments inside, then cover them completely with fertile, loose soil.
Fully covering the organic material prevents direct contact with air, creating a dark environment that favours biodegradation. This protective layer retains internal moisture and encourages the activity of beneficial bacteria that enrich the pot’s soil.
Essential kit
Fertilising items
Essential materials for preparing homemade fertiliser safely:
- Pruning scissors for chopping the peels;
- A hand trowel for making holes in the growing medium;
- A watering can with a fine rose for moistening the soil.
How does watering affect fertiliser absorption?
Water applied immediately after fertilising plays a key part in carrying mineral salts to the root system. As the soil is moistened, irrigation activates the breakdown of plant fragments, making it easier for essential nutrients to move through the growing medium.
Keeping to a moderate watering routine prevents waterlogging and stops organic compounds from fermenting improperly. This simple care maintains root oxygenation and ensures the plant can use all the available fertilising potential.
Follow these key steps to water efficiently when growing plants:
- Moisten the soil without allowing excess water to collect in the saucer;
- Water preferably early in the morning or late in the afternoon;
- Check the soil’s moisture with your fingertips before watering again.
How often should this homemade fertiliser be applied?
The recommended interval for applying chopped peels is usually once a month, respecting each species’ natural rate of absorption. Too much material can overload the pot, so respecting the timing ensures balanced, continuous growth.
Monitoring the appearance of the leaves and the firmness of the stems helps you recognise the right time for further organic additions. In this way, you can keep your plants attractive and well nourished through a sustainable practice that is entirely accessible at home.

Comments
No comments yet. Be the first to comment!
Leave a Comment