
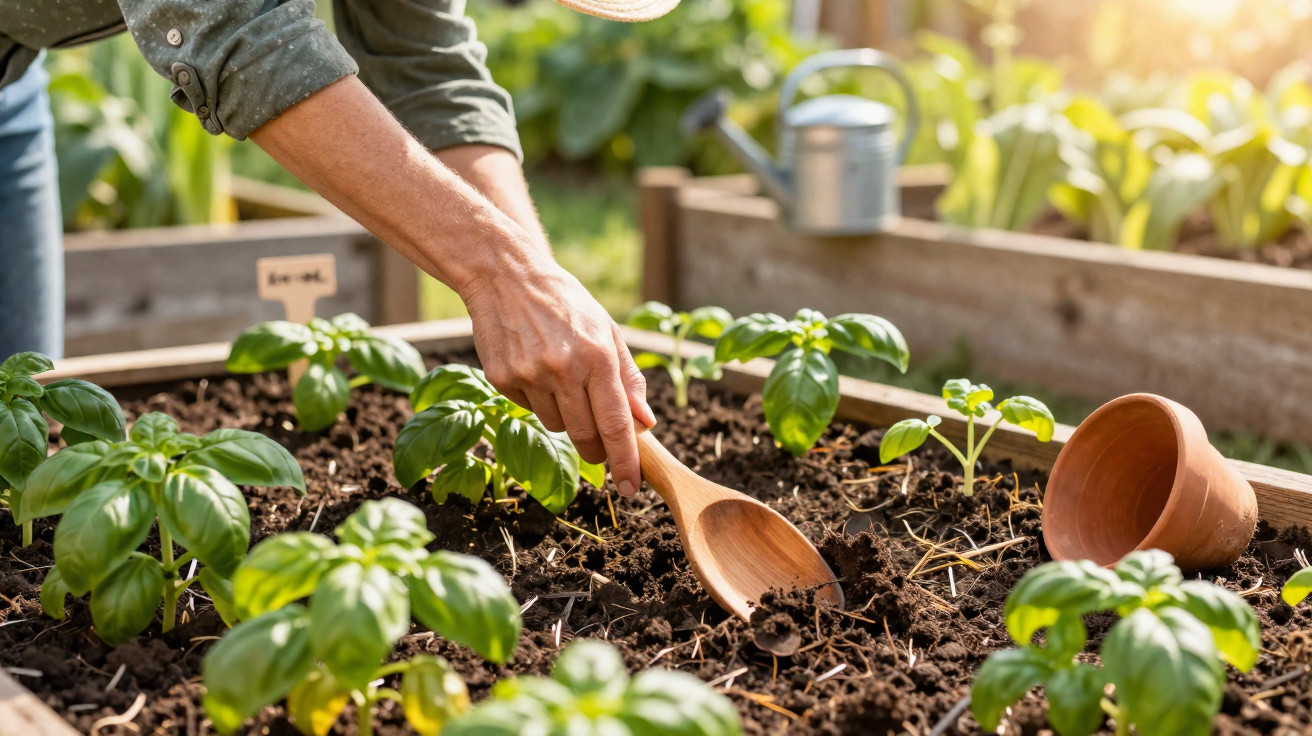
No decoration, no superstition - there’s a surprisingly smart trick behind it.
Anyone who scrolls through gardening forums or flicks through the latest how-to guides will quickly come across the same sight: among tomatoes, courgettes or lettuce, a plain wooden cooking spoon is sticking out of the soil. What looks like a quirky trend at first glance is actually a rather clever tool that helps hobby gardeners learn more about their soil quality and moisture levels.
Wooden spoon in the bed: what this kitchen helper reveals about your soil
The principle is straightforward and comes from soil science: wood is organic matter. Bacteria, fungi, earthworms and other soil organisms love breaking down exactly this sort of material. If you use an untreated wooden spoon, its condition can show you how active your soil life really is.
“A gnawed, softened wooden spoon is considered a good sign - it shows the soil is alive and is turning organic material into nutrients for plants.”
If the spoon is buried 15–20 cm deep and left in the soil for around a month, its condition works as a kind of “quick test” for biological activity:
- Heavily attacked, soft, cracked: rich soil life - the soil is working.
- Partly gnawed: activity is present, but could be improved.
- Almost unchanged, hard: few micro-organisms; often compacted or low in nutrients.
A second use is checking moisture. If the spoon is pushed only about 5 cm into the soil near the roots and left in the bed for a week, the wood behaves like a sponge. How it looks afterwards tells you a lot about water supply:
- Pale and dry: too little water; the soil is drying out too much or is very free-draining.
- Very dark, damp, possibly mouldy: too wet; waterlogging may be developing and roots can rot.
That turns a simple kitchen utensil into a two-in-one indicator: it suggests how lively the soil is - and whether your watering routine is on the right track.
How hobby gardeners can do the wooden spoon test properly
For the trick to work, you need the right materials and a bit of care. A varnished spoon or one with a coloured coating is no good, because the protective layer prevents decomposition and could also leach chemicals into the soil.
Choosing the right spoon for the garden
It’s best to keep one spoon purely for garden use. Ideally it should be:
- made from untreated, natural wood,
- free from varnish, paint or oil,
- preferably a softer wood, so micro-organisms can break it down more easily.
Where you place it matters too. Put the spoon where the action is: in the middle of the vegetable bed, close to hungry feeders such as tomatoes, peppers, cabbage or squash. A spot right on a dry bed edge, or in a dip where water collects, will distort what you see.
Step-by-step instructions for everyday use
If you want to try it yourself, you can follow this simple approach:
- Choose an untreated wooden spoon and reserve it for the garden.
- For soil life: dig a hole 15–20 cm deep and bury the spoon completely.
- For moisture: push the spoon only about 5 cm into the soil near the roots.
- Mark the spot with a plant label or a stone so you don’t lose it.
- For the moisture check: inspect after about 7 days. For soil life: leave it in the soil for 30–60 days.
- Dig up the spoon and look closely: assess colour, firmness, any gnaw marks and mould.
If you like, bury several spoons in different places to compare dry and damp patches, or areas of the garden that are more or less biologically active.
What the condition of the wooden spoon actually means
The interesting part comes after you dig it up: what should you do with the result? The spoon isn’t a lab test, but it can still show quite clearly which direction your soil is heading.
Spoon heavily decomposed: your soil is alive - now maintain it properly
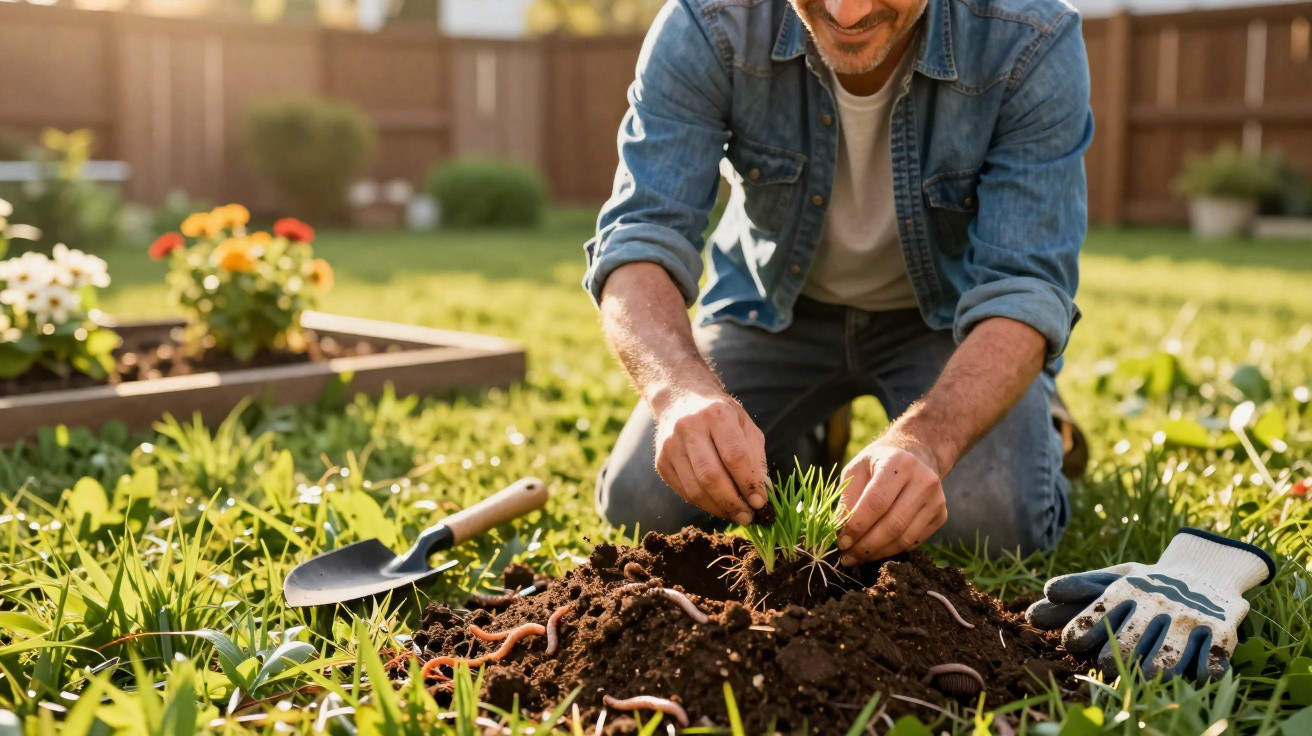
If the spoon is soft and stringy, partly broken and clearly discoloured, that points to a lively, fertile environment. Earthworms, fungi and bacteria are thriving. This sort of soil usually supplies plants well with nutrients - provided it keeps getting fresh organic matter.
To keep that quality, these habits tend to work well:
- adding well-rotted compost regularly,
- maintaining a permanent mulch layer of leaves, grass clippings or shredded twigs,
- avoiding deep digging; loosen instead with a broadfork or cultivator.
That way, soil life stays undisturbed, moisture lasts longer, and heavy-feeding crops can get through the season well.
Spoon almost untouched: your soil needs support
It gets more telling when the spoon looks almost the same as it did on day one. In that case, it’s worth paying closer attention to moisture and structure.
| Condition of the spoon | Likely problem | Sensible measures |
|---|---|---|
| Intact and dry | Soil too dry, little soil life | Adjust watering, mulch, work in compost and organic material |
| Intact, damp or slightly mouldy | Moist but low in organisms, often compacted | Improve drainage, loosen soil, add organic matter regularly |
A dry, hard spoon usually indicates soil that rarely gets watered, dries out quickly, or is left bare in full sun. That can massively slow soil life. Reliable watering, mulch layers and avoiding bare soil make a real difference here.
If the spoon is damp but still firm and barely affected, it often suggests heavy, compacted soil or soil that tends to sit wet. In that situation there’s a lack of oxygen and fewer loose pores where organisms can thrive. Gentle loosening, smaller amounts of organic matter added regularly, and better long-term water run-off can gradually improve conditions.
What hobby gardeners should bear in mind when interpreting the test
The wooden spoon test feels impressively simple, but in practice it depends on several factors. Weather, season and soil type all make a big difference. In cold spring weeks, micro-organisms work more slowly; in warm, damp summer spells, decomposition can speed up considerably.
“If you repeat the test and link it to your own observations in the bed, you’ll develop an amazingly good feel for your soil over time.”
Very sandy, free-draining soil may leave the spoon dry, yet still fairly intact. Heavy clay can keep the spoon constantly damp without necessarily causing much breakdown. So it’s also worth watching classic clues at the same time: a crumbly structure, the colour of the soil, earthworms when you dig, and how your plants are growing.
Practical additions to the wooden spoon test
If you want to double-check what you’re seeing, you can use a few simple methods alongside it:
- Spade test: cut out a section of soil with a spade and look at crumbs, roots and earthworms.
- Jar of water: put a soil sample into a jar of water and leave it for a few hours; sand, silt and clay settle into different layers.
- Laboratory analysis: for keen gardeners - nutrient and pH testing to fine-tune feeding.
Combined with the wooden spoon, this gives a fairly rounded picture without needing to buy expensive kit.
Why simple garden tricks like this are so valuable
Many garden problems start in the soil: tomatoes rot from the bottom, lettuce refuses to grow, cabbages stay small. Rather than reaching straight for fertiliser or chemicals, checking what’s happening below the surface can save both money and hassle. A wooden spoon in the bed costs next to nothing, yet gives surprisingly direct feedback: is the watering right? Is there enough life to turn organic leftovers into plant food?
If you check regularly, you can respond sooner. If the spoon breaks down more strongly from season to season, your soil-building efforts towards “living garden soil” are working. If it remains largely unaffected, that’s a clear sign to lean even more on compost, mulch and gentle cultivation. Step by step, you’re not only growing vegetables - you’re also building a better understanding of the small ecosystem right outside your door.
Comments
No comments yet. Be the first to comment!
Leave a Comment