
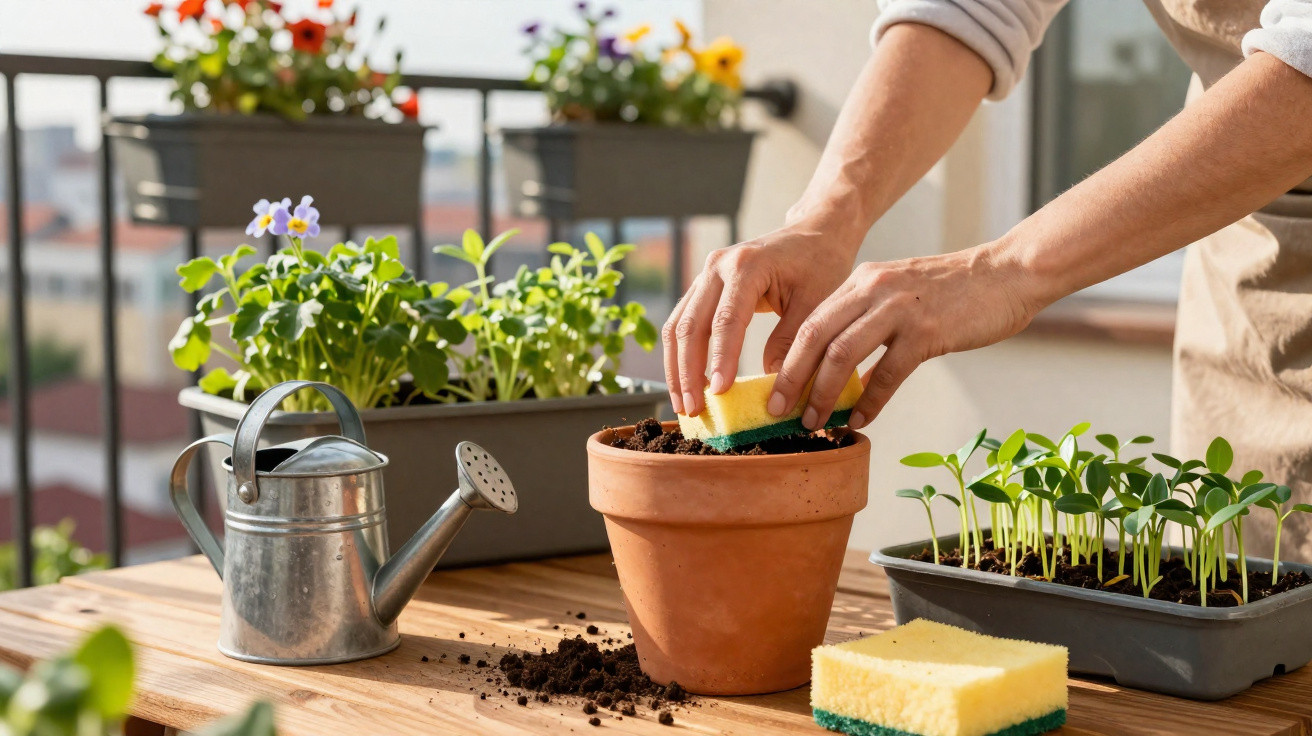
When the new gardening season begins, beds, balcony planters and pots can quickly reach their limits. The sun grows stronger, the weather stays unpredictable, and the watering can never seems to be where you need it. At the same time, countless dishwashing sponges end up in the bin every year-even though they could take on a surprisingly useful role in the garden soil rather than at the sink.
Why a dishwashing sponge in the soil helps plants survive when they would otherwise dry out
In spring, plants produce fresh, delicate roots. These young roots react badly to even short dry spells. A dishwashing sponge can act like a small water reservoir right where the roots are.
Because of its porous structure, the sponge absorbs excess water when you water, then releases it gradually. That helps keep the compost or soil evenly moist for longer, instead of swinging between soaking wet and bone dry.
"Buried in the bottom of a pot, the sponge works like an invisible water tank-ideal for days when watering doesn’t happen."
This makes a noticeable difference on sunny balconies, where wind and warm air can dry containers out fast. Plants are less likely to droop suddenly, leaves are less prone to constantly curling, and newly planted young plants are more likely to get through their first season without setbacks.
Old sponges instead of rubbish: clever recycling for garden and balcony
In many households, the dishwashing sponge goes in the bin automatically after a few weeks. Yet there’s still plenty of potential left-provided you handle it correctly. In the kitchen, a sponge doesn’t just collect grease and washing-up liquid residue; it can also harbour huge numbers of germs.
Experts point out that a sponge kept damp for long periods is an ideal breeding ground for microorganisms. That’s why it should eventually be removed from kitchen use-but outdoors it can still be useful if you prepare it properly.
How to make a kitchen sponge suitable for the garden
- Rinse the sponge thoroughly under hot water until no more suds appear.
- Scald it in boiling water for a few minutes, or soak it generously with household vinegar.
- Optional: put the damp sponge in the microwave for about two minutes.
- Let it cool properly and dry out completely.
- From this point on: use it only in the garden-never take it back to the sink or worktop.
This routine significantly reduces the germ load, while also flushing out washing-up liquid residues that could harm plants in the soil.
Which sponges can go into soil-and which cannot
Not every dishwashing sponge is suitable for use in a bed or compost heap. The material is what determines whether you’re doing something helpful-or causing long-term harm.
Suitable options
- Cellulose sponges: made from plant fibres, they break down over time and are, in principle, compostable.
- Loofah sponges (dried sponge gourd): purely plant-based material, ideal for compost and beds.
Sponges that do not belong in the soil
- Synthetic kitchen sponges made from plastic fibres
- Versions with an integrated plastic scouring pad
These products can shed microplastics and fragments into the ground. Used at the bottom of a pot they may still function as a water store, but they should not go into beds or compost that will later be spread over vegetable plots.
Four surprising ways to use dishwashing sponges during the gardening season
Once a sponge has been cleaned and you’ve chosen the right type, several practical uses open up. Especially in spring, a little effort can make a big difference.
1. Water reservoir at the bottom of a pot
For container plants and balcony planters, this approach is particularly handy:
- Add a drainage layer of expanded clay, gravel or broken terracotta pieces to the pot.
- Lay one or more sponges flat on top.
- Fill with compost/soil and plant as usual.
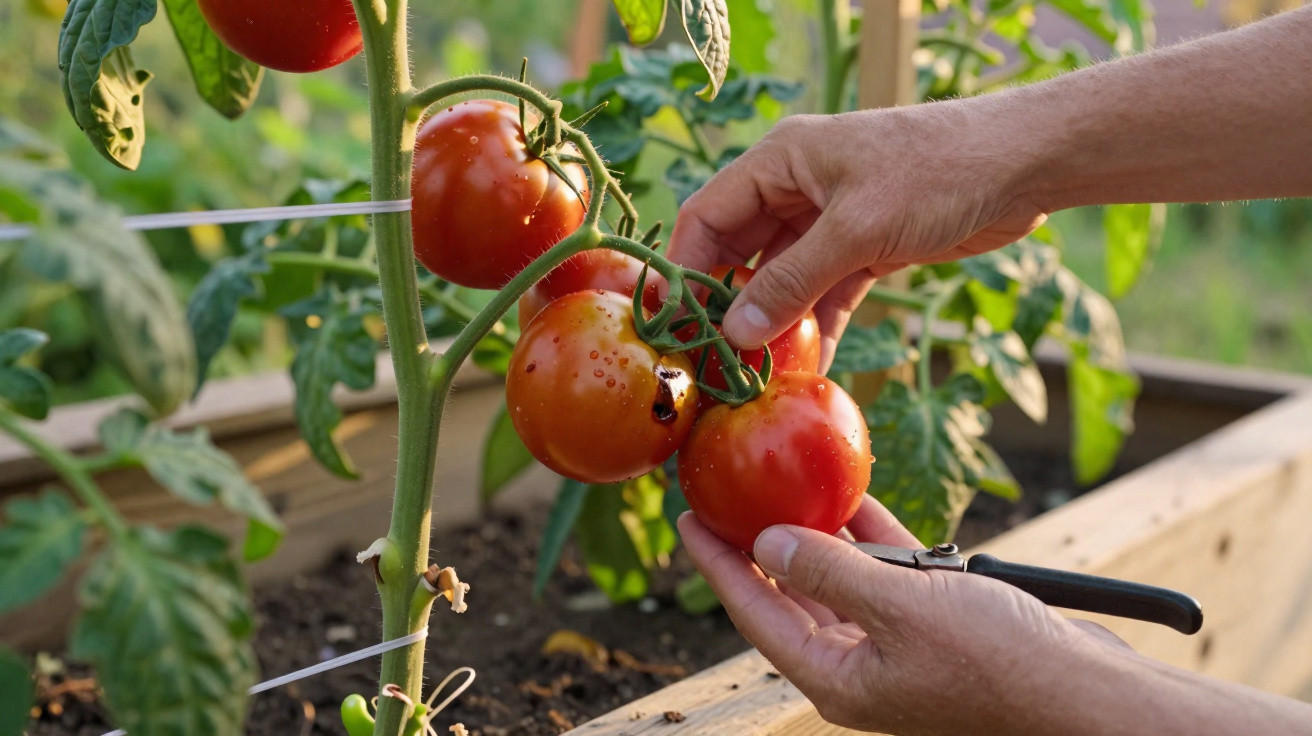
When you water, the moisture moves through the compost first, collects in the sponge, and then remains available to the roots for longer. For heavy feeders such as tomatoes or geraniums, the benefit can be very noticeable.
2. Moisture booster in the compost heap
A compost heap works best only if it doesn’t dry out. Dry layers slow down microorganisms and the rotting process loses momentum.
Cut-up pieces of natural sponge can help in two ways:
- They absorb water and keep the heap moist inside for longer.
- The fibres create air spaces, helping the compost stay light and well ventilated.
"A few chopped-up sponges in the compost work like mini sponges and air cushions in one-a small boost for the whole rotting process."
The key point remains: use only plant-fibre versions, and never add anything carrying chemical residues or washing-up liquid.
3. Mini greenhouse base for germinating seeds
Many hobby gardeners run into the same issues: small pots dry out quickly, seeds germinate unevenly, or seed compost turns soggy. A sponge cut to size can act as a germination base.
How to do it:
- Cut the sponge into small cubes or strips.
- Dip briefly in water, then squeeze out excess moisture.
- Press one seed lightly into the surface of each piece.
- Place the pieces in a shallow tray and keep them slightly moist.
Once the seedlings are roughly a hand’s breadth tall and have produced their first true leaves, you can plant them into compost together with the sponge piece. If the material is natural, the base will later break down in the soil.
4. A small shield against cold and crawling pests
Late spring frosts can hit young plants hard. Old sponges can serve as small buffers: place them on the soil around the stem and weigh them down with a stone. The soft material offers light insulation and helps protect the top layer of soil from sudden temperature drops.
If you add a few drops of essential oils with a repellent effect-such as lavender or peppermint-you also create a barrier that certain insects or slugs may avoid. Of course, this doesn’t replace full plant protection, but it can provide support in a home garden.
What you should definitely watch out for with this trick
Even though it sounds straightforward, a few points are worth keeping in mind:
- Smell check: if a buried sponge smells musty or rotten, remove it.
- Mould: white or black growth is a clear stop sign-take it out of the pot or bed.
- Never back to the kitchen: garden sponges stay outside to avoid mix-ups.
- Pets: dogs often chew soft materials-if that’s likely, bury the sponge a little deeper.
If you keep lots of plants in containers, you can gradually create a small “water-storage network” across the whole balcony. In summer, that can noticeably extend the time between watering.
How to combine this trick with other gardening ideas
The sponge approach works particularly well alongside other simple ways to retain water. Terracotta shards in the drainage layer, a thin mulch layer of bark pieces or grass clippings, and watering early in the morning all amplify the effect.
It can also be worthwhile in raised beds to include a lower layer with sponges-for example under herbs that dislike waterlogging but still need regular moisture. In areas with watering restrictions or very hot summers, this system offers an extra buffer before plants experience genuine drought stress.
Overall, this simple hack shows how, with a bit of thought, household waste can be turned into a useful gardening tool. A small dishwashing sponge, added to soil, pots or compost at the right time, can often be the difference between plants wilting through dry spells-or carrying on growing with surprising ease.

Comments
No comments yet. Be the first to comment!
Leave a Comment