
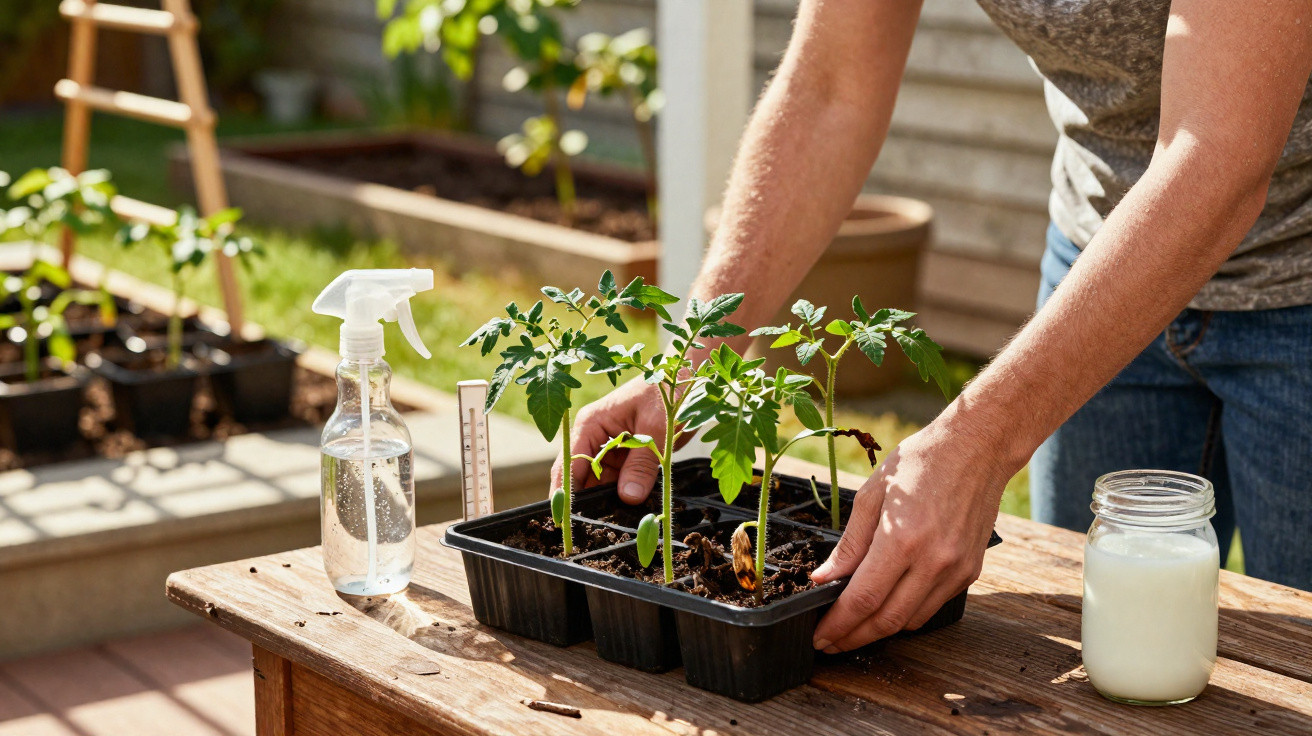
Many hobby gardeners make exactly the same mistake during the first warm rush of spring: the lovingly raised tomato plants go straight from the living room to the bed almost overnight. The calendar and weather app may both say “go”, but the plants are silently saying “shock”. If you underestimate this changeover, you can put your entire crop of heat-loving vegetables at risk.
Why tomatoes suddenly droop after moving outdoors
Indoors, young plants live in something like a spa. Whether they are in a heated greenhouse, on a bright windowsill, or in a mild garage, the environment is cushioned and predictable. The air barely moves, temperatures stay fairly steady, and sunlight is filtered through glass.
That leaves clear marks on how the plants are built:
- The foliage remains very soft and thin.
- The protective waxy layer on the leaves is barely developed.
- The leaf stomata are not yet good at regulating water loss.
- The roots mostly occupy the loose compost in the pot and are only lightly branched.
Outside, they face a completely different world. UV radiation is much stronger, wind dries out leaves and soil, and temperatures swing from warm days to cool nights. This sudden change is exactly what triggers the classic “tomato shock”.
“Anyone who puts tomato plants straight from indoors into full sun without preparation risks scorched leaves, stalled growth and a later harvest.”
Common shock symptoms include:
- Leaves turn pale, then almost whitish, and look scorched.
- Stems feel soft and the plant collapses in on itself.
- Growth halts for days or even weeks.
- Some plants die off entirely.
The most sensitive are the classic “sun lovers”: tomatoes, peppers, chilli, aubergines and basil. Radishes, carrots or lettuce that are sown directly rarely experience this, because they grow up outdoors from day one.
The overlooked key phase: hardening off tomatoes properly
The fix has a standard name in horticulture: hardening off. It means acclimatising young plants to real outdoor conditions in small steps. Instead of “you live outside from today”, the approach is: “you can go out a bit longer each day”.
This process trains the plant’s natural protection. Leaves become firmer, the waxy coating thickens, and water balance becomes more stable. At the same time, the roots adjust to changing moisture levels and cooler soil.
Nine-day plan: how to acclimatise tomatoes to the outdoors without stress
The ideal moment to begin is roughly seven to ten days before planting out into the garden, once daytime temperatures reach about 15 °C and no night frosts are forecast.
| Day | Time outdoors | Position |
|---|---|---|
| 1–3 | 1–2 hours | Shade, sheltered from wind |
| 4–6 | 4–5 hours | Gentle morning sun, shade in the afternoon |
| 7–9 | 6–8 hours | Later the final spot in the bed; still bring indoors at night if it turns cold |
It’s essential not to underestimate wind. For tomatoes, wind is nearly as stressful at the start as direct sun. A spot against a house wall or behind a hedge works well for the first few days.
“Hardening off sounds like a hassle, but it saves you weeks of lost growth and a lot of frustration in midsummer.”
Stress-free planting: how to set tomatoes into the bed correctly
Once the plants are hardened off, the next crucial stage is planting. A few simple actions here help build strong roots and sturdier plants.
- Soak the root ball: Water the pot thoroughly before planting, until the compost is fully saturated.
- Prepare the planting hole: Dig to about 20 centimetres, loosen the soil, and avoid waterlogging.
- Plant deep: Set the tomato so that around 10 centimetres of the stem sits below the soil-extra roots will form there.
- Plan the cane from the start: Push the support stake into the planting hole straight away, so the root ball is not damaged later.
- Add a mulch layer: Cover the soil around the plant with straw, grass clippings or leaves.
Mulch helps smooth out temperature swings in the soil and keeps moisture in place for longer. Newly planted tomatoes in particular can react badly if the ground becomes bone-dry after a sunny day.
Moisture, fungal diseases and milk: keeping tomatoes healthy
Tomatoes love sunshine and warmth, but they cannot stand leaves that stay wet for long periods. Moisture combined with poor airflow creates perfect conditions for fungal diseases such as late blight, powdery mildew or grey mould.
Everyday mistakes that encourage problems:
- Watering over the whole plant instead of directly at the root zone.
- Growing plants so close together that leaves constantly touch.
- Big temperature changes combined with wet leaf surfaces.
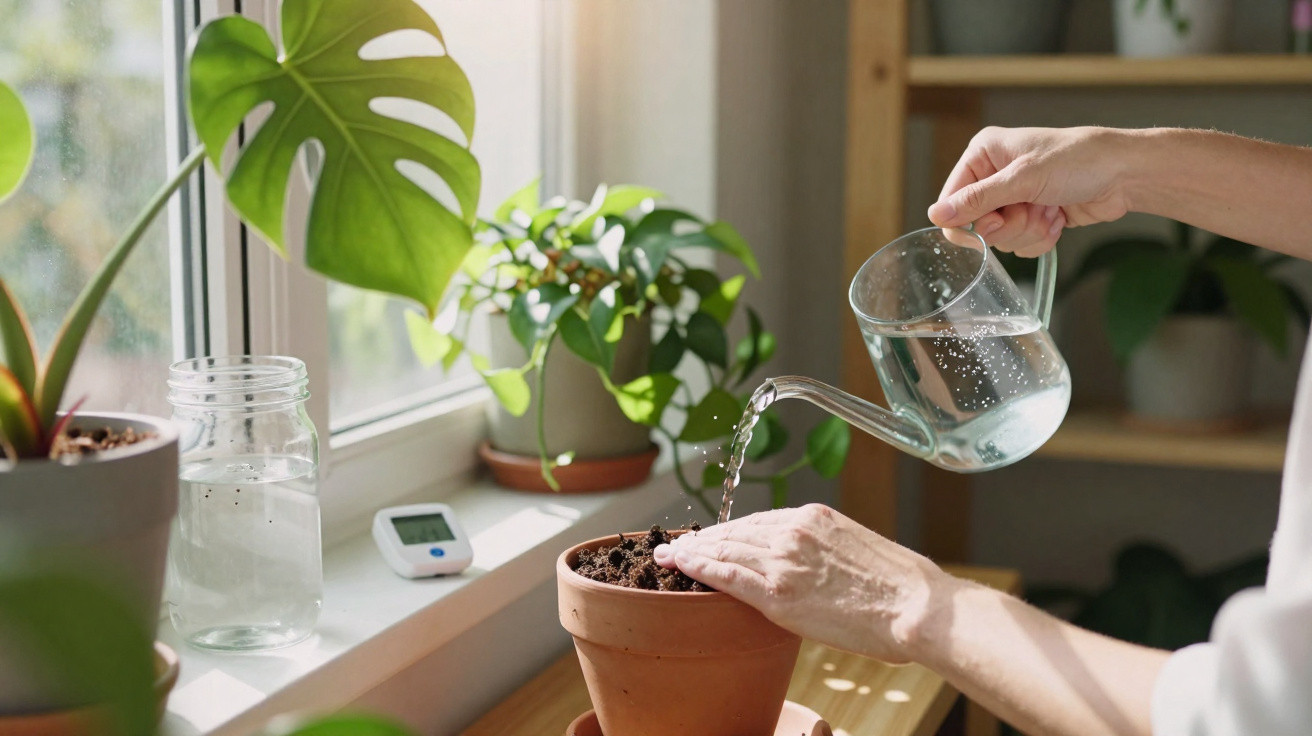
If you water in the morning or late evening-sparingly but precisely at the base-you can reduce the risk dramatically. Let the soil dry slightly between waterings, but do not allow it to dry out completely, especially in pots or containers.
Milk as a home remedy against fungi and blossom-end rot
Many gardeners also use a foliar spray made with milk. It uses ordinary cow’s milk, diluted with water to around 10 to 20% milk content. Spray this mixture onto the foliage every ten to fifteen days.
“The lactic acid bacteria on the leaf surface create conditions in which fungal spores spread less easily, and some deficiency symptoms occur less often.”
This is not a chemical fungicide, but it can make plants noticeably more resilient. In particular, the dreaded brown rot on fruits at the blossom end appears less often when nutrient supply and watering are also properly balanced.
When it’s actually safe to plant out
Even with hardening off, the question remains: when can tomatoes stay outdoors for good? A common rule of thumb is after the Ice Saints, when the chances are favourable in most areas. The deciding factor is less the date itself and more the combination of stable night-time temperatures and soil that is not still cold to the core.
If you garden in cooler locations, start tomatoes under a simple polythene tunnel or horticultural fleece. This takes the edge off peak radiation, slows the wind down, and keeps nights a few degrees warmer.
Practical extras for a more reliable season
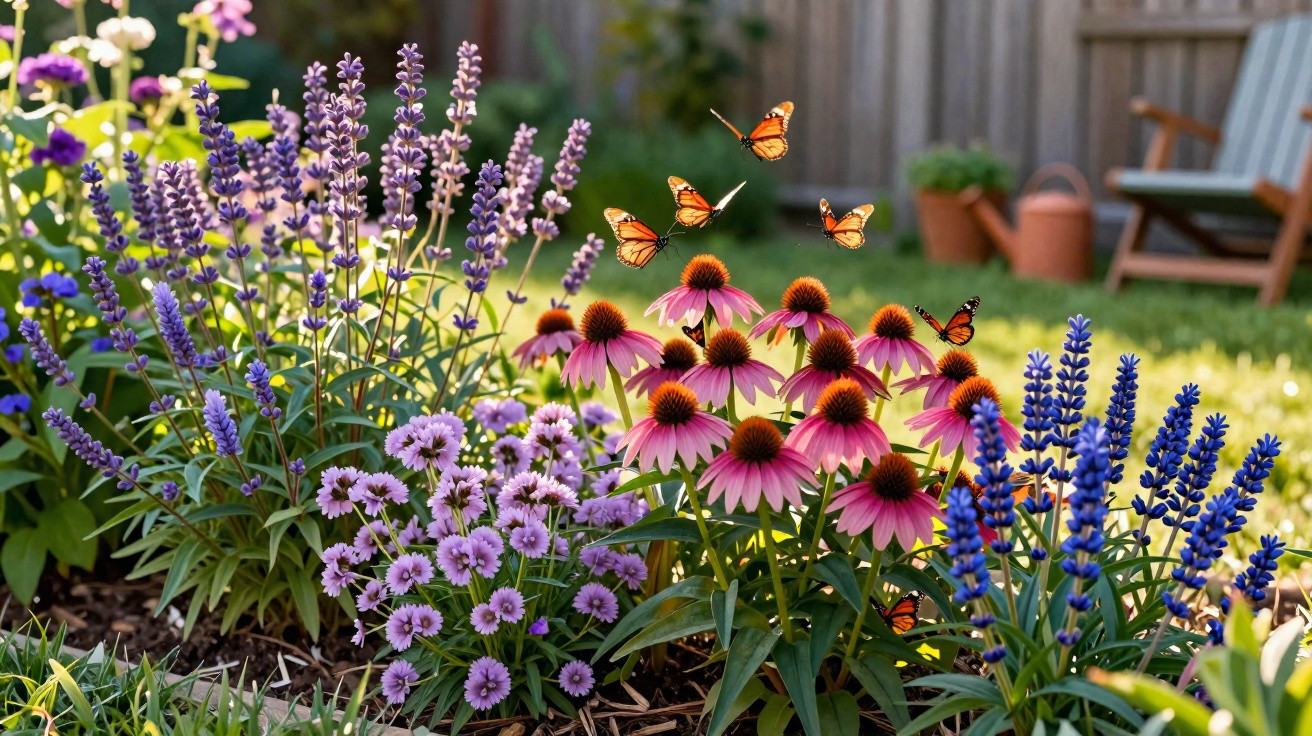
It can also help to pair tomatoes in the bed with suitable neighbours. Scented herbs such as basil or thyme do more than add flavour in the kitchen; they are also said to confuse pests. Marigolds root deeply and can help keep nematodes in check.
For balcony growing, choose the largest containers you can, so the compost does not dry out within a few hours. Light-coloured pots heat up less; a saucer with a little water can help on very hot days-just don’t let it become a permanent mini-pond.
With a mix of gentle hardening off, careful planting and thoughtful day-to-day care, a risky early start can turn into a steady tomato season. The few days you put into this transition in spring repay you in late summer with every harvest basket you fill.

Comments
No comments yet. Be the first to comment!
Leave a Comment