
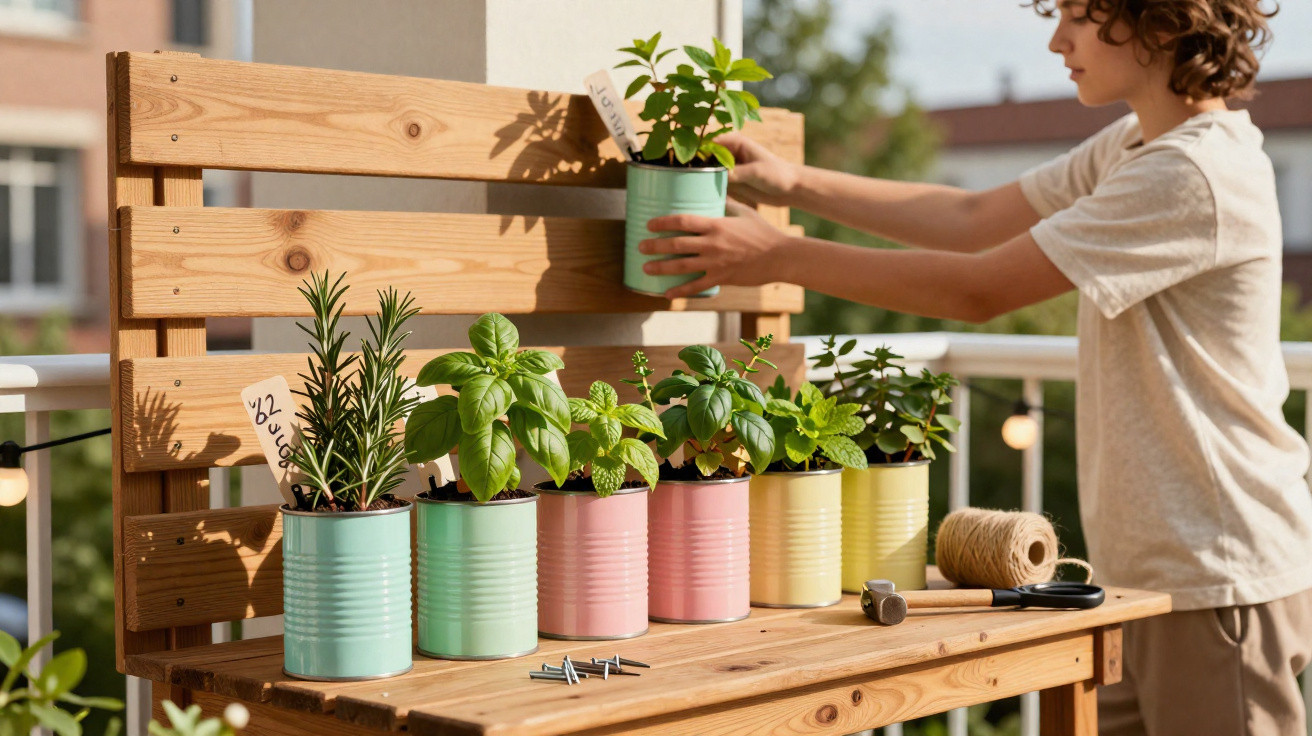
Gardeners across the UK - both amateurs and professionals - are currently urging people not to chuck a familiar household container straight into the general waste or recycling. Empty tin cans that previously held tomatoes, beans or soup can be repurposed into surprisingly smart, useful plant pots, especially for anyone short on outdoor space.
Why tin cans are so popular in the garden right now
If you cook often, you handle them all the time: cans of chopped tomatoes, coconut milk, chickpeas or dog food. After a quick rinse, they would usually go straight into recycling. Gardeners are now saying: pause - think first, then bin it. These metal containers are already sturdy, standardised vessels that can be turned into plant pots for almost nothing.
What looks like rubbish to many becomes a free herb pot for the kitchen, balcony or garden in no time at all.
The appeal is obvious. Buying new pots costs money - and decorative ones can be pricey. Tin cans are already in most homes, they’re tough, they tend to rust only gradually, and they can be painted if you want them to look more decorative. You also cut down on plastic plant pots and help conserve resources. With the cost of living still high, the idea is understandably tempting.
For people with a small balcony or just a windowsill, this approach can also create extra growing space. A row of cans fixed side by side on a fence, railing or wall can turn bare vertical surfaces into a hanging herb rack. The floor space stays clear, but you still get fresh green growth.
Turning a tin can into a practical herb pot
Getting started is straightforward and can usually be done entirely with items you already have at home. Follow the steps below and you can plant your first herb can in just a few minutes.
Materials most people already have at home
- Empty, rinsed tin cans (ideally with no sharp edges)
- A small drill or a thick nail and a hammer
- An old wire coat hanger or strong string
- Peat-free compost or herb compost
- Herb plants or seeds (for example parsley, thyme, mint)
- Optional: acrylic paint or metal spray paint for decorating the outside
Step by step to a hanging herb garden
Start by removing any labels. If you soak the cans in warm water for a few minutes, leftover adhesive usually comes off more easily. At the same time, smooth any remaining lid fragments and sharp edges with pliers or a file - this is particularly important in households with children.
Next, the can needs drainage holes. Without a way for water to escape, roots can rot quickly.
- Use a drill or nail to make several small holes in the base so excess watering can drain away.
- If you want to hang the can, add an extra hole near the top at the back.
- Use pliers to bend an old wire coat hanger into a hook or loop that can be attached through the side hole.
Then add compost. Peat-free compost helps protect peatlands and is perfectly adequate for herbs. Fill the can to around two-thirds, position the plant, and cover the root ball with more compost. If you’re sowing seeds, a thin layer of compost on top is enough.
Small cans dry out more quickly. If you use them, water less in one go, but do it regularly and in small amounts.
Which herbs work particularly well in cans
Not every plant is happy in such a limited volume of compost. However, several kitchen favourites cope very well and suit the rustic look of a repurposed can.
| Herb | Requirements | Suitable for cans? |
|---|---|---|
| Parsley | Partial shade, evenly moist | Very good, ideal for beginners |
| Thyme | Lots of sun, rather dry | Good, likes free-draining compost |
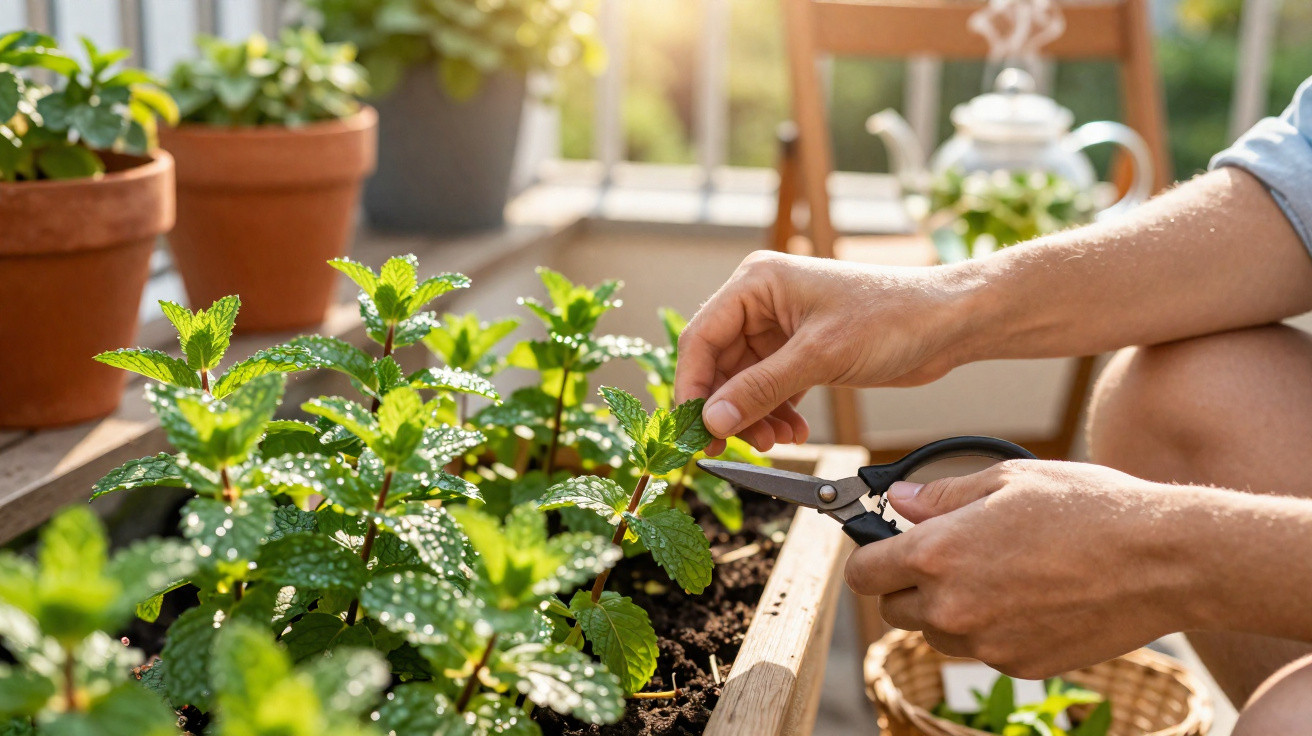
| Mint | Tough, vigorous grower | Good, the can helps keep growth in check |
| Chives | Moist, sunny to partial shade | Good, trim regularly |
| Basil | Warm, sensitive to waterlogging | Possible, but only in a sheltered spot |
A few cans planted with different herbs side by side create a small but extremely handy kitchen patch. When you’re cooking and want to snip a few leaves, everything is right there - by the front door or on the kitchen windowsill.
Design: from rustic to romantic pastels
Visually, these containers are more versatile than you might expect. Some gardeners prefer the raw metal look - on modern balconies with lots of steel and glass, it feels deliberate and clean. Others go for pastel shades or muted colours that suit wooden furniture or a cottage-style setting.
Acrylic paint or spray paint designed for metal usually adheres well if you lightly roughen the surface and remove any grease first. One key point: the inside of the can needs to stay free of paint so nothing leaches into the compost or onto the roots. It’s best to paint first, let it dry completely, and only then fill the can.
If you like, label the containers with a chalk pen or waterproof marker - particularly handy when parsley and coriander look similar at a glance. Small doodles of leaves, or a fork and knife motif, can add a personal touch.
Not only herbs: more ideas for a can planter
Herbs are just the starting point. Tin cans also work well for smaller flowers or mixed plantings. Trailing or spilling choices such as marigolds, nasturtiums or lobelia can make the rim of each can look lush and overgrown in summer.
If you want a more pollinator-friendly approach, try wildflower seed mixes. Even a handful of cans planted with nectar-rich species can make a balcony noticeably more attractive to insects. Gardeners report that bees and bumblebees in particular appear quickly once there’s something to bloom and scent the air.
A row of old tin cans can become a mini habitat for bees, bumblebees and butterflies with a few seeds and a bit of paint.
This is also a great project for children: paint the cans, write names on them, sow the seeds, and watch the plants grow. It combines crafting, nature learning and cooking in a very accessible way.
Tips to keep a tin-can herb garden working long term
This method isn’t maintenance-free. A few simple habits help avoid disappointment:
- Choose cans with enough volume - tiny espresso-sized tins dry out extremely fast.
- Avoid leaving cans in harsh midday sun for long periods, as the metal can heat up significantly.
- In summer, water in the morning or evening so the moisture doesn’t evaporate immediately in the heat.
- In winter, bring frost-sensitive plants indoors or place the cans in boxes filled with leaves for protection.
- Check regularly for rust and for loose or unstable hangers - especially on railings at height.
If rust is a concern, use zinc-coated or stainless-steel cans, paint the outside with a protective coating, or position them so any rust marks won’t stain pale patio slabs. A light layer of rust can also look quite charming on wooden surfaces and suits a more natural, slightly weathered garden style.
From a legal standpoint, using them on your own balcony is usually straightforward as long as nothing can fall and you don’t damage the façade or shared areas. In rented flats, it’s sensible to glance at the building rules: some landlords don’t allow drilling into exterior walls, so clamp-on or hanging solutions attached to railings are often the safer option.
If you take the idea further, the same principle applies to other containers: old enamel pots, retired coffee pots, biscuit tins, or even worn-out wellington boots. Two things always matter: water must be able to drain, and the container mustn’t get so hot that it harms the roots. In shadier corners, almost any container works, as long as it’s sturdy enough to hold compost.
Comments
No comments yet. Be the first to comment!
Leave a Comment