
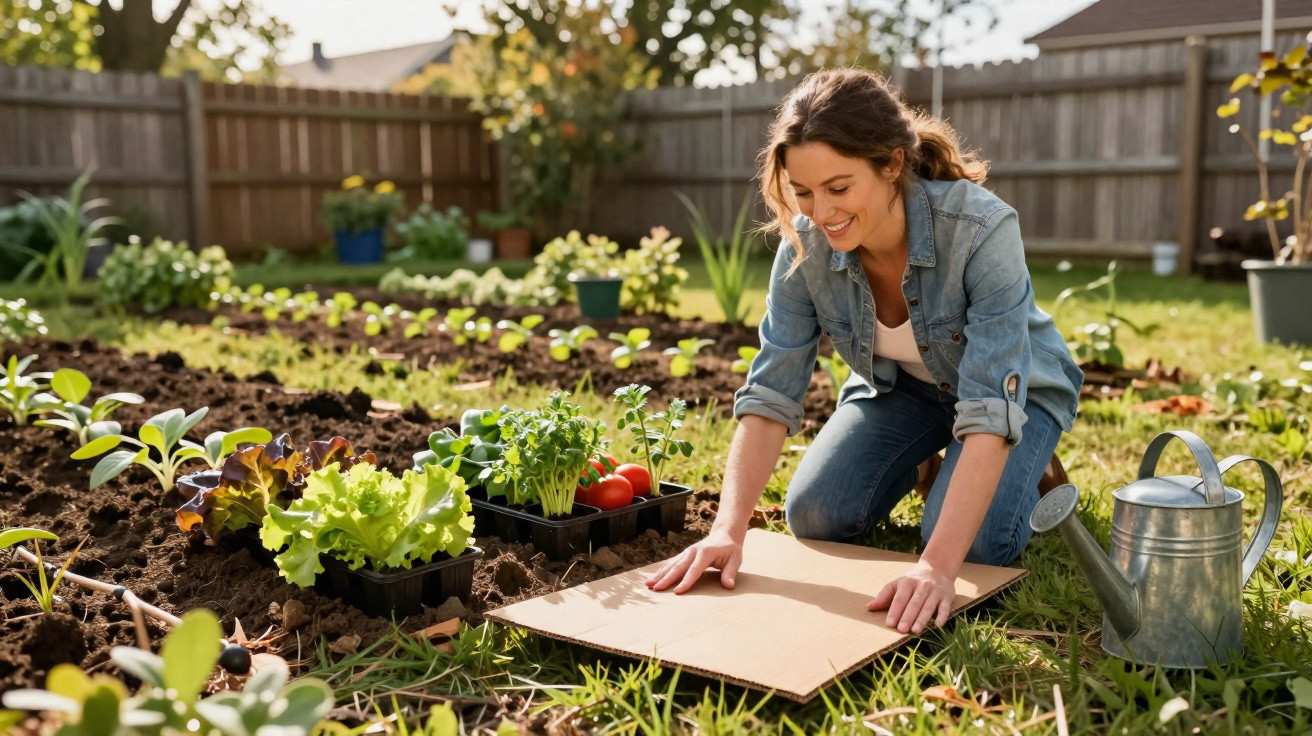
Many amateur gardeners will recognise the problem: the days are getting longer and the seed packets are ready, but the soil feels as hard as concrete. Just thinking about digging it over can make your back ache. One approach from the world of “lazy gardening” tackles exactly this issue, using a material that would otherwise end up in the recycling bin.
How cardboard replaces the traditional spade in spring
The principle is almost disarmingly straightforward: rather than laboriously turning the soil, cover the lawn with brown corrugated cardboard. The cardboard acts as an opaque lid, depriving grass of light while protecting the soil beneath and gradually becoming food for soil life itself.
A few layers of brown cardboard, some water and organic material are all that is needed to turn a patch of lawn into a fertile growing bed.
Mow the area briefly first to create an even surface. Lay the cardboard sheets with overlaps of 15 to 20 centimetres, ensuring that no light can penetrate. Within three to six weeks, most grasses and weeds beneath this dark covering die off because they can no longer force their way upwards.
At the same time, something equally useful happens below the surface. Moisture softens the cardboard, allowing it to settle into every dip in the ground and begin decomposing. Earthworms and other soil creatures move upwards, consuming the cardboard and dead grass before leaving behind finely textured soil.
Gardening magazines and trials in organic growing report that this “cardboard covering” suppresses a large proportion of unwanted weeds – far more effectively than many chemical methods. The soil remains covered, retains its moisture and receives a steady supply of nutrients.
Which cardboard is suitable – and which is not
Choosing the right material is essential if this method is to remain garden-friendly. Only plain, brown corrugated cardboard without a coating is suitable.
- Unprinted or predominantly brown corrugated cardboard
- No glossy finish, wax or plastic film
- As little printing as possible, with no bright colours
- Remove all tape, labels and staples beforehand
The reason is clear: plastic films, adhesives and metal parts either do not rot down or decompose extremely slowly, eventually ending up in the bed. Plain cardboard, on the other hand, consists mainly of cellulose and is readily consumed by microorganisms and worms.
Experienced gardeners recommend using two to three layers of cardboard to create an effective barrier. This produces a layer around five to eight millimetres thick: substantial enough to block light, yet thin enough to rot down within a few months.
Step by step to a back-friendly vegetable bed
The practical work can be completed in a single afternoon. It requires only limited physical effort, making the technique suitable for older people or those with physical limitations.
- Prepare the area: Mow the lawn or weeds as short as possible, or cut them back with a scythe.
- Lay the cardboard: Position the sheets closely together and overlap every edge generously. Avoid leaving any exposed gaps.
- Water thoroughly: Keep watering until the cardboard is saturated throughout and moulds itself to the ground.
- Add a covering of organic material: Spread five to ten centimetres of mature compost, well-rotted farmyard manure or plant mulch, such as hay, leaves or dried grass clippings.
This top layer has several purposes at once: it stops the cardboard from drying out, supplies nutrients, encourages soil life and later forms the first rooting zone for young plants.
Anyone who immediately covers the cardboard layer deeply with compost and mulch is effectively starting a “raised bed on the ground” that turns into soil from the bottom upwards.
The right time to start – and when planting can begin
For best results, amateur gardeners should begin between the middle and end of March, once the ground is no longer frozen. This leaves sufficient time for the cardboard and grass to break down substantially by late April or early May.
A simple finger test reveals whether the area is ready for planting. If the cardboard tears easily or crumbles when pressed, and the material underneath appears dark and loose, the first round of planting can begin.
Which crops are best for starting a cardboard bed
Strong young plants that have already been raised in pots work particularly well. Their roots can cope even when some cardboard remains.
- Tomatoes
- Courgettes and other cucurbits
- Cabbages such as broccoli or white cabbage
- Lettuce plants
- Strawberries
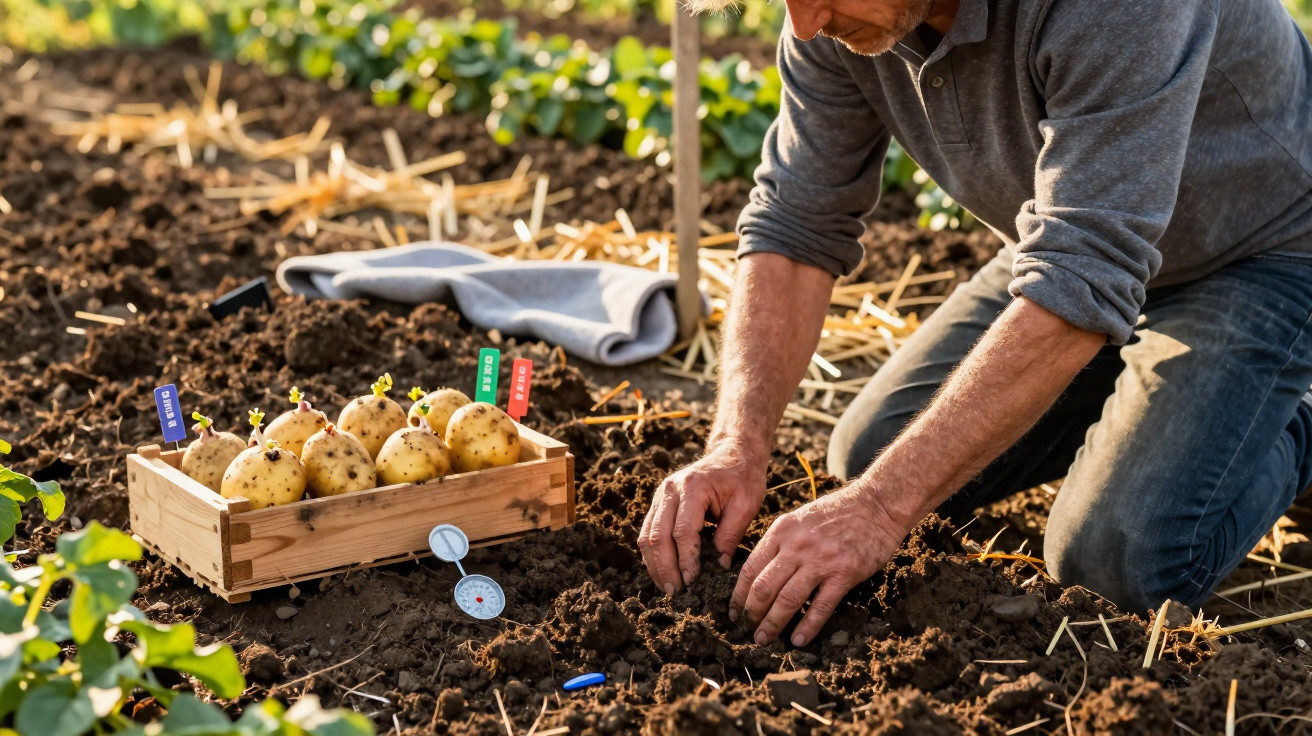
- First early potatoes
In practice, make a hollow in the compost using your hand or a dibber. Then cut a small slit in the cardboard, only large enough for the root ball to pass through. The roots then sit directly in the loosened soil layer, while the upper part of the plant remains protected by mulch.
Fine-seeded crops such as carrots, parsnips and radishes are better left until the cardboard has almost completely disappeared. They germinate reliably only when the surface is loose and free from leftover pieces. Many gardeners reserve the second season on the same plot for these crops.
Benefits for your back, the soil and the environment
The cardboard method offers advantages in several areas at the same time. The most obvious benefit is that nobody needs to work hard ground with a spade or powered cultivator. This puts less strain on the back, knees and shoulders.
It also preserves the soil’s natural layers. Traditional digging brings soil organisms that need darkness up to the surface. With the cardboard method, they can work where they belong and loosen the soil naturally.
Another advantage is that the ground stays covered throughout the year. This reduces evaporation, prevents soil erosion and cuts watering needs during dry periods. As the cardboard slowly breaks down, it creates humus that stores nutrients and releases them gradually to plants.
Common mistakes and how to avoid them
People using cardboard in the garden for the first time can easily underestimate a few details. These pitfalls are simple to avoid:
- Cardboard that is too thin: Single layers are quickly penetrated by growth. Use two to three layers instead.
- Too little overlap: Grass survives wherever light gets through. Cover all edges generously.
- No top layer: Bare cardboard dries out and can blow away. Always cover it with compost or mulch.
- The wrong cardboard: Avoid coated, heavily printed or glossy cardboard.
How to make further use of the method
Once the first bed has been successful, the technique can easily be extended to additional vegetable plots, a berry strip or a mixed border of perennials and herbs. Many permaculture gardeners establish entire parts of their gardens this way, renewing the mulch layer each year with leaves, leftover straw or grass clippings.
This approach is also useful for bringing weedy corners of the garden under control. For example, if an area containing persistent root weeds is intended to become a wildflower meadow, first lay cardboard and mulch, then sow a suitable flower mix once the ground has settled down.
On very wet ground, drainage deserves attention. If water stands for weeks, the cardboard decomposes poorly and begins to rot. In this case, small drainage channels or a slightly raised bed edge filled with additional compost can help.
Anyone who follows these basic principles and begins spring with a little patience can turn an ordinary patch of lawn into a productive vegetable bed within a few weeks – with far less effort, fewer tools and much greater consideration for both soil and back.


Comments
No comments yet. Be the first to comment!
Leave a Comment