
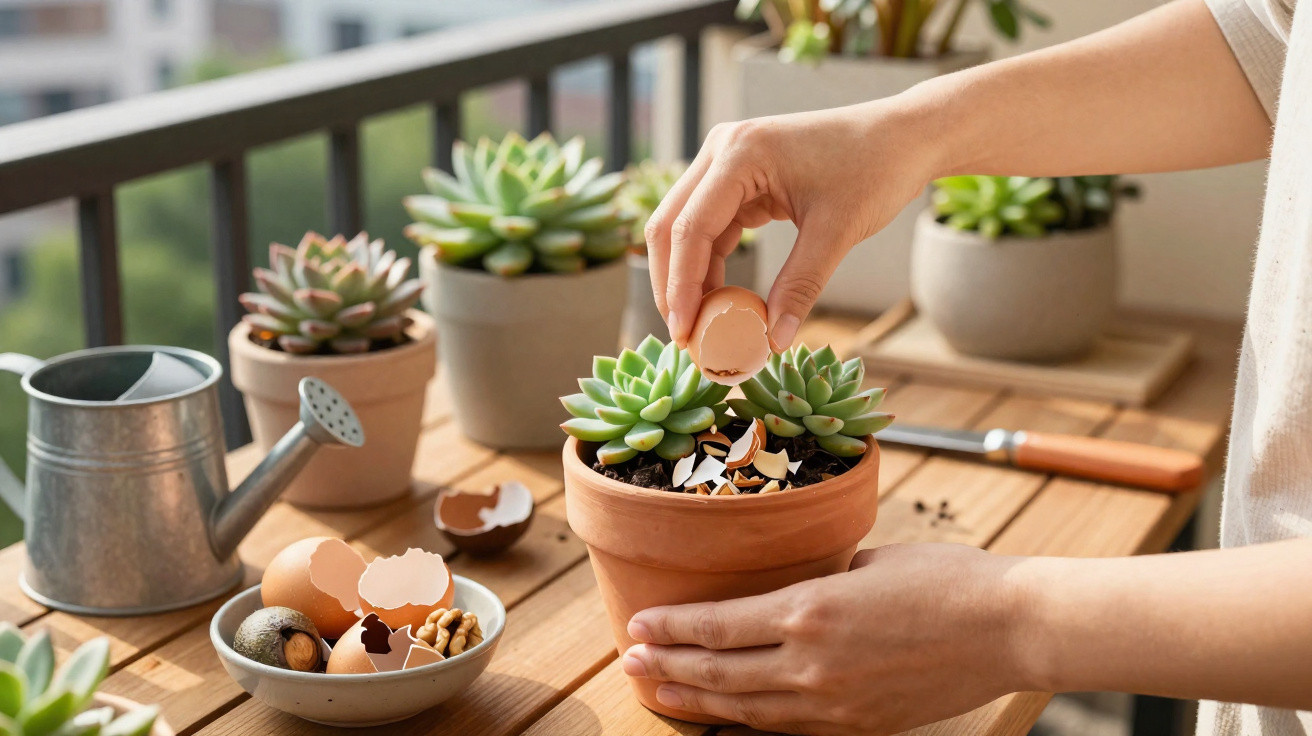
Anyone growing Sedum - often known as stonecrop (including ‘wall pepper’ types or taller orpine) - in a pot or border rarely comes unstuck because of frost or heat. What usually causes failure is water lingering around the roots. Waterlogging reliably finishes off these otherwise undemanding succulents. One often-overlooked leftover from the kitchen tackles the issue right where it starts: at the very bottom of the planting hole.
Drainage decides whether Sedum lives or dies
Sedum has a reputation for toughness: poor soil, blazing sun and cold weather are generally non-issues. The real danger appears when moisture sits in the root zone. Roots begin to rot, the plant turns soft, collapses, and frequently disappears entirely.
“What decides the fate of your Sedums isn’t fertiliser, but the soil at the lowest point of the planting hole.”
When you plant, it’s easy to create a kind of “water bowl”: the soil at the bottom becomes compacted, while the sides are hemmed in by a pot wall or the edge of a bed. If you water regularly, the structure clogs up, water backs up, oxygen is squeezed out - ideal conditions for root rot.
Many people automatically reach for expanded clay pellets or gravel. Both do the job, but they cost money, they’re heavy to carry home, and on a balcony they can be awkward to handle. Yet you can achieve a very similar effect with an unexpected material that many households produce anyway.
Forgotten gold from the kitchen: shells and stones as a drainage layer
France’s environmental agency ADEME has for some time recommended using organic household leftovers directly in the garden. For Sedum, certain hard, shell-like kitchen scraps offer a double benefit: they improve drainage and they don’t need throwing away.
These are particularly suitable:
- Walnut shells
- Hazelnut and almond shells
- Shells from unsalted pistachios
- Crushed fruit stones (for example apricot, peach, cherry)
- Coarsely broken eggshells
Used this way, these leftovers form a layer around 3–5 cm thick right at the bottom of a pot or planting hole. Because they break down very slowly, they act like a loose, airy drainage cushion for roughly two to three years.
How to prepare the kitchen material
Getting it ready takes only a few minutes:
- Collect the shells and let them dry thoroughly.
- Put them into an old cloth bag or a tough freezer bag.
- Give the bag a few firm blows with a hammer until you have medium-sized fragments.
- Don’t crush them into fine grit - small crumbs create less of a drainage effect than chunky pieces.
With eggshells in particular, it helps to keep pieces around 1–2 cm. Their curved shape creates little voids where air remains and water can run through more quickly.
Why hard shells protect Sedum so effectively
In soil, the structure of the lowest layer is crucial. The hard shell fragments create so-called macropores - larger air spaces through which water can drain rapidly while air still reaches the roots. The compost above doesn’t slump down completely because the shells act like tiny supports.
“The roots of your Sedum sit on an ‘air cushion’ - and that air cushion is exactly what prevents rot.”
Each time you water, moisture moves through this coarse layer first. Instead of pooling there, it immediately finds its way downwards or towards the pot’s drainage holes. That keeps the delicate fine roots dry enough, without leaving the plant completely parched.
There’s also a second, more subtle chemical effect: the materials decompose only very slowly and release a small amount of carbon and minerals. This slightly enriches the growing medium but not to a degree that would make Sedum grow “soft”. The plants remain adapted to lean conditions.
Perfect pot set-up: layer by layer
For containers, balcony boxes or shallow planters, this order works well:
| Layer | Material | Purpose |
|---|---|---|
| 1 (right at the bottom) | 3–5 cm of shell and stone pieces | Drainage, air cushion |
| 2 | A thin layer of sandy soil | Transition layer so compost doesn’t slip down |
| 3 | Mostly sandy, low-nutrient substrate | Root zone |
Only then do you position the root ball and add the remaining compost. The container must always have one or more drainage holes at the base - without them, even the best drainage layer can’t help.
Balcony, terrace, garden: where this method really shines
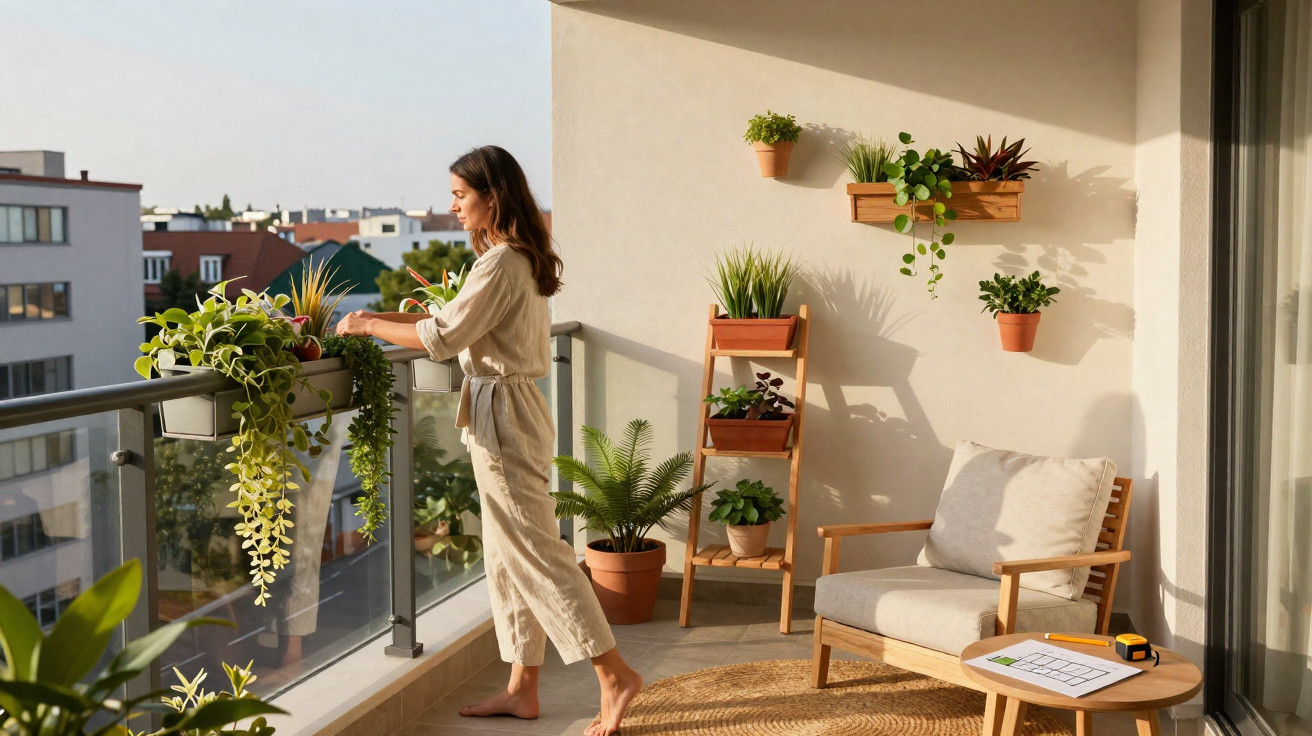
This kitchen-scrap approach is most useful wherever weight, cost or transport are a factor. Renters without a car often know the problem well: bags of gravel or clay pellets are heavy, awkward, and don’t always fit easily on public transport.
“Instead of hauling 10 kilos of gravel up the stairs, you simply tip a few handfuls of saved shells into the pot.”
On a balcony, the lighter fill also reduces load on the structure. Lighter containers are easier to move - for example, if you want to shift seating into the shade. In the garden, the same method works in smaller beds or raised beds. In heavy clay soils, you can create a targeted “drainage window” in the Sedum planting hole by adding shells at the base.
Three basic rules for success
To make sure it works properly, keep to these simple guidelines:
- Use only unsalted shells and stones - salt harms roots.
- Crush the material coarsely, not into dust.
- Above the layer, stick to sandy, relatively poor soil.
The shells aren’t meant to feed the plant; they’re a structural element. The goal is to let water pass through, hold air in the profile, and keep roots out of standing moisture.
Do you still need expanded clay for Sedum drainage?
Expanded clay and gravel remain reliable classics. If you already have them, you can keep using them without hesitation. For Sedum grown in pots, however, the shell-based option is usually more than enough. Many hobby gardeners say that after two to three years they simply top it up with fresh kitchen material the next time they repot.
For very large containers or heavy open-ground beds, a combination can make sense: a thicker layer of coarse gravel at the bottom, then a layer of shells and sandy soil above. That creates a multi-stage drainage system that copes better with heavy rain.
How long the effect lasts - and how to tell when it’s time to top up
In practice, the hard shell fragments tend to keep their structure for about two to three years. After that, they gradually crumble and blend into the surrounding soil. If you keep an eye on your Sedums, you’ll notice small warning signs:
- After thorough watering, the surface stays visibly wet for longer.
- Leaves suddenly look glassy or mushy, even though you’re not watering more than before.
- When repotting, you find hardly any coarse pieces left at the bottom.
At that point, it’s worth lifting the plants out briefly, renewing the lower layer, and adding fresh shell material. Many people combine this with dividing clumps that have become too large - Sedum generally tolerates the process very well.
Practical extra tips for healthy Sedums
Drainage matters most, but a few other factors also influence how well the plants perform. Useful levers include:
- Substrate: One part garden soil, one part sand, one part fine grit makes an ideal lean mix.
- Watering: Water thoroughly, then allow to dry, rather than giving frequent small amounts.
- Feeding: Fertilise very sparingly - at most once in spring, and at a low dose.
- Position: Full sun to partial shade, and sheltered from constant splashing water from gutters.
If you mix several Sedum types - for instance low, mat-forming stonecrops with taller orpine - you can create lively, low-maintenance planting in just a few square metres, or even on a windowsill.
Why succulents benefit so much from the kitchen trick
Sedums are succulents, meaning they store water in their leaves and stems. That adaptation to dry sites is what makes them so easy-going - and at the same time, so sensitive to wet soil. While many traditional border perennials prefer humus-rich, moist ground, Sedum responds to those conditions with rot.
A drainage layer made from shells suits this lifestyle: the roots are never left sitting in water, yet they can take up moisture quickly when brief watering or a shower brings it. In a pot, the set-up behaves a little like a shallow rock garden: low in nutrients, dry, well-aerated and tolerant of heat.
And if you already crack nuts or cook eggs, you effectively have the material on hand. A small jar in the kitchen is enough for collecting shells. When it’s time to plant a new Sedum container, the drainage layer is ready with no extra cost - and no heavy lifting.
Comments
No comments yet. Be the first to comment!
Leave a Comment