
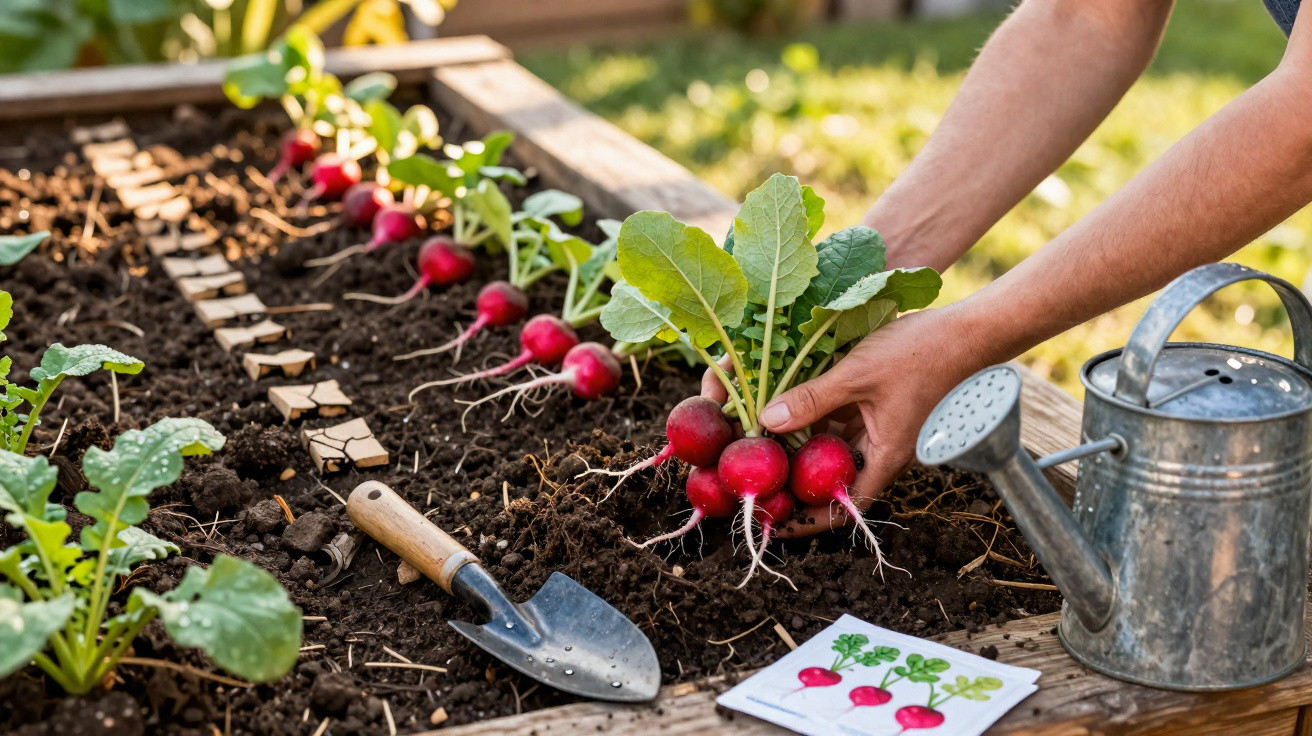
Plenty of amateur gardeners are puzzled when their radishes turn out fiery, woody or split, even though the seed packet promises results that are “child’s play”. Most of the time, failed roots aren’t down to any major gardening disaster, but to a small misstep with site choice, watering and timing. Once you understand what’s going on, you can harvest those red, round roots in top quality almost on cue.
Why radishes so often disappoint in the garden
Radishes have a reputation for being easy. The seed germinates quickly, the plants shoot up fast, and within a few weeks the first harvest is on the plate. Yet in real life it often plays out differently: the roots are too hot, hollow inside, woody, or they even crack open.
The reason is simple: radishes are highly sensitive to fluctuations-especially in water and temperature. They don’t need specialist fertiliser or pricey professional kit; they need a bed that stays evenly moist, without becoming waterlogged.
The real “secret trick” for perfect radishes is an even, measured water supply from germination through to harvest.
The perfect spot for radishes
If you choose your bed conditions wisely, you remove much of the plant’s stress straight away. Radishes don’t like extremes; they do best with balance.
Soil and light: what radishes actually need
- Soil: loose, well-aerated, rich in humus
- Moisture: consistently moist, but no standing water
- Position: sunny to lightly semi-shaded
- Temperature: on the cooler side, ideal in spring and autumn
Heavy, compacted ground often produces misshapen, elongated or cracked roots. Before sowing, it helps to loosen the soil generously and work in a bit of well-rotted compost or fine garden soil. Very sandy beds dry out quickly-there, a thin mulch layer (for example, lawn clippings left to wilt first) can help keep moisture in the soil for longer.
Water evenly rather than going on a “watering marathon”
If you only water radishes once the bed looks dusty-dry, you’re likely to end up with roots that are hot and woody. Even worse are sudden swings: dry conditions followed by a heavy soaking. The roots take up the water, swell rapidly, and can split.
In spring, or under cloches and in a cold frame, moderate watering every one to two days is often enough. During dry spells, it’s better to water a smaller amount daily than to empty a full watering can once a week.
Getting the timing right: plan varieties and sowing cleverly
Radishes grow quickly, but not every variety suits every part of the year. Early in the season-when days are short and nights are cool-only appropriate varieties perform well. They form round, juicy roots instead of bolting into flower.
If you rely on generic mixed packets, you may be unlucky: some varieties are brilliant in early summer, but struggle in very early spring or the height of summer. It pays to read the packet, as many brands label varieties specifically for spring or for summer.
Sowing: depth, spacing and rows
For even growth, radishes need room. If they’re too crowded, the roots stay tiny or turn irregular.
| Step | Recommendation |
|---|---|
| Make a seed drill | about 1 cm deep |
| Seed-to-seed spacing | 3–5 cm |
| Spacing between rows | about 15 cm |
| Thin out after emergence | to 5–8 cm spacing |
If you sow too thickly, you’ll have to thin later. That means pulling out weaker seedlings or those standing too close together until you reach the right spacing. Many beginners find this “cruel”, but it’s what allows strong, round roots to develop.
From germination to feeding: how to keep roots crisp
The most sensitive period is from sowing until the root begins to swell. In that window, radishes need just a little consistent attention.
Germination: don’t let the seedbed dry out
After sowing, the seed must not dry out. Keep the top layer of soil gently moist at all times. A fine mist or careful watering without a rose-aimed downwards and not directly along the drill-helps avoid washing the seed away.
As soon as the first leaves appear, the rule remains the same: steady moisture. In a cold frame or greenhouse the soil often dries faster than outdoors, so it needs checking more frequently.
Succession sowing instead of a harvest “explosion”
Many people sow one large patch and then end up with a glut of radishes that can’t be eaten within a week or two. After that, the bed is empty and there’s an awkward gap in the planting plan.
If you sow a small row every two weeks, you’ll have fresh radishes continuously over a long period-without surplus.
This approach is known as succession sowing: rather than one big sowing, you spread several small sowings across the season. Radishes are perfect for it, because they’re ready to pull after around four to six weeks anyway.
The right moment to harvest - and what can go wrong afterwards
Radishes are unforgiving if you leave them “past their time”. The longer they sit in the soil, the higher the risk of furry texture, toughness or hollow centres.
When radishes are genuinely ready
- ready to harvest after about 4–6 weeks, depending on variety and weather
- roots should be clearly visible and about the size of a walnut
- in strong growth, it’s better to pull slightly early than slightly late
If you’re unsure, lift one root as a test and slice it open. If the inside is juicy and firm and the skin is smooth, the rest can come out too. If you already see small cavities or a very firm, almost woody structure, the ideal moment has effectively already passed.
If the plants stay in the bed too long, pungency also increases noticeably. People often assume the variety simply isn’t for them, when in reality the calendar was just a few days too slow.
Combining radishes cleverly in the bed
Because they mature so quickly, radishes are excellent gap-fillers. While slower crops such as carrots, cabbage or leeks are still getting established, the red roots can deliver the first harvest.
They’re commonly paired with lettuces: sow radishes in the rows between heading lettuce or loose-leaf salad. By the time the lettuce needs the space, the radishes have already been harvested. They also work well between early kohlrabi or chard.
If you prefer a particularly mild flavour, choose a spot that doesn’t get blazing sun all day. A lightly semi-shaded position at the edge of larger vegetable beds often produces notably gentler roots.
Common mistakes and how to avoid them
Most radish problems can be traced back to a handful of classics:
- Hot and woody: usually drought stress or harvesting too late
- Split roots: a switch from dry soil to heavy watering
- Tiny roots, lots of leaf: plants too close together or soil that’s too rich
- Hollow radishes: overly rapid, stop-start growth, often after heavy rain
Simple fixes make a big difference: stick to the spacing, check regularly whether the soil surface is moist enough, water little and often rather than in large doses, and don’t keep pushing the harvest back.
How to grow radishes in a raised bed and on a balcony
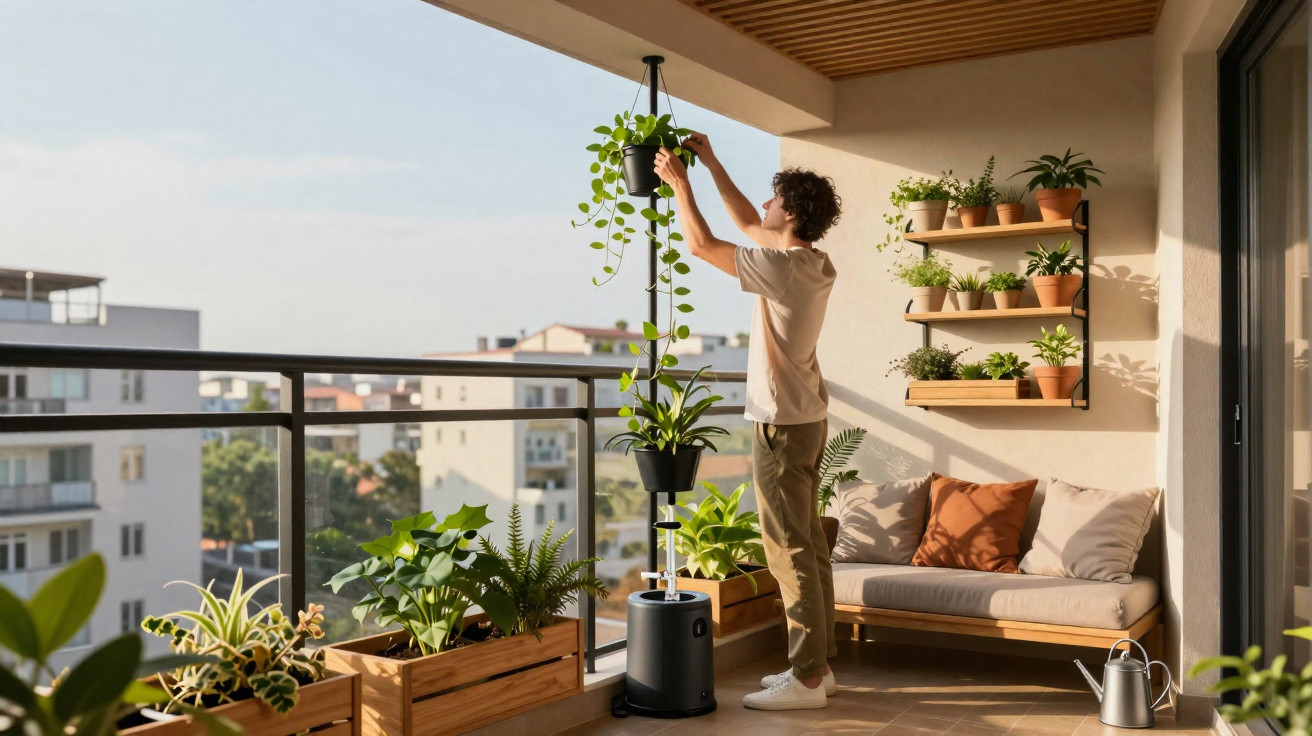
Not everyone has a traditional vegetable plot. Radishes also do well in a raised bed or a larger balcony trough, as long as the compost is loose and deep enough (at least 15–20 cm).
In containers in particular, watering becomes critical because the compost dries out faster. A layer of mulch, light-coloured pots, and a sheltered position help stop the sun overheating the root zone. In raised beds, radishes often grow especially evenly because the soil is well-aerated and warms up more quickly.
One more thing about flavour: control heat rather than putting up with it
Radish heat depends not only on the variety, but heavily on stress. Lack of water, high temperatures and harvesting too late all push pungency upwards. If you like a mild taste, aim for the calmest possible growing conditions-steady moisture, the right site, and an earlier harvest.
A handy bonus: crisp, well-grown radishes will keep in the fridge for a few days without turning soft straight away. Remove the leaves immediately after harvesting and store the roots wrapped in a slightly damp cloth to keep them fresh for longer.
Comments
No comments yet. Be the first to comment!
Leave a Comment