
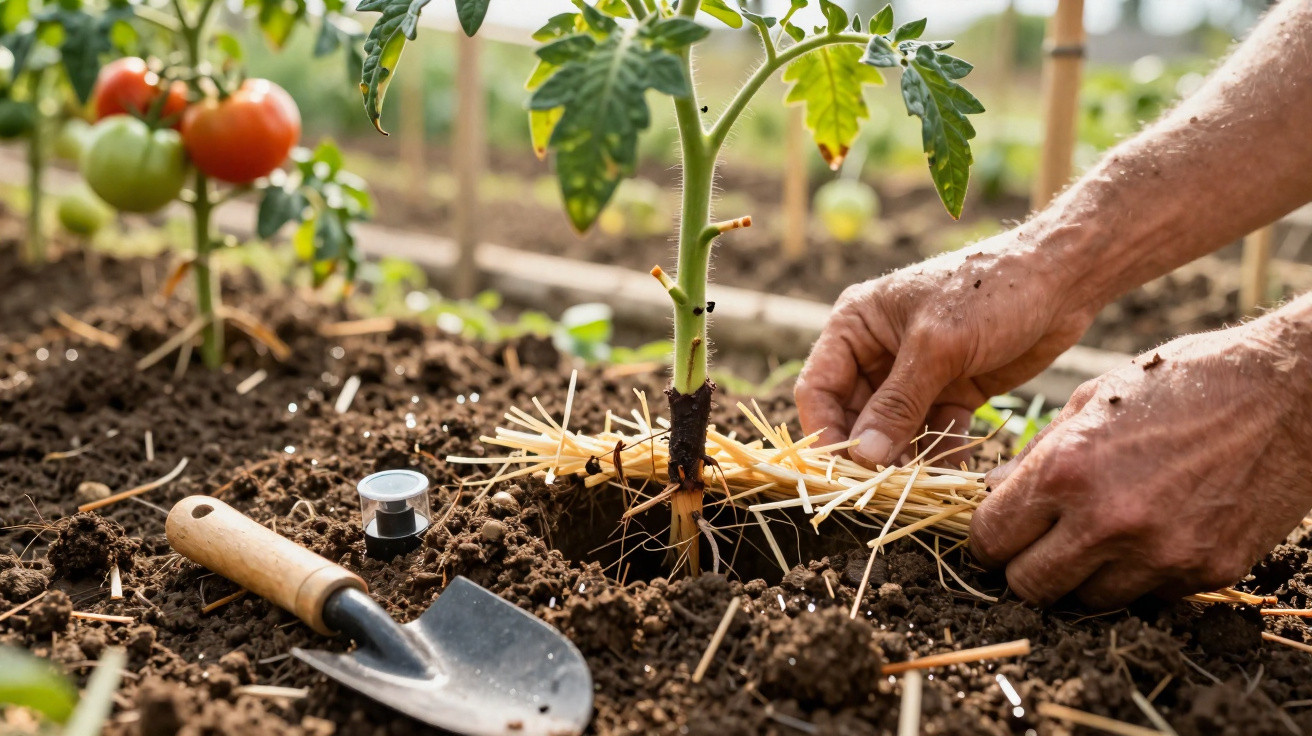
The cause sits surprisingly low down - and it is tiny.
At first the bed looks spot on: young tomato plants lined up neatly, the soil prepared, watered and mulched. Then, just a few days later, one plant turns soft, bends over and rots at the base. No slugs, no spots on the leaves - yet it still dies. If you immediately blame fungal diseases, you are often looking in the wrong place.
Where tomatoes really rot: the critical zone at the plant base
In horticulture, the key area is called the “root collar”. This is the point where the roots transition into the stem - right at the soil surface. All the nutrient solution passes through here, making it the plant’s bottleneck.
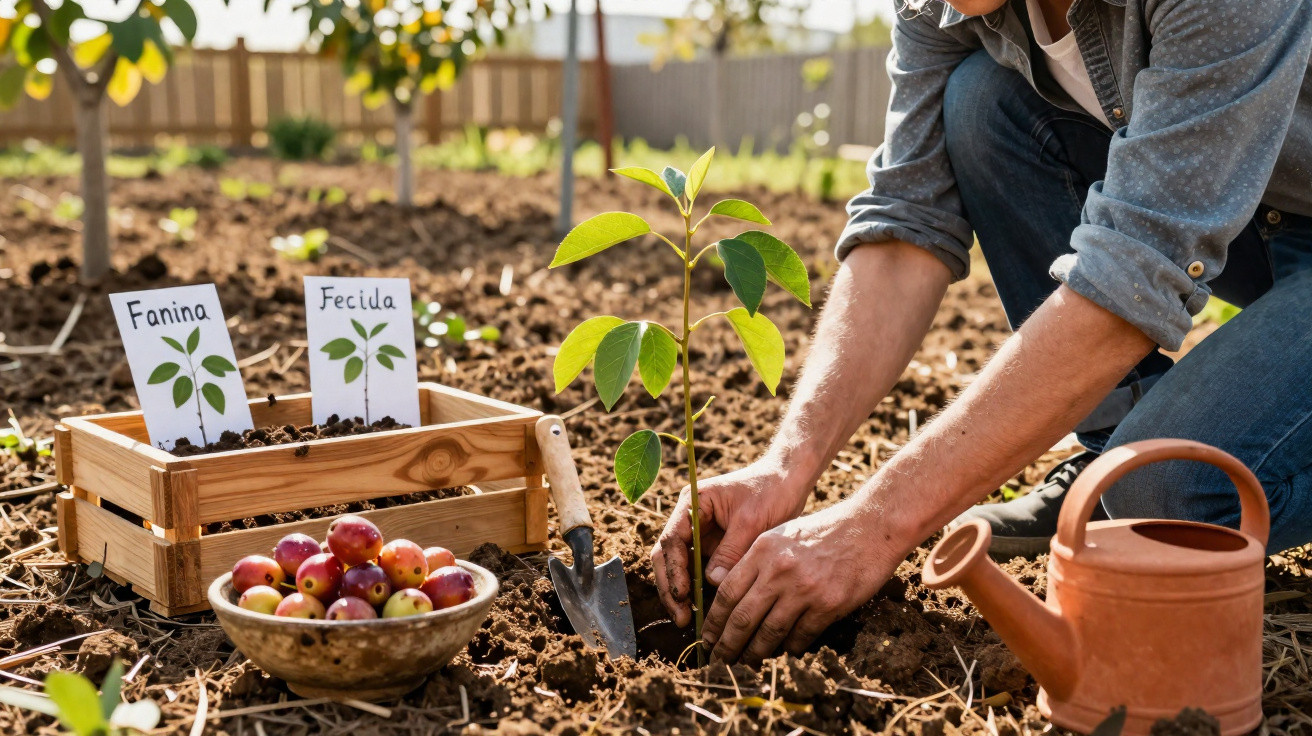
Tomatoes stay sturdy as long as the root collar is exposed, well ventilated and kept on the dry side. Trouble starts when gardeners set stems too deep during planting or, later on, when mulching buries the root collar under soil or damp material.
"Just a few millimetres too much soil or mulch at the root collar is enough for tomatoes to rot in no time at all."
The mechanism is straightforward: at ground level the plant is effectively trapped in a wet cuff. Hardly any air can get in, and moisture collects exactly where the plant is most vulnerable.
How excess moisture destroys the plant base
When the root collar stays wet continuously, the soil behaves a bit like tomatoes sealed in a plastic bag: water accumulates, there is almost no air exchange, microorganisms thrive - and rot gets going.
A typical sequence at the base of a tomato plant:
- Tissue at the root collar is poorly aerated and essentially “suffocates”.
- The outer layer becomes soft and takes on a brownish colour.
- The stem loses its strength and may split or collapse.
- Leaves turn yellow, and the plant can be pulled from the ground with little effort.
- Within one to two days, the entire plant can die.
Many gardeners then blame the weather or suspect an unusual tomato disease. In reality, a quick look at the stem base is often enough: if there is sludge made of soil and mulch sitting there, you have found the cause.
Mulch: a blessing for tomatoes - or a death trap
Mulching is rightly considered a smart technique: it keeps the soil moist for longer, shields against heavy rain, reduces how often you need to water, and protects roots from heat and cold. Common materials include:
- Straw or hay
- Dried grass clippings
- Wood chips or bark material
- Leafy garden waste (well dried off)
This is also where the trap lies: if you push the material right up against the stem, you subtly raise the soil level. On a bed that is already slightly compacted, just a few millimetres can be enough to create a moisture “basin” around the root collar.
"Mulch must never stick to the stem. This small detail often decides whether tomato plants live or die."
If irrigation water or rain collects there, the area remains persistently damp. The result is soft, brown tissue, a collapsing stem and one fewer tomato plant in the bed.
The safe gap: keeping the root collar dry
Garden advisers recommend giving the root collar a small “breathing zone”. It is easy to do - yet it is ignored surprisingly often.
| Area | Recommendation |
|---|---|
| Distance between mulch and root collar | at least 1 cm, ideally 2–3 cm |
| Mulch thickness (straw / hay) | 8–10 cm |
| Mulch thickness (dry grass clippings / chips) | 3–5 cm |
| Plant height before mulching | wait until plants are 15–20 cm tall |
So, directly around the stem you leave a small ring of bare soil. A few centimetres further out, the actual mulch layer begins - and that can then be applied properly thick.
The right time to mulch
Mulching too early traps the remaining cold in the soil. Tomatoes then sit in a cool, damp environment - an ideal rot incubator. It is better to wait until:
- the soil has warmed noticeably
- nights are largely frost-free
- the plants are already 15 to 20 centimetres tall
Only then should you add mulch. This protects the roots without keeping the root collar wet for longer than necessary. When watering, direct the water to the outer edge of the mulch ring, not at the stem base.
Check-up: a weekly inspection saves tomato plants
Even if the spacing was perfect at first, things shift in the garden. After heavy rain, mulch can slide downhill; watering can wash soil towards the stem; wind can press material up against the plant base.
A simple routine prevents problems:
- Once a week, run your hand around the stem.
- Gently pull the mulch back and lightly loosen the soil.
- Check that the root collar is visible, firm and not discoloured.
"This 10-second check per plant often prevents exactly the rot that people later mistake for a ‘mysterious disease’."
If you already see mushy or brown patches, you can sometimes limit the damage: carefully remove soil, let the area dry out, and increase the interval between watering. In some cases, it can help to replant slightly higher, provided there is still enough healthy stem.
The mistake is not limited to tomatoes
The same weak point exists in many vegetables with softer stems. Particularly sensitive are:
- Courgettes and other cucurbits
- Aubergines
- Sweet peppers and chilli
The same rules apply: always keep the root collar visible, never leave it sitting wet, and spread mulch with a gap. A quick check after any heavy watering often saves a whole run of plants.
Why gardeners miss the problem so often
This issue usually appears a few days after planting out - precisely when many people are already watching nervously for any discolouration. With fungal diseases, the focus tends to be on spots on leaves or higher up the stem. The glance downwards can stay superficial, especially when a thick mulch layer hides everything.
On top of that, tomatoes are often planted “deeper” to encourage extra roots along the stem. That can work, but it takes experience. If you plant too deep and then mulch generously, you accidentally create a permanently wet zone at the plant base.
Practical example for a healthy tomato bed
A workable approach might look like this:
- Plant tomatoes only deep enough that the original pot rim sits roughly at soil level.
- Water the planting hole thoroughly, then water more sparingly until the plant has established.
- Wait to mulch until the plants have put on strong growth.
- When mulching, leave a 2–3 cm circle free around the stem.
- Apply water deliberately to the outer edge of the mulch ring.
- Weekly, uncover the stem base and check that it feels firm.
Handled this way, you get the benefits of mulching - less watering, steadier soil moisture, less splashback onto the leaves - without weakening the plant at its most sensitive point.
Further risks and sensible additions
A permanently damp root collar does not just attract rot pathogens. Slugs and various soil fungi also like to shelter there. Combined with dense planting and poor air flow, the risk of wider disease across the whole plant increases.
Useful additions in a tomato bed therefore include:
- sufficient spacing between plants for better ventilation
- regular side-shoot removal and pruning of leaves close to the ground
- watering in the morning rather than late evening, so everything dries faster
- loose, crumbly soil that drains water quickly
If you understand how much these few millimetres at the plant base matter, you automatically look more closely on your next walk through the veg patch. Often, that one glance saves the tomato crop - before the supposed “tomato luck” ends up in the mud as early as June.
Comments
No comments yet. Be the first to comment!
Leave a Comment