
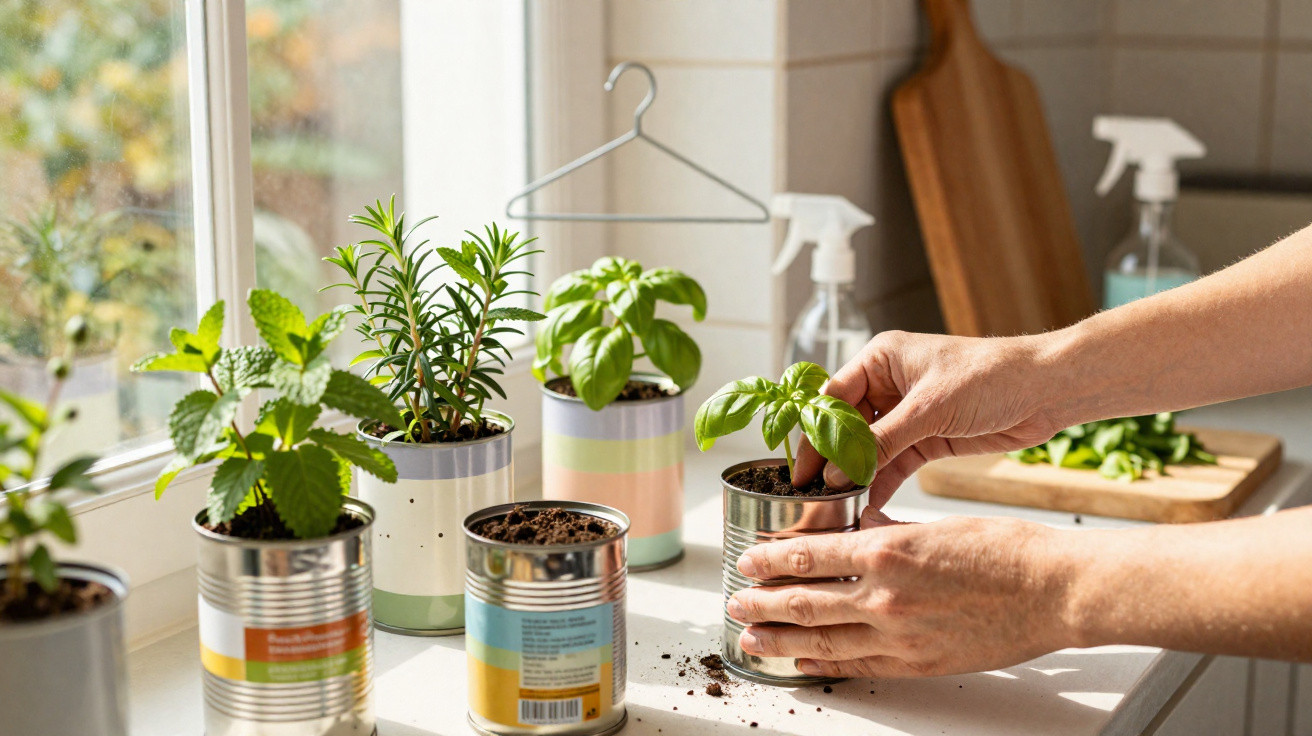
A basic, everyday item from the kitchen is currently causing a stir in garden groups and on balconies. Instead of throwing it away as usual, more and more hobby gardeners are turning this so-called waste into a cheap, attractive planter for herbs and flowers - ideal for small gardens, balconies and windowsills.
Why empty tins are suddenly turning up in the garden
Food tins normally head straight for metal recycling. Right now, though, gardeners are showing just how much can be done with these unremarkable containers. A tin that once held tomatoes, beans or soup can become a compact herb pot in just a few simple steps.
"Kitchen waste becomes a free plant pot - ideal when the budget is tight and there’s hardly any room for big planters."
With prices rising, many people are looking for practical ways to cut costs. New pots, tubs and hanging baskets can add up quickly - especially if you need several. Empty tins, by contrast, are usually already in the house. Using them thoughtfully not only saves money, but also reduces rubbish.
They’re particularly handy if you’re short on space - for example on a city balcony or a narrow windowsill. Tins are slim, lightweight and stackable, and they can be hung from fences, railings or trellises. Line a few up side by side and you instantly have a vertical herb strip rather than a wide bed taking up floor space.
Step by step: turning a tin into an herb pot
The basic idea is straightforward: clean the tin, make drainage holes, add compost, plant it up, then hang it or stand it somewhere. Even so, a few details are worth getting right so your plants actually thrive.
Preparing the tin: clean, and with drainage
Start by washing it thoroughly. Leftover tomato sauce or bean brine can go mouldy, smell unpleasant and attract pests. Rinse the tin out, use washing-up liquid, then let it dry properly. If you like a rustic look, you can simply remove the label. For a cleaner finish, rub off sticky residue with a little oil or alcohol.
Next, the tin needs drainage holes - without an outlet, water sits at the bottom and roots can rot quickly.
- Use a nail and hammer to make several small holes in the base
- Alternatively, use a small drill bit set if you have one
- Bend sharp edges in slightly with pliers or smooth them with sandpaper
If you want to hang the tin later, make an additional hole near the top on the back. This is where you’ll attach wire or cord.
Making a hanger: a coat hanger instead of a hook rail
For hanging tins, you can often use what’s already in the wardrobe: old wire coat hangers. With pliers, they can be reshaped until you have a hook or handle that threads through the hole in the tin.
Other options include strong parcel string, jute twine or thin wire from a DIY shop. If you’re fixing tins to a balcony railing, cable ties can work well. The key is that the fastening must hold the combined weight of tin, compost and water - and it shouldn’t rust or snap.
The right fill: compost and choosing herbs
Even the best-looking upcycled pot won’t help if the compost is poor. Many gardeners opt for peat-free multipurpose compost or a compost designed for herbs. These mixes hold moisture without becoming waterlogged and give roots enough nutrients to get established.
Fill the tin to around two-thirds with compost and press it down lightly. Then place in the plant (or scatter seeds) and add a little more compost on top. A gentle first watering helps settle everything and closes up air gaps.
Herbs that are especially well suited
Tins work best for herbs that stay relatively compact. Large root balls simply don’t fit comfortably in the limited space. Good choices include:
- Parsley: prefers nutrient-rich compost and copes with partial shade
- Chives: grows back reliably, perfect for frequent snipping
- Mint: can take over in a bed; in a tin it stays contained
- Thyme: manages well with less water and likes a sunny spot
- Basil: needs warmth and consistent moisture
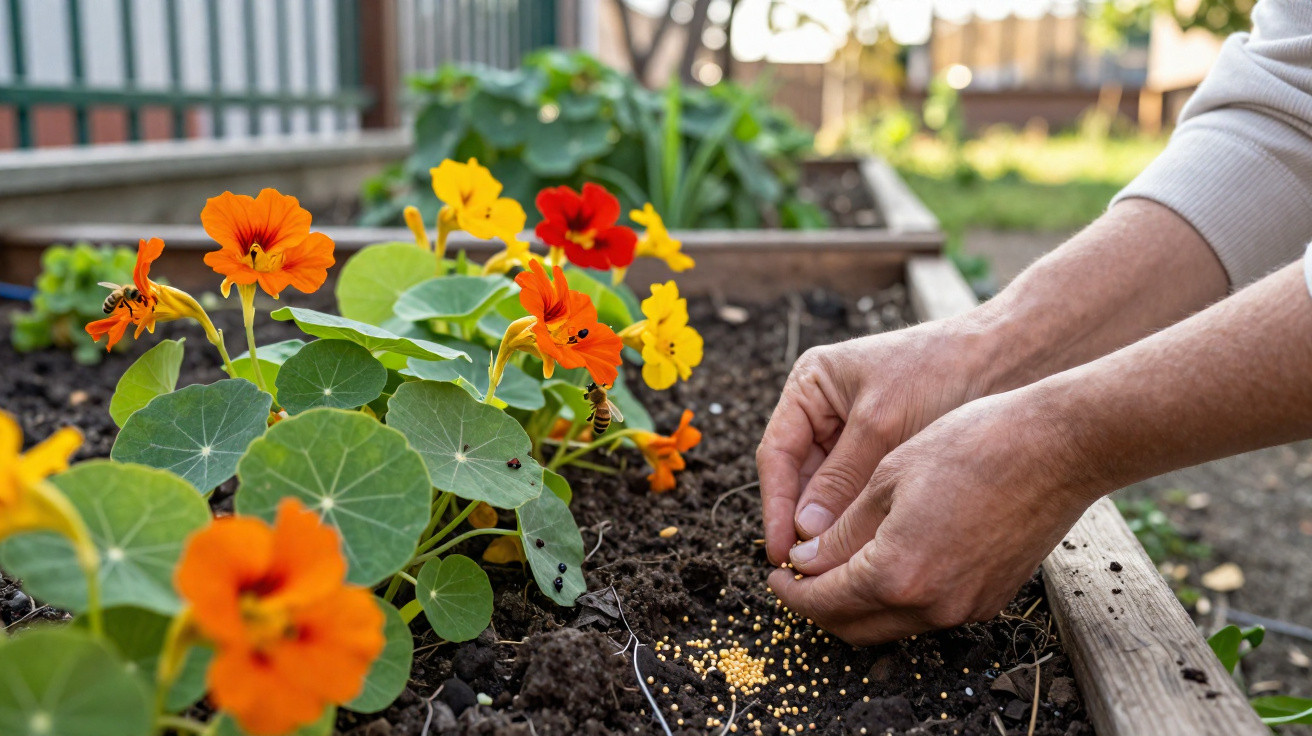
If you’d like flowers as well, you can sow edible blooms such as nasturtiums or calendula in a tin. They attract insects and add colour to the balcony.
Turning tins into real eye-catchers
Plain metal has its own appeal and suits an industrial, pared-back style. Some people deliberately leave tins undecorated, particularly when they’re planted with lots of green herbs - the contrast looks modern.
If you prefer something more playful, paint is the easy answer. Acrylic paint or weatherproof spray paint can give old tins a completely new look. Popular options include pastel shades such as sage green, light blue or a soft pink, which pair nicely with wooden furniture or a cottage-style front door.
"With just a few tins of paint and a bit of imagination, a bare fence becomes a colourful herb wall that feels truly personal."
Painting tins is also a great hands-on project for children: draw faces, dab on patterns, add dots, stripes, little monsters or flowers - anything goes. What starts as a money-saving idea can turn into a shared craft afternoon.
Ideas for arranging them
Whether you’re working with a garden, patio or balcony, tins can fit in almost anywhere. Here are a few ways to use them:
| Location | Practical idea |
|---|---|
| Balcony railing | Attach tins to the outside of the railing using wire or cable ties |
| Wooden slat fence | Screw hooks into the slats and hang the tins from them |
| Windowsill | Place several tins in a row, ideally with a coaster to prevent water marks |
| Steps | Stand tins to the side of each step, arranging them by size |
How sustainable is it, really?
Using old tins doesn’t replace the professional metal recycling system, but it does extend the item’s working life. Every tin used as a planter is one less plant pot you need to buy. That reduces demand for plastic containers, along with transport and packaging.
On top of that, growing your own herbs cuts down on supermarket packaging - no plastic pot, no film, no disposable tray. Many gardeners say that once they’ve set up tin planters, they buy pre-packed herbs much less often.
Risks and what to watch out for
It’s not entirely without drawbacks. Metal can heat up strongly in sunshine. On south-facing walls in particular, compost can dry out quickly and roots may be damaged. Regular watering - and, if necessary, a spot with light shade - helps prevent this.
Cheaper tins may have internal coatings that can start to degrade over time. If you want extra reassurance, line the bottom thinly with broken terracotta pieces, gravel or a piece of jute. This improves drainage and reduces direct contact between roots and metal.
For edible herbs indoors, it can be worth choosing uncoated tins or food tins with a known origin. Outdoors, where rain, time and changing planting play a role, many hobby gardeners consider the risk noticeably lower.
Practical everyday tips for a tin garden
A few simple habits will help keep plants healthy:
- Turn tins regularly so all sides receive light
- Once a week, check with a finger whether the compost is moist enough
- Avoid waterlogging; don’t keep watering “just in case”
- Remove spent flowers and yellow leaves so the plant saves energy
- Replant in spring if plants haven’t made it through winter
If you have several tins, you can organise them by purpose: cooking herbs within easy reach of the kitchen, bee-friendly flowers in the sunniest corner, hardy types like thyme at the front, and more delicate plants behind.
It gets especially interesting when you combine tins with other upcycling ideas: old wooden crates as shelving for the tins, pallets as a vertical wall holder, glass bottles as extra vases. Little by little, you can build a distinctive, low-cost mini garden that’s much more than a stopgap.

Comments
No comments yet. Be the first to comment!
Leave a Comment