
A simple piece of everyday waste can change everything.
Plenty of hobby gardeners begin the season with sweat, a spade and sometimes even a motorised cultivator. Hours disappear into turning over soil, tearing out roots and slicing away turf. Yet there’s a far easier approach, where an unremarkable household material does the heavy lifting for you-preparing a loose, fertile vegetable bed in just a few weeks.
Why brown cardboard can replace the hoe
The basic principle is straightforward: brown corrugated cardboard from delivery boxes becomes a ground cover in your vegetable bed. It blocks weeds, feeds soil life and helps loosen compacted ground-without anyone having to dig.
Used correctly, brown cardboard can turn matted lawn into dark, crumbly garden soil in 3 to 6 weeks-without digging at all.
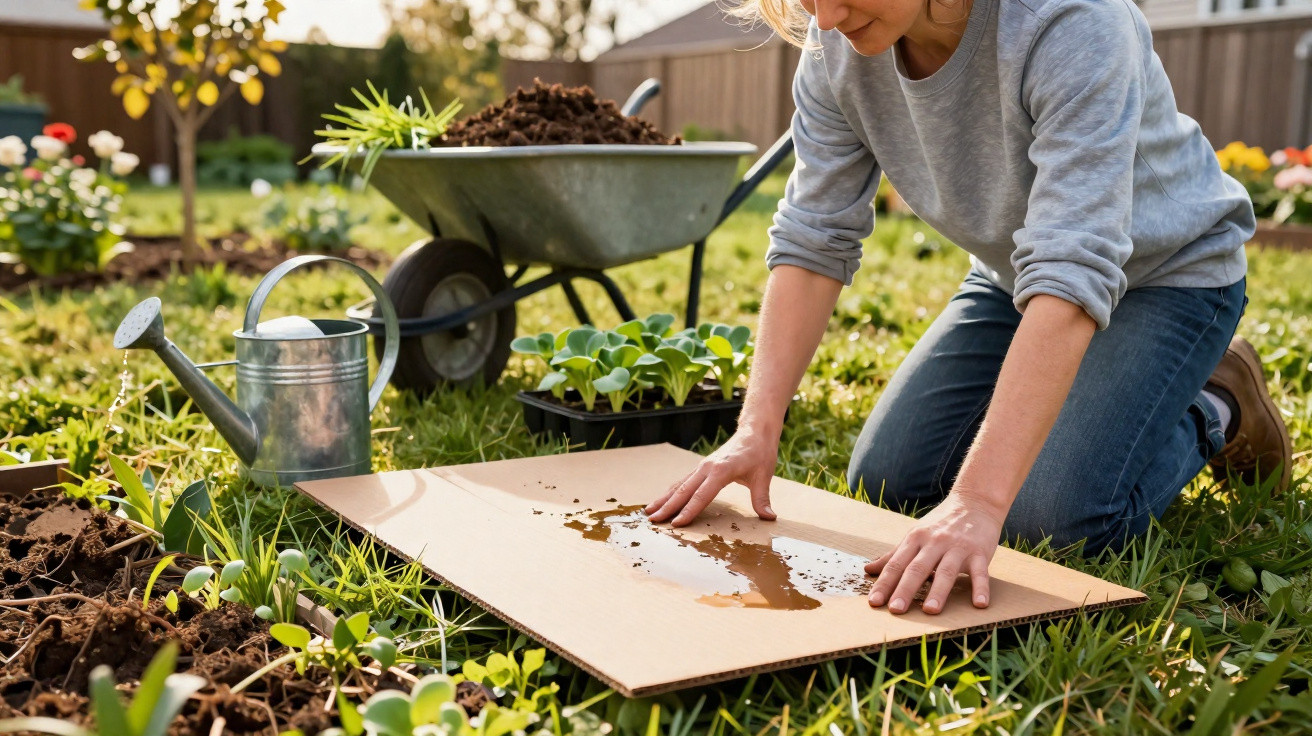
Lay the cardboard directly on top of the turf or any weedy patch. What matters is a clear overlap between sheets-around 10 to 15 centimetres-so no light reaches the plants underneath. Grasses and weeds burn through their stored energy, die back, and rot down in place.
Instead of stripping off turf by hand, you keep it as a nutrient source. Dead roots and blades, together with the cardboard, become a kind of buffet for earthworms, woodlice and countless microorganisms. They create channels, work organic matter into the soil and build a stable structure.
This is especially helpful on compacted, clay-heavy ground: what used to be hard and exhausting to work can feel like a soft cushion after a few weeks-dark, rich in humus and well aerated.
Which cardboard is suitable-and which is not
Not every type of cardboard belongs in a vegetable bed. The priority is keeping contaminants out of the soil while ensuring the material breaks down quickly.
- Use only brown, untreated corrugated cardboard
- Avoid coloured printing or glossy finishes
- No parcel tape, no labels, no plastic coating
- Remove metal staples and clips beforehand
Many delivery boxes are fine once all stickers and plastic parts have been taken off. Thin card from food packaging is often coated and is usually better off in the recycling bin than in the bed.
How to start in spring without digging
This method works best from the end of March to the end of April. The ground is thawing, soil organisms wake up, and decomposition really gets going.
Step 1: Prepare the area
You don’t dig the chosen patch-just get it ready briefly:
- Mow the lawn or growth as low as possible, or cut it with a scythe
- Leave the cuttings in place as an initial food source
- Remove large stones, thick branches or rubbish
Leave the turf exactly where it is. It helps stabilise the soil and provides organic matter for earthworms.
Step 2: Lay the cardboard and water it in
Now put down the cardboard sheets, as large as possible and with a generous overlap:
- Lay the cardboard sheets on the mown area with no gaps
- Slide each edge 10 to 15 centimetres over the next sheet
- Weight down corners straight away with stones or buckets so nothing blows away
A common mistake is leaving the cardboard dry. If it stays dry, it lifts, remains stiff and breaks down far more slowly. So water it thoroughly immediately after laying, until it moulds itself to the ground.
Only thoroughly soaked cardboard bonds with the surface beneath. That’s when earthworms and microorganisms can really get to work.
Step 3: Add organic material on top
Next, build a nourishing layer over the wet cardboard-this keeps moisture in, protects from wind and adds nutrients.
- Spread 3 to 5 centimetres of mature compost over the cardboard
- Add a further 2 to 5 centimetres of mulch material (straw, leaves, chipped twigs, dried grass clippings)
- Aim for a total organic top layer of about 5 to 10 centimetres
This layer acts like a blanket: it prevents drying out, kick-starts activity and shields the cardboard from direct sun.
Grass clippings as free mulch: brilliant if you use them properly
Grass clippings are one of the most overlooked garden resources. You’re producing them anyway, they’re nitrogen-rich, and they make excellent mulch-provided you follow a few rules.
Fresh grass clippings are roughly 80 per cent water. If you apply them too thickly, they collapse into a dense mat, get very little air and start to ferment. The temperature rises, the smell turns unpleasant, and the acids produced can damage plant roots. Some beds then effectively “crash”: yellowing leaves, a rotten odour and hardly any soil life.
To prevent that, grass clippings need a short “pre-dry”:
- Spread the clippings thinly over an area after mowing
- Leave them to dry for a few hours up to a maximum of one to two days
- Use only once they feel light and loose and no longer stick to your fingers
After that, apply the dried clippings as a thin mulch layer of about 5 to 7 centimetres on the already damp soil, or on top of your compost–cardboard build-up. Leave a small gap around vegetable stems so they are not sitting in wet mulch.
When the bed is ready-and how to plant
After around 3 to 6 weeks, the layers will have done their job. The exact timing depends on temperature, moisture and soil activity. Beneath the cardboard, you should now find a dark, crumbly zone of improved soil.
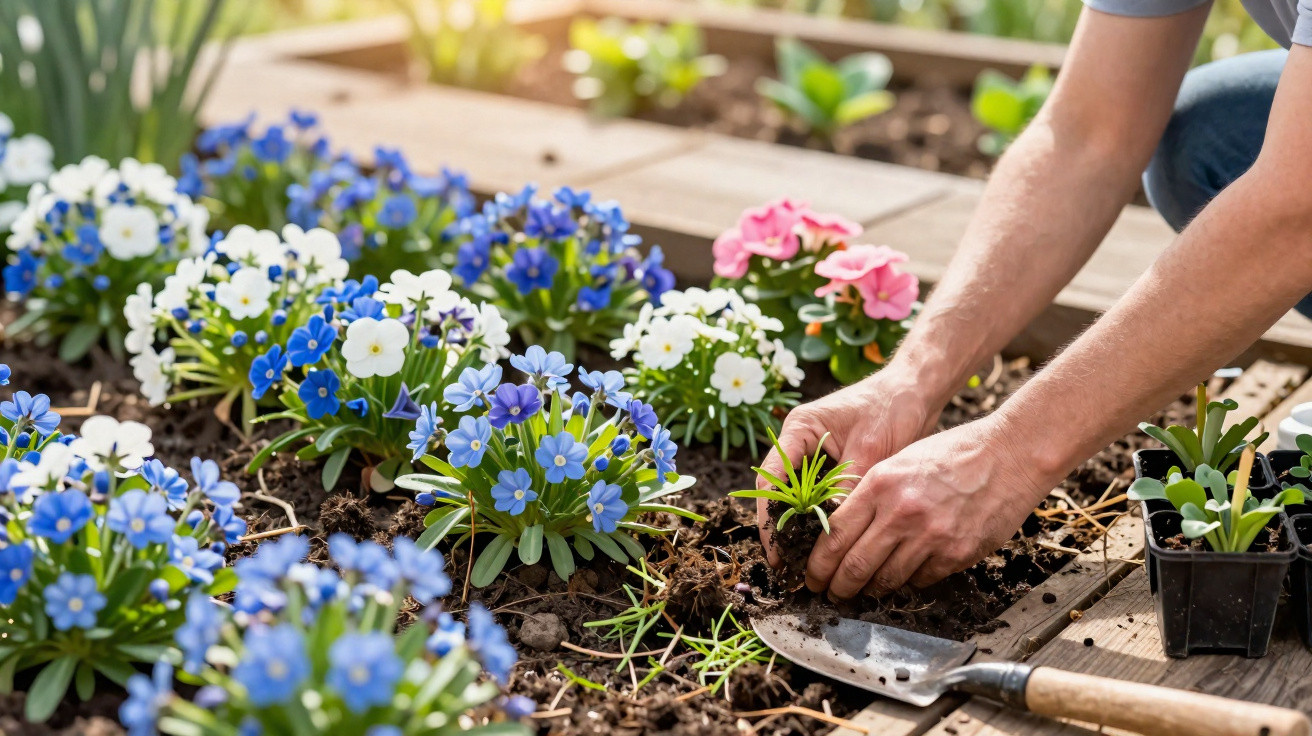
Plant carefully:
- Pull the mulch layer aside by hand
- Tear the cardboard at the desired spot or cut a cross-shaped slit
- Dig a planting hole into the soil below
- Put in the young plant (ideally sturdy transplants such as tomatoes, pumpkin, courgette, peppers)
- Firm the soil, tuck the cardboard back lightly, then pull the mulch back over
Finely sown crops such as carrots or radishes are less suited to this set-up because the cardboard gets in the way of direct sowing. For those, a nearby bed that’s already prepared-where the cardboard has fully broken down-is a better option.
Common mistakes and how to avoid them
The technique sounds simple-and it is. Still, a few stumbling blocks come up again and again:
- Cardboard layer too thin: if light gets through, many weeds will simply keep growing.
- Edges not overlapped: every gap is an entry point for weeds.
- Dry cardboard: without water it decomposes slowly and won’t stick to the ground.
- Fresh, thick grass-clipping layer: risk of fermentation, heat and root damage.
- Coated cardboard: plastics and inks can remain in the soil.
Why this method protects your soil and your back in the long run
Digging every year repeatedly breaks up the soil’s fine structure. Earthworms retreat, fungal networks get torn, and the surface can seal over more quickly. The cardboard method works with the soil rather than against it. The organisms underground do the digging for you, loosen layers and build lasting humus.
For anyone with back problems or limited time, this way of gardening can be a real game-changer. Instead of battling with a spade for hours, you do a few targeted steps-and everything else happens out of sight.
How cardboard can be combined with other garden ideas
Using brown cardboard fits well with raised beds, companion planting and an overall wildlife-friendly gardening style. Under a new raised bed, cardboard can smother the old turf; on top you can layer wood, prunings, compost and soil. Autumn leaves can be used with cardboard as a winter weed barrier, then folded into your bed plans later on.
It’s also worth considering if you garden in a small space-such as a terraced-house garden. Putting delivery boxes to use not only cuts down your waste pile, it also helps you create a far lower-maintenance vegetable bed. The biggest “aha” moment may be this: something that looks like rubbish can replace heavy machinery and prove just how powerful soil life becomes when you simply let it get on with the work.
Comments
No comments yet. Be the first to comment!
Leave a Comment