
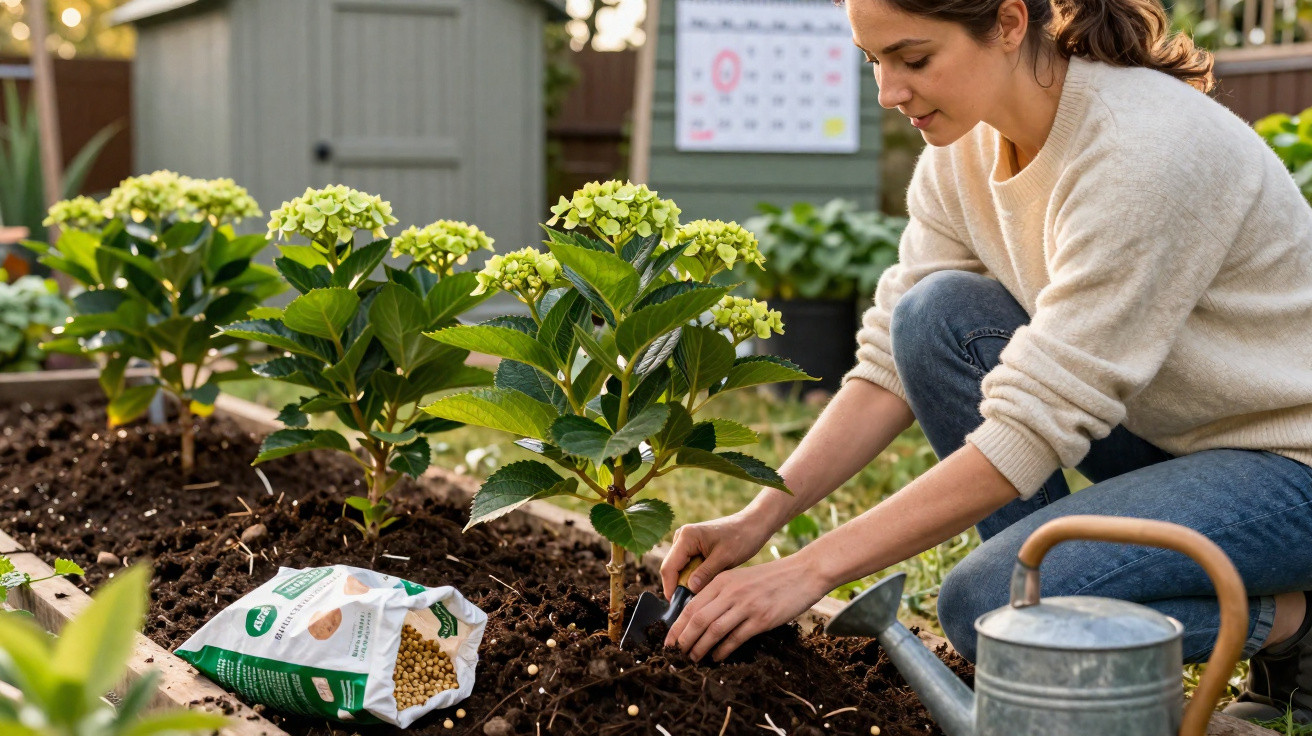
The mistake happens weeks earlier.
If you only start “pampering” your hydrangeas in May or June, you’ve already missed the crucial window. What really matters are the final weeks of winter, when the shrubs begin to wake up and store energy for forming flowers. In this brief period, the right nutrient balance can decide whether you admire nothing but lush green leaves in summer-or big, colourful flower heads.
Why care before March decides how many flowers you get
Hydrangeas begin their new season very early in the year. Between late February and early March, the plant starts moving sap and nutrients again. This is exactly when it lays the groundwork for developing flower buds.
"If you feed your hydrangeas properly before March, you are literally programming the plant for ‘flower mode’ instead of pure leaf growth."
When the soil lacks the right nutrients at this stage, the hydrangea reacts in a practical way: it prioritises leaves and new shoots. That makes sense for the plant, but it’s frustrating for gardeners. A strong, dense shrub with no flowers-or only a few small, weak blooms-is a classic sign of incorrect or missing feeding in late winter.
On top of that, hydrangeas are considered “hungry” shrubs. In nature, they grow in humus-rich, slightly acidic soils. In many gardens, however, the ground is too nutrient-poor or has been heavily depleted. If you simply rely on what the soil provides, you often end up with that familiar “leaves instead of flowers” result.
Which fertiliser actually helps hydrangeas before March
Mature compost as a gentle boost for flowering
In this period, experienced gardeners mainly rely on mature, fully rotted compost. Not half-decomposed material, but dark, crumbly compost that smells like woodland soil. It functions as a natural slow-release fertiliser and a soil improver in one.
Ideal application:
- Create a circle around the base of the hydrangea about 40–50 centimetres across.
- Spread 7–10 centimetres of compost over that area.
- Make sure the compost covers the entire root zone rather than sitting only right up against the stem.
With each rainfall and every watering, nutrients filter into the soil gradually. The hydrangea avoids a sudden “nutrient shock” and instead receives a gentle, steady supply. This supports vigorous, healthy plants that can build enough reserves to form plenty of buds.
Targeted specialist fertilisers-if you don’t have compost
If you don’t use homemade compost, you can opt for specialist hydrangea fertilisers. Choose organic or organo-mineral slow-release products specifically labelled for hydrangeas or ericaceous (acid-loving) plants. Typical nutrient ratios are:
- NPK 7-4-5
- or NPK 8-3-9
These formulas provide a balanced mix of nitrogen (N), phosphorus (P) and potassium (K) without excessive nitrogen peaks. Too much nitrogen may produce lots of foliage, but it can hold back flower formation.
"Less is more here: a low but steady dosage supports abundant flowering far better than a single high dose."
The right timing for these specialist fertilisers is from February through to no later than early March. Treat the dosage on the packaging as an upper limit-you can confidently apply a little less.
How to apply fertiliser to hydrangeas correctly
Many problems don’t come from the fertiliser itself, but from how it’s used. If you apply it properly, you protect the plant and get the best out of the nutrients.
- Apply fertiliser in a ring: Don’t dump compost or granular feed directly onto the shoots. Spread it in a ring around the shrub, where the active roots actually are.
- Lightly loosen the soil: Use a small hand rake or your fingers to gently scratch the top layer so the fertiliser blends with the soil more easily.
- Water well: After applying, give a thorough watering so nutrients move down into the root zone more quickly.
For hydrangeas growing in the ground, a single strong feed at the end of winter is usually enough. Container plants are different.
Special considerations for hydrangeas in pots
Hydrangeas in containers can’t draw on deeper reserves the way plants in the ground can. Nutrients in a pot run out faster or are washed out when you water.
So for potted hydrangeas:
- Give a base feed in late winter using compost or a specialist fertiliser.
- Add a light top-up feed in early summer, ideally in a small dose.
- Watch for waterlogging-fed soil that stays permanently wet can damage the roots.
Mistakes that cost you flowers-and how to avoid them
It’s not just timing; the fertiliser choice matters greatly too. Some popular, all-purpose garden products are only suitable for hydrangeas to a limited extent.
| Problem | Cause | Better solution |
|---|---|---|
| Lots of leaves, hardly any flowers | All-purpose fertiliser that’s too high in nitrogen | Specialist fertiliser with moderate nitrogen, or compost |
| Scorched leaf edges | Too much fertiliser applied in one go | Reduce the amount, use slow-release feed, water thoroughly |
| Weak growth, pale leaves | No fertiliser at all, or severely exhausted soil | Compost layer at the end of winter, followed later by a light top-up |
Universal lawn fertilisers or strongly nitrogen-heavy liquid feeds are particularly risky. They can deliver impressively green leaves, but they also remove the plant’s incentive to set lots of buds. If you want a cloud of blooms that turns heads, keep those products well away from your hydrangeas.
How the right fertiliser pays off over the long term
A well-fed hydrangea shrub shows clear results: sturdy, upright shoots, rich green leaves that aren’t overly soft, and plenty of buds from late spring onwards. Overall, the plant is tougher, reacts less sharply to short dry spells, and is often less prone to disease.
At the same time, adding compost regularly improves the soil around the shrub. It stays looser, holds moisture better, and provides food for soil life. Earthworms and micro-organisms work the compost into the ground, continually improving the root environment. That’s an investment that benefits the plant for years.
Extra tips for especially flower-filled hydrangeas
Choose pruning and position carefully
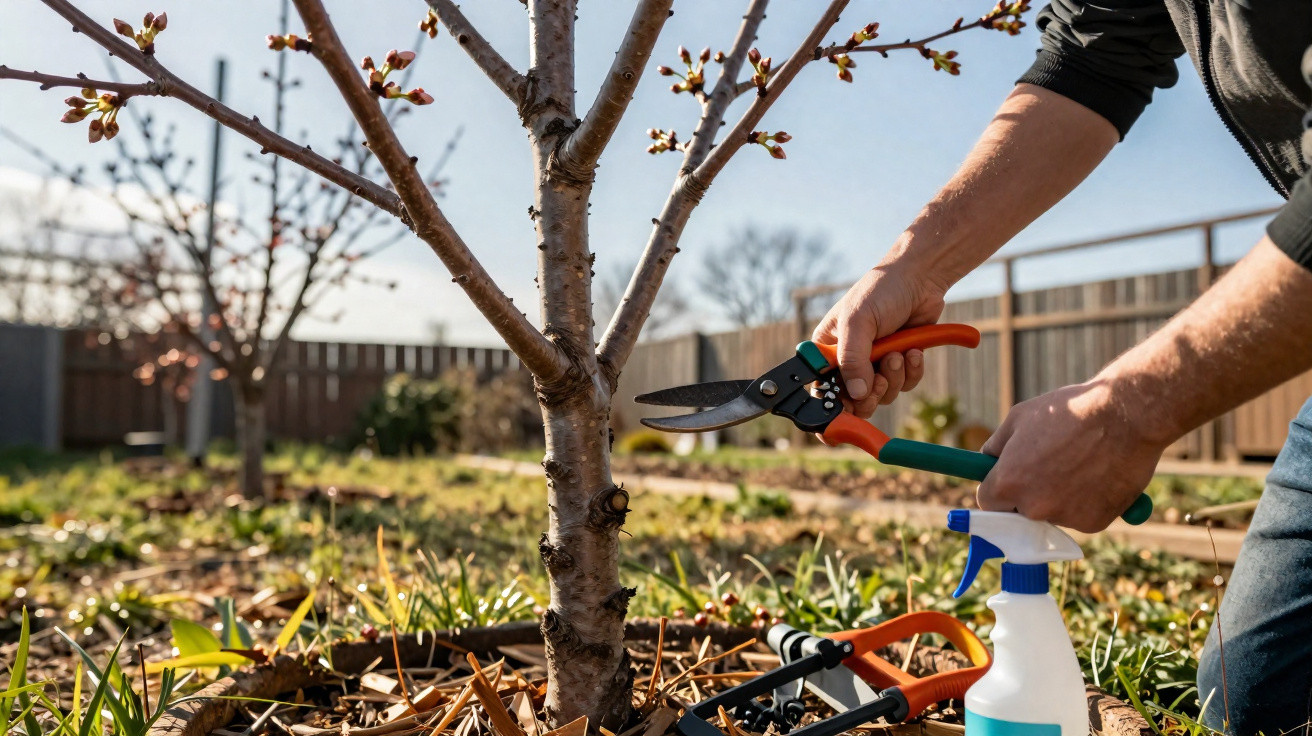
Feeding is only one part of the picture. If you cut old flowering stems of bigleaf hydrangeas back too hard, you can easily remove next year’s buds. Many varieties bloom on older wood. In late winter, it’s often enough to remove the spent flower heads just above the first strong pair of buds.
For placement, match the plant’s needs: partial shade, sheltered from wind, and no harsh midday sun. A protected position also reduces the risk that newly forming buds will be killed by late frosts-frozen buds mean fewer flowers, no matter how well you feed.
pH level, flower colour and feeding
Many gardeners associate hydrangeas with deep blue blooms. That colour is closely linked to soil pH and aluminium availability. Slightly acidic soils and specialist “blueing” products encourage these shades. If you use such treatments, coordinate them with your main fertiliser rather than simply feeding more heavily, otherwise the soil balance can be thrown off.
For pink or white varieties, a slightly acidic, humus-rich soil is usually sufficient. Mature compost and a moderate hydrangea fertiliser work very well here without significantly changing the flower colour.
Why hydrangea fans should watch the calendar
If you take a quick walk around the garden in February or early March and feed your hydrangeas with intent, you set the scene for summer. The effort is modest: a wheelbarrow of compost or a handful of specialist fertiliser, plus some water-nothing more.
Years of disappointing, sparse flowering can shift in a positive direction. Instead of green “leaf monsters”, lush flower heads can finally fill borders, driveways and patios. If you love your hydrangeas, it’s worth marking this window in your calendar for good.

Comments
No comments yet. Be the first to comment!
Leave a Comment